This kiwi sorbet is super easy to make and if you have a slow juicer with a sorbet attachment, it’s even easier! In this article, you’ll learn how to make your own delicious and refreshing 1-ingredient kiwi sorbet that’s perfect for hot summer days (or any time you’re in the mood for a treat that’s creamy and sweet but not too sweet.)

Table of Contents
Kiwi Sorbet – The Perfect Summer Treat

Kiwis are nutritional power houses that make for the ideal snack. By freezing them and then turning them into sorbet, you can make them even more enjoyable! This is such a perfect summer dessert because it’s easy to make and naturally vegan, gluten-free, tree nut-free, and refined sugar-free!
Ingredients You’ll Need

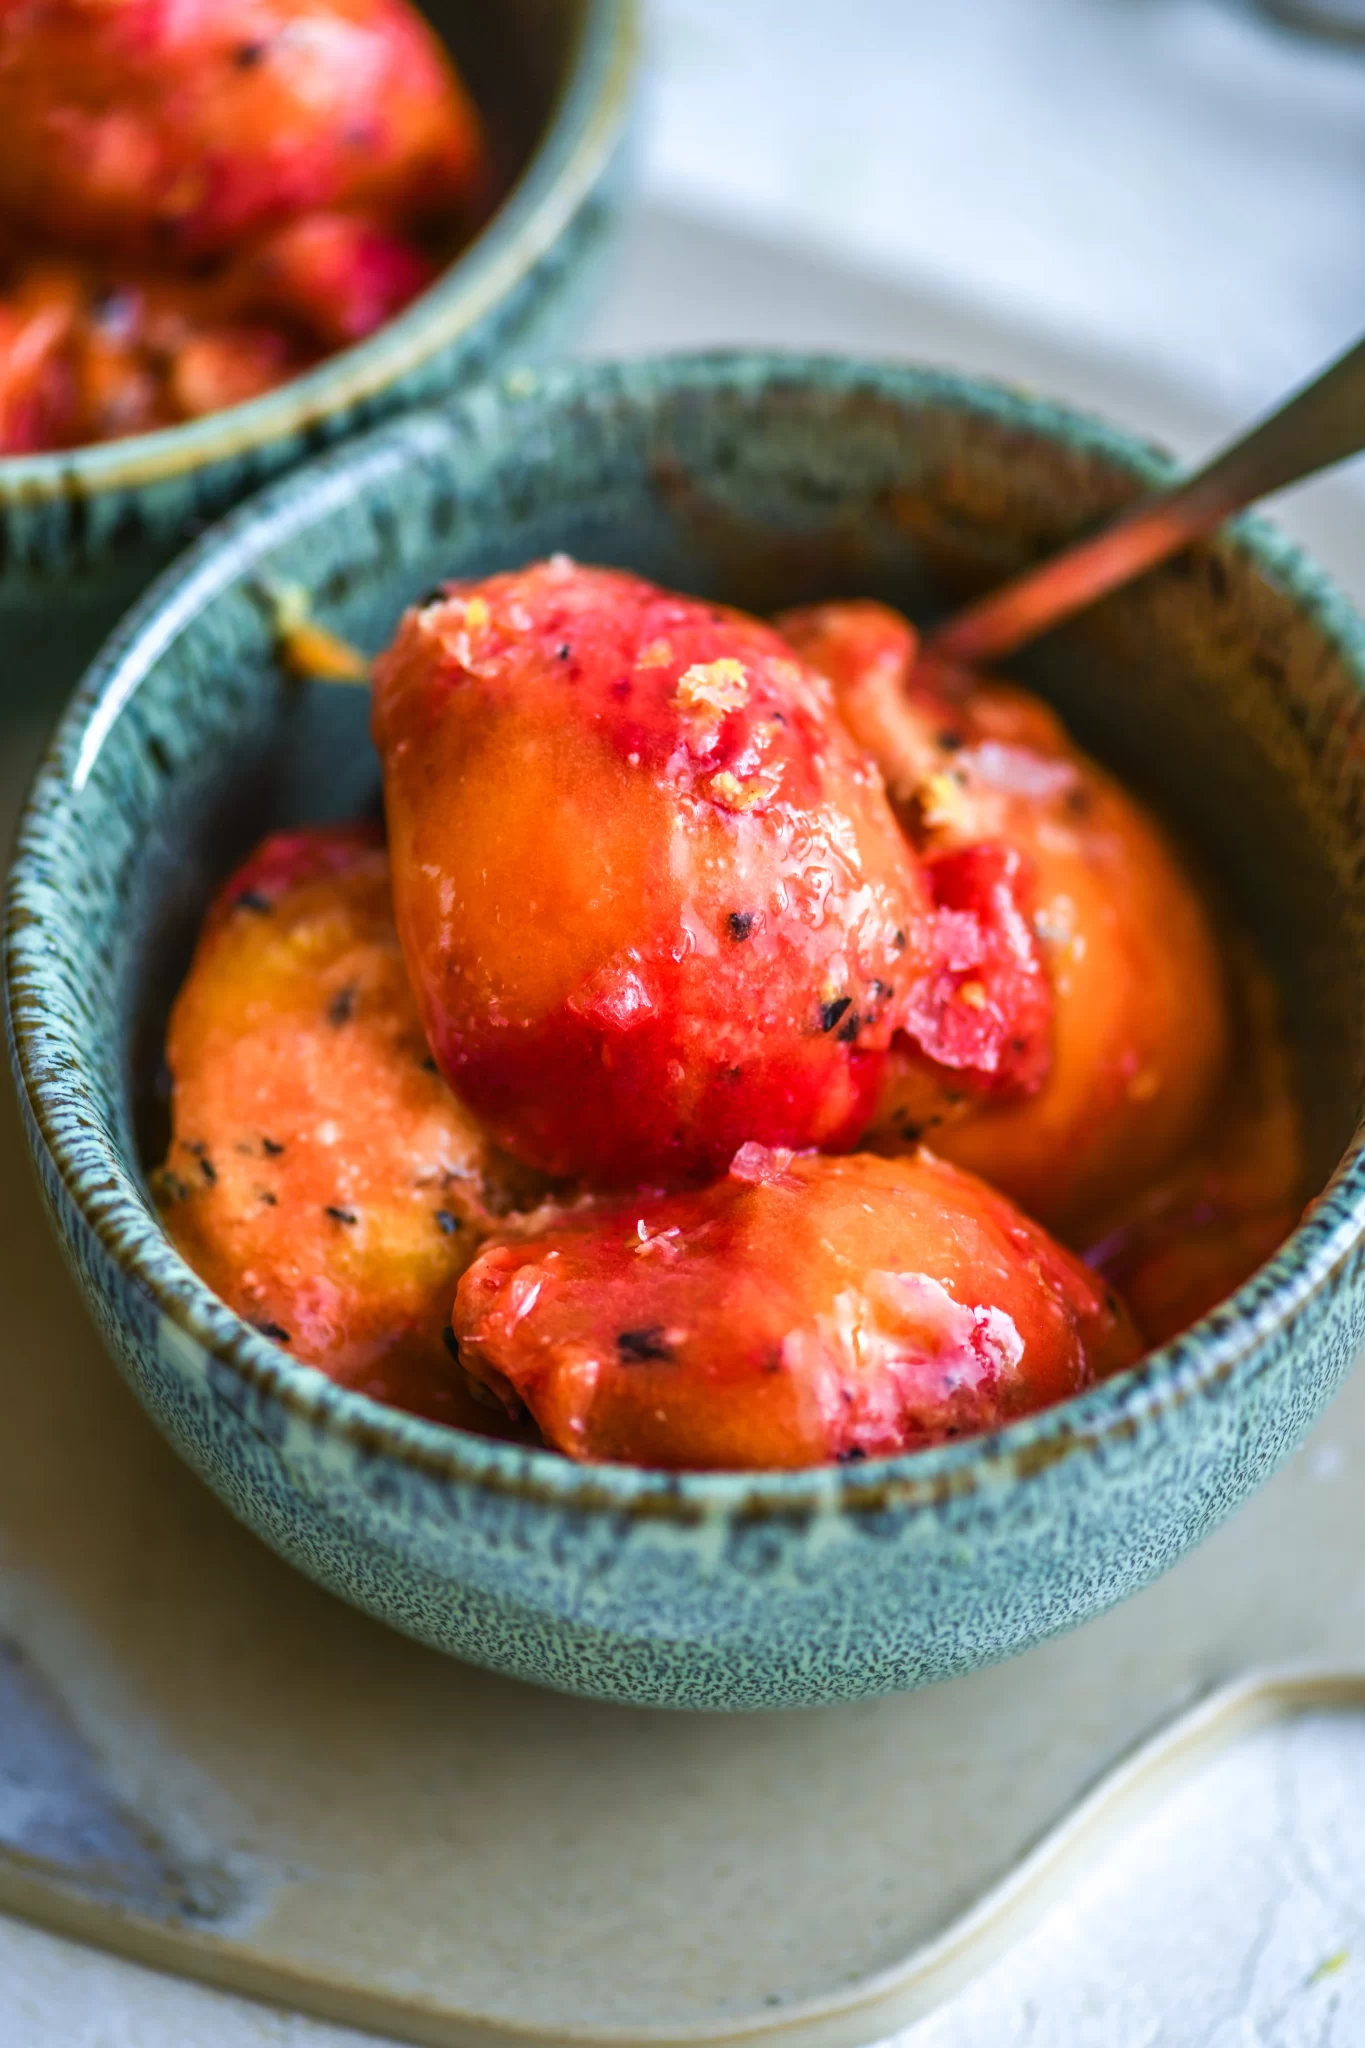
As you may have guessed from the title of this recipe, all you need in order to make this sorbet is one ingredient: kiwis. You can use either green or golden kiwis (the golden ones will be a little sweeter), but in order to get a bright green color you see in the photos throughout this article, be sure to opt for the green ones!
Recommended Equipment

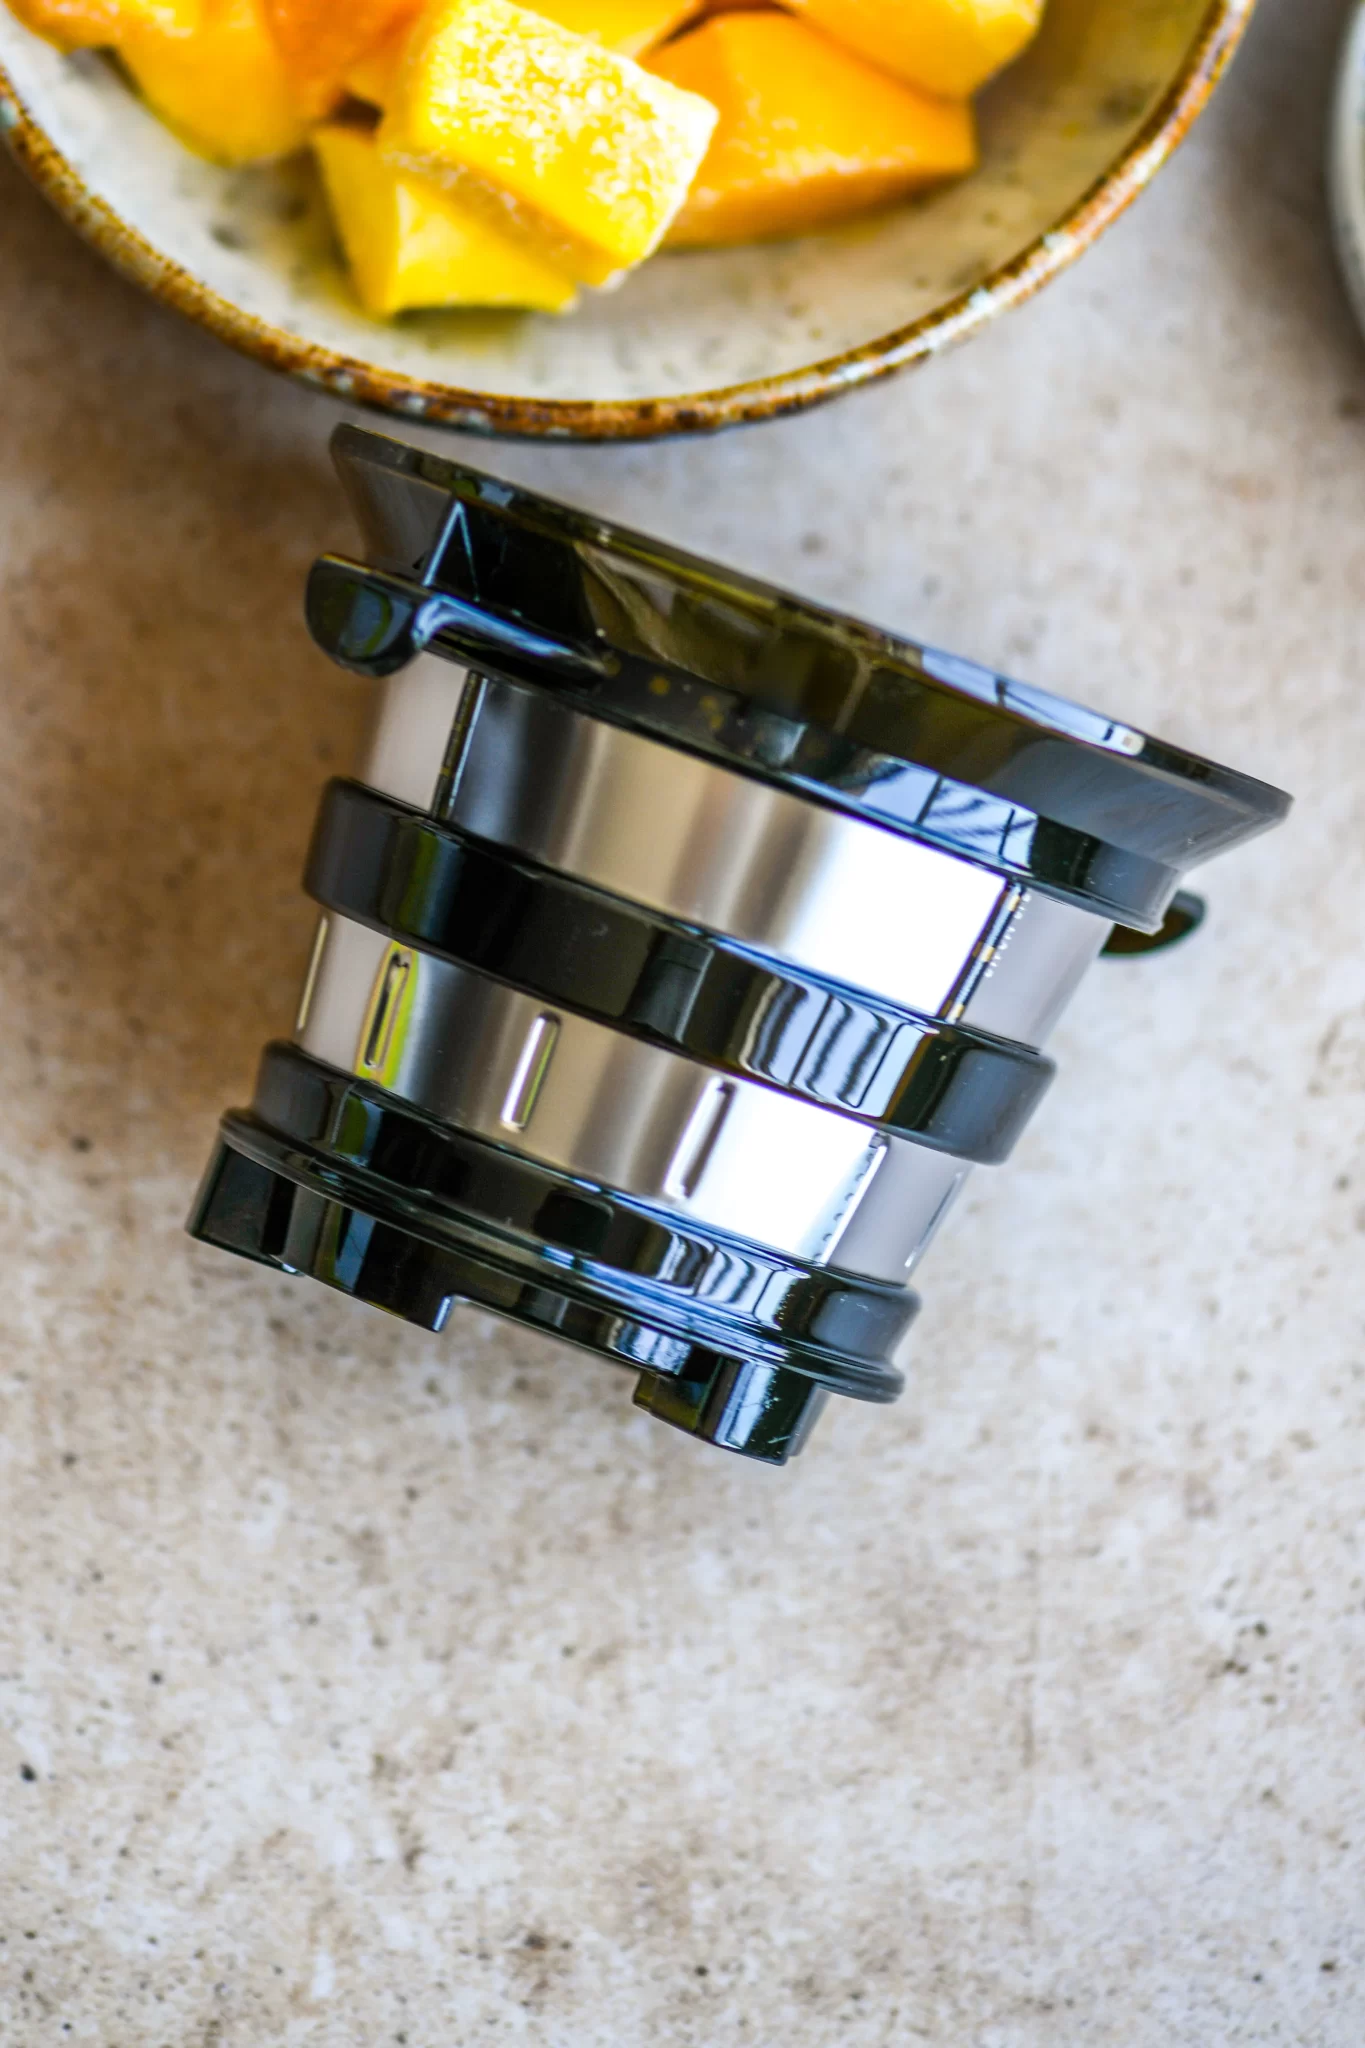
In order to make kiwi sorbet with a juicer, you’ll need a cold-press juicer with a sorbet attachment. My two favorite options for this are Nama’s J2 & Nama’s C2 Juicers. They’re essentially the exact same juicer, but the C2 also includes a high-speed blender function. Additionally, the C2 also includes a sorbet attachment (which needs to be purchased separately for the J2 Juicer.)
TIP: Get $80 oFF the Nama C2 Juicer & Blender with the discount code “BOV10” (the same code will also get you 10% OFF all other Nama appliances and accessories.)
How to Make This Kiwi Sorbet (With a Juicer)
Step One: Freeze the Kiwi

You won’t typically find pre-frozen kiwis in stores, so it’s easiest to just freeze them yourself. In order to do so, first line a baking tray with parchment paper. Next, peel your kiwis and cut them into cubes or chunks, then place them on the lined baking tray, making sure you leave a little bit of space in between the chunks (just enough for them not to stick to each other while freezing.) Freeze the kiwi chunks for at least 6-8 hours, but ideally longer (up to 24 hours is perfect).
Step Two: Add The Frozen Kiwi To Your Juicer
Right before making your sorbet, set up your juicer with the sorbet attachment, then remove the frozen kiwi chunks from the freezer (for the best result, don’t let them thaw for more than 2-3 minutes.)

Add the frozen kiwi chunks to the hopper of your juicer. In order for them not to stick to each other and get stuck during the process, I’d recommend adding about 1 cup and then adding more bit by bit once you’ve turned on your juicer.
Step Three: Turn on Your Juicer & Start Making Kiwi Sorbet

Now, all you need to do is turn on your juicer and watch it make your kiwi sorbet. Be sure to add a container (either your juicer’s pulp container, or any of a similar size) to catch the sorbet.

Transfer the sorbet to an ice cream container (I used this one) and smoothen it using a spatula.
Step Four: Serve & Enjoy!


Using an ice cream scoop, scoop the kiwi sorbet into small bowls, serve, and enjoy!

TIP: The kiwi sorbet is best enjoyed right away!

Kiwi Sorbet Storage Tips

Store any kiwi sorbet leftovers in an ice cream container or other reusable container in the freezer. Be sure to let it thaw for a few minutes before serving.
How to Make Kiwi Sorbet (Without a Juicer)

You can also make this kiwi sorbet with a food processor, but you might need to let it thaw for a few more minutes and the result may not be as firm (it’ll still work though!)
More Recipes & Articles You Might Like
- Easy 4-Ingredient Sorbet (Mango, Passionfruit, Coconut & Raspberry)
- How To Make Sorbet With A Juicer (+Easy Fruit Sorbet Recipe)
- How To Make Nut Milk With A Juicer
- 7 Healthy & Easy Rainbow Juice Recipes
- Nama J2 Cold Press Juicer Review (Note: The C2 Juicer used for the kiwi sorbet recipe in this article is the same juicer as the J2 but with an additional built-in blender)
Kiwi Sorbet – RECIPE CARD

1-Ingredient Kiwi Sorbet (Made with a Juicer!)
Ingredients
- 10 Kiwis
Instructions
Prep & Freeze The Kiwis
- Peel your kiwis, then cut them into chunks. Line a baking tray with parchment paper, then place the kiwi pieces on the lined tray leaving a little space between the pieces so they don't stick together. Place in the freezer and freeze for at least 6 hours (or ideally overnight or longer). TIP: If you're making your kiwi sorbet on a later date, you can transfer the kiwi pieces to a reusable container once frozen and store them in the freezer until you're ready to make this recipe.
Make the Kiwi Sorbet
- Start by setting up your juicer: add your sorbet attachment and plug in your juicer (see the notes below on how to make this sorbet without a juicer). Once everything is ready to go, remove your frozen kiwi chunks from the freezer (the ideal thaw time is just about 1-2 minutes). Next, either place them all in your juicer's hopper, then turn the juicer on, or alternatively, turn the juicer on first, then add the frozen chunks once by one. Both methods will work, but when adding the fruit all at once, the frozen fruit pieces might stick to each other, so just beware of that. I like to add about 1/4 of the pieces at once and then add the rest one by one after that. (Note: The sorbet will come out where the juice pulp usually comes out when juicing.)
Serve & Enjoy!
- Next, transfer the sorbet to an ice cream container (or any reusable container) and smoothen it using a spatula. Serve immediately using an ice cream scoop and enjoy!
Equipment

Notes
- You can also make this kiwi sorbet with a food processor, but you might need to let it thaw for a few more minutes and the result may not be as firm (it’ll still work though!)
- Store any kiwi sorbet leftovers in an ice cream container or other reusable container in the freezer. Be sure to let it thaw for a few minutes before serving.
JUICER DISCOUNT CODE
In order to get a 10% discount on the Nama C2 Juicer & Blender (or any other Nama Juicer and/or accessory), simply enter the discount code “BOV10” at checkout.
Please note that this site contains affiliate links and we may earn a commission if you make a purchase through those links at no extra cost to you.
Did you love this recipe? Please consider leaving a comment and a ⭐️⭐️⭐️⭐️⭐️ star rating below. Thank you!