How to make nut milk with a juicer


Whether you’re vegan, dairy-free, or simply prefer the taste of non-dairy milk, making your own nut milk is incredibly easy and if you have a slow juicer, quicker than ever before. Sure, you can also make it using a blender and a nut milk bag, but if you happen to have a juicer, the process is a lot less messy. In this article, you’ll learn how to make nut milk with a juicer in just a few easy steps!
How to make nut milk with a juicer – A tutorial
Ingredients and Equipment You’ll Need
- A bowl
- A slow juicer (click here to read a review of the one I personally use and recommend)
- A strainer (optional)
- A ladle (or a large spoon)
- Raw nuts or seeds (scroll down for a few suggestions)
- Water (ideally filtered)
- Add-ons of your choice like vanilla extract and/or maple syrup (optional)
a few tips for choosing and storing your nuts
- Make sure the nuts are unsalted and, ideally, raw
- Buy them in bulk and compare prices to save money (walnuts are much cheaper than Brazil nuts, for instance)
- Store them in the fridge until you’re ready to use them. Nuts can go rancid at room temperature and will stay fresh a lot longer if you keep them refrigerated.
- Keep in mind that different kinds of nuts have very different flavor profiles. So decide what you’re looking for first and then choose the best nuts or nut blend accordingly. Here are some examples:
- Almonds: these are the most common nuts used to make nut milk, but, to be honest, they’re not my favorite. They’re also among the least environmentally-friendly nuts to produce (although they’re still better for the environment than many animal products).
- Cashews: one of my favorites. They make for super creamy nut milk that’s perfect for coffee and other hot beverages.
- Hazelnuts: their flavor is quite distinct, which can be great if you’re interested in making a “nutella” flavored milk. All you’ll need to do is to mix a little cacao powder and sweetener of your choice into your hazelnut milk.
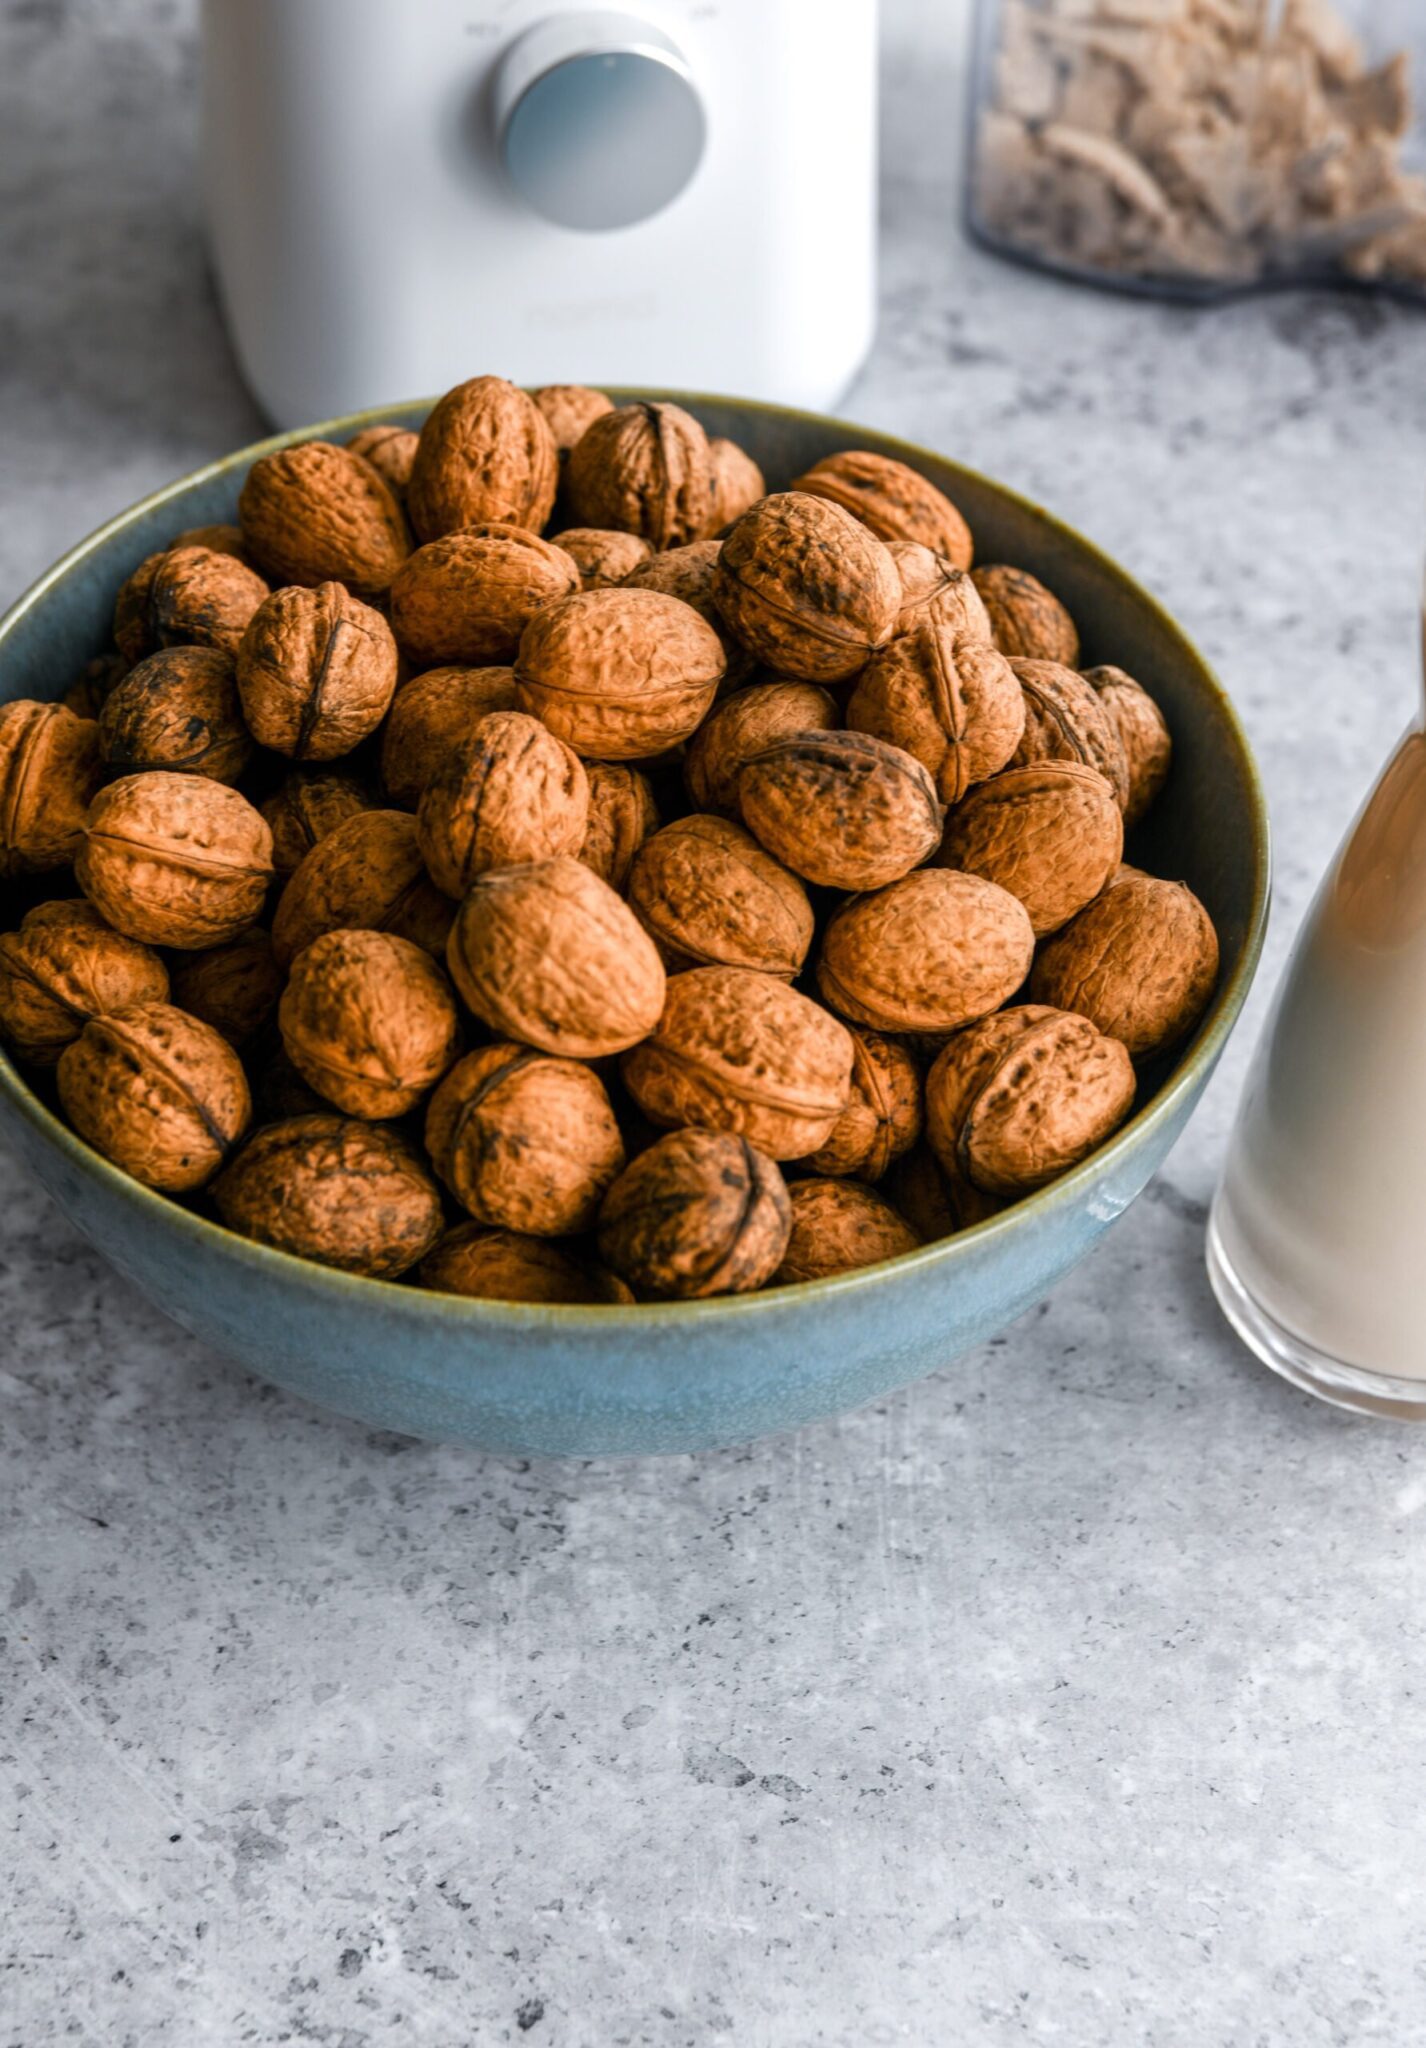
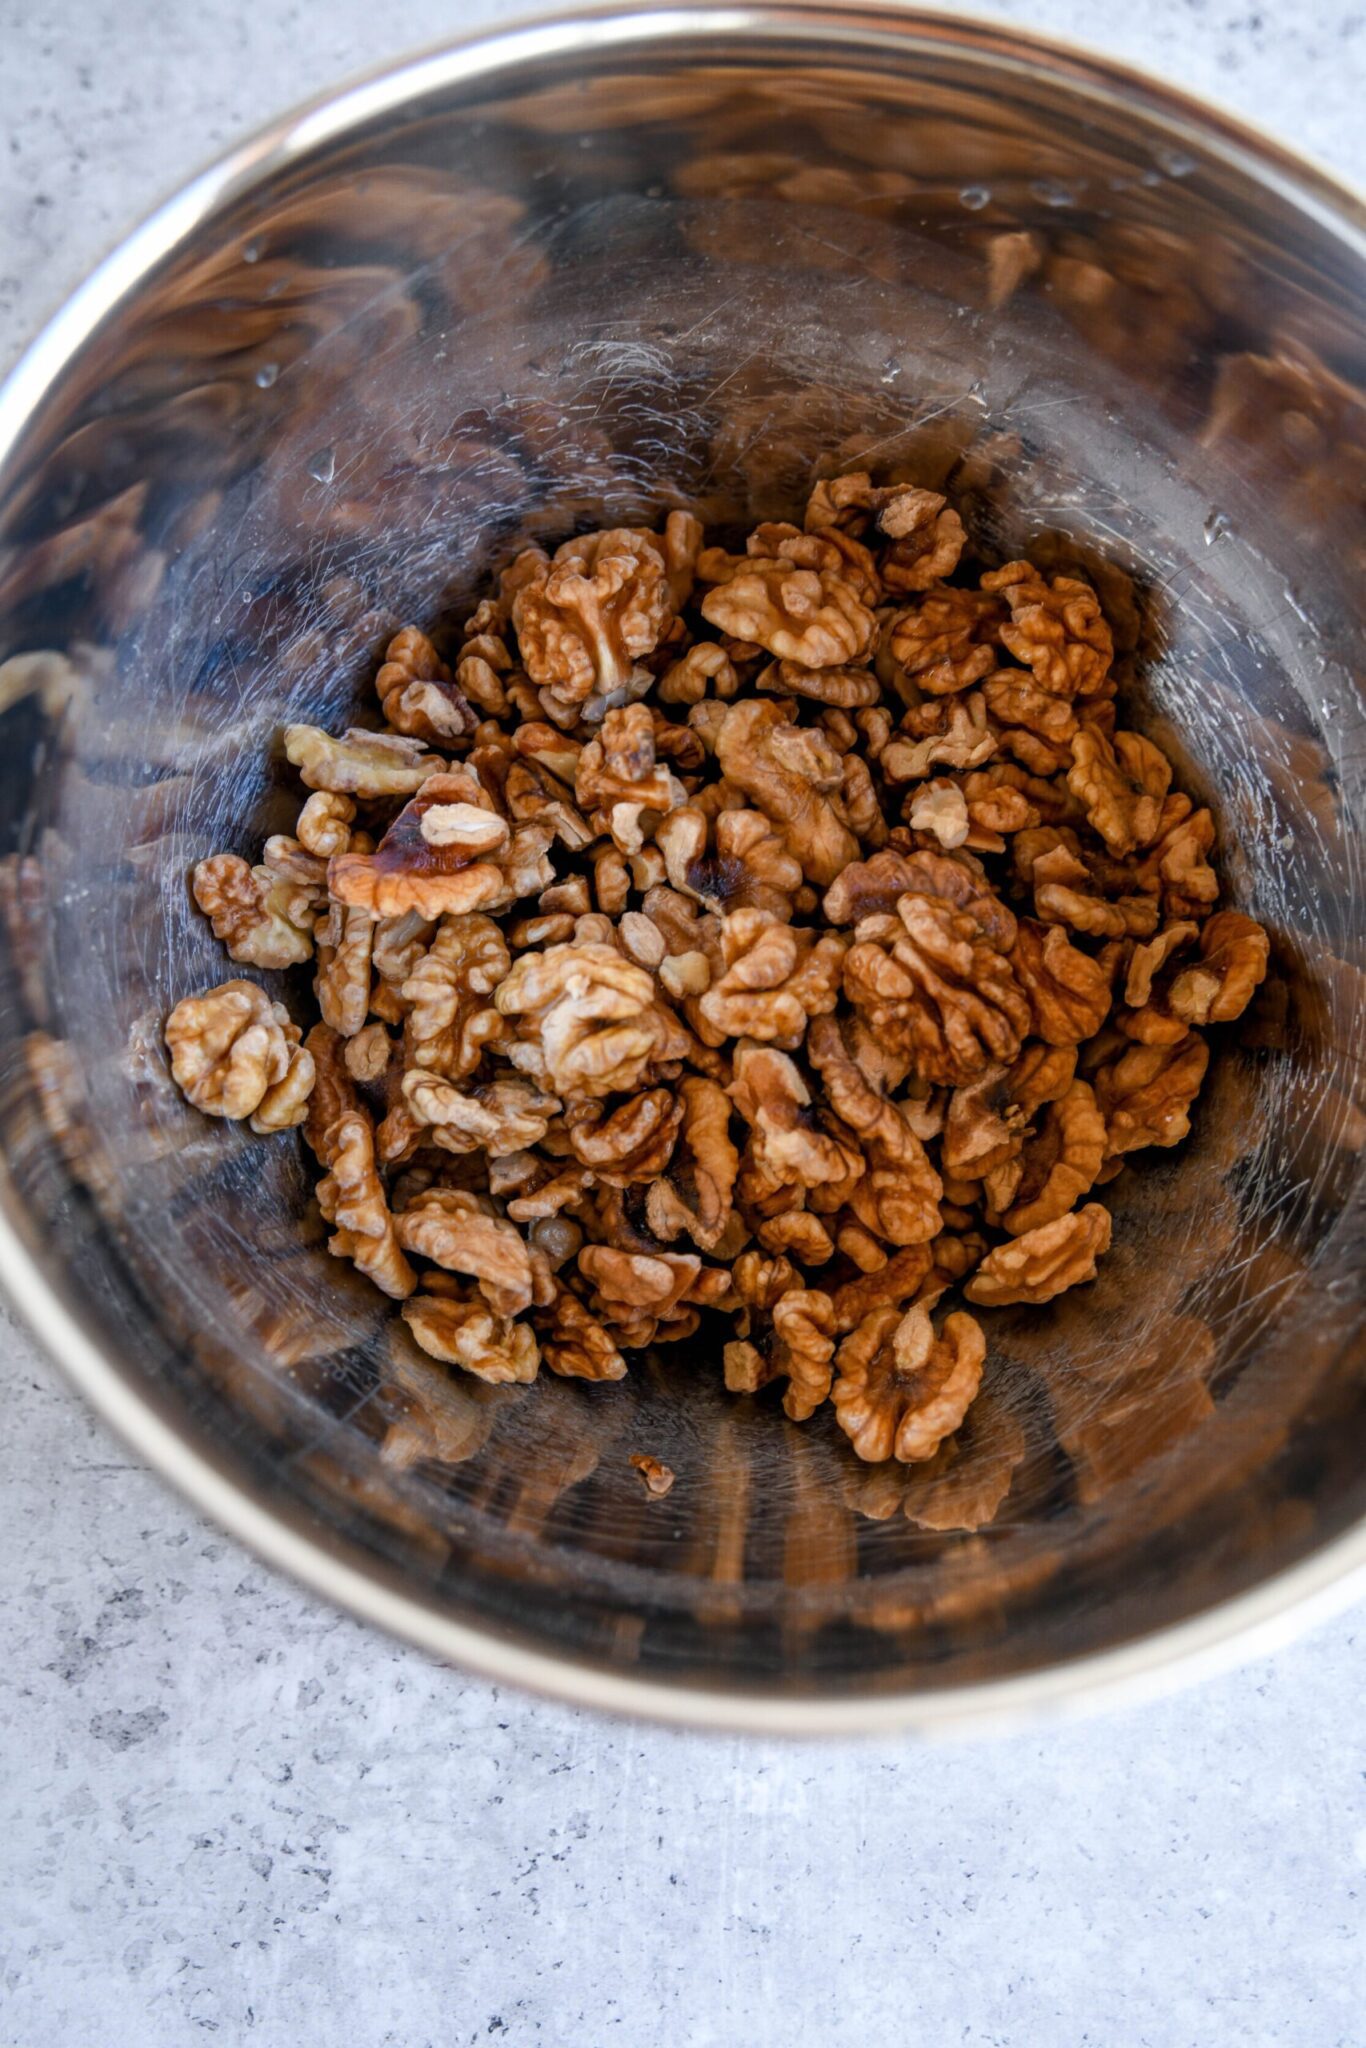
- Walnuts: these are the ones I opted for for this article. Mainly because I happened to have a lot them at home (a gift from my lovely neighbor), but also because I like walnut milk and I think it’s one of the most underrated non-dairy milks.
TIP: Try mixing different kinds of nuts (one of my favorite combos is walnut and cashew).
Can I use seeds instead?
If you’re allergic to tree nuts, then using seeds is a great alternative.
The Best Juicer to Use To Make Nut Milk
The best juicer to use is a cold press juicer (also referred to as a “slow juicer”). The only one I personally use and recommend is the Nama J2 Cold Press Juicer (you can read my full review of it and get a discount code here).
Slow juicers masticate the ingredients, which is a much gentler process than a centrifugal juicer would use, making it ideal to use for nut milk. I would not recommend using a centrifugal juicer.
 Click here to read our review of the Nama J2 Juicer.
How to make nut milk with a juicer in 5 easy steps
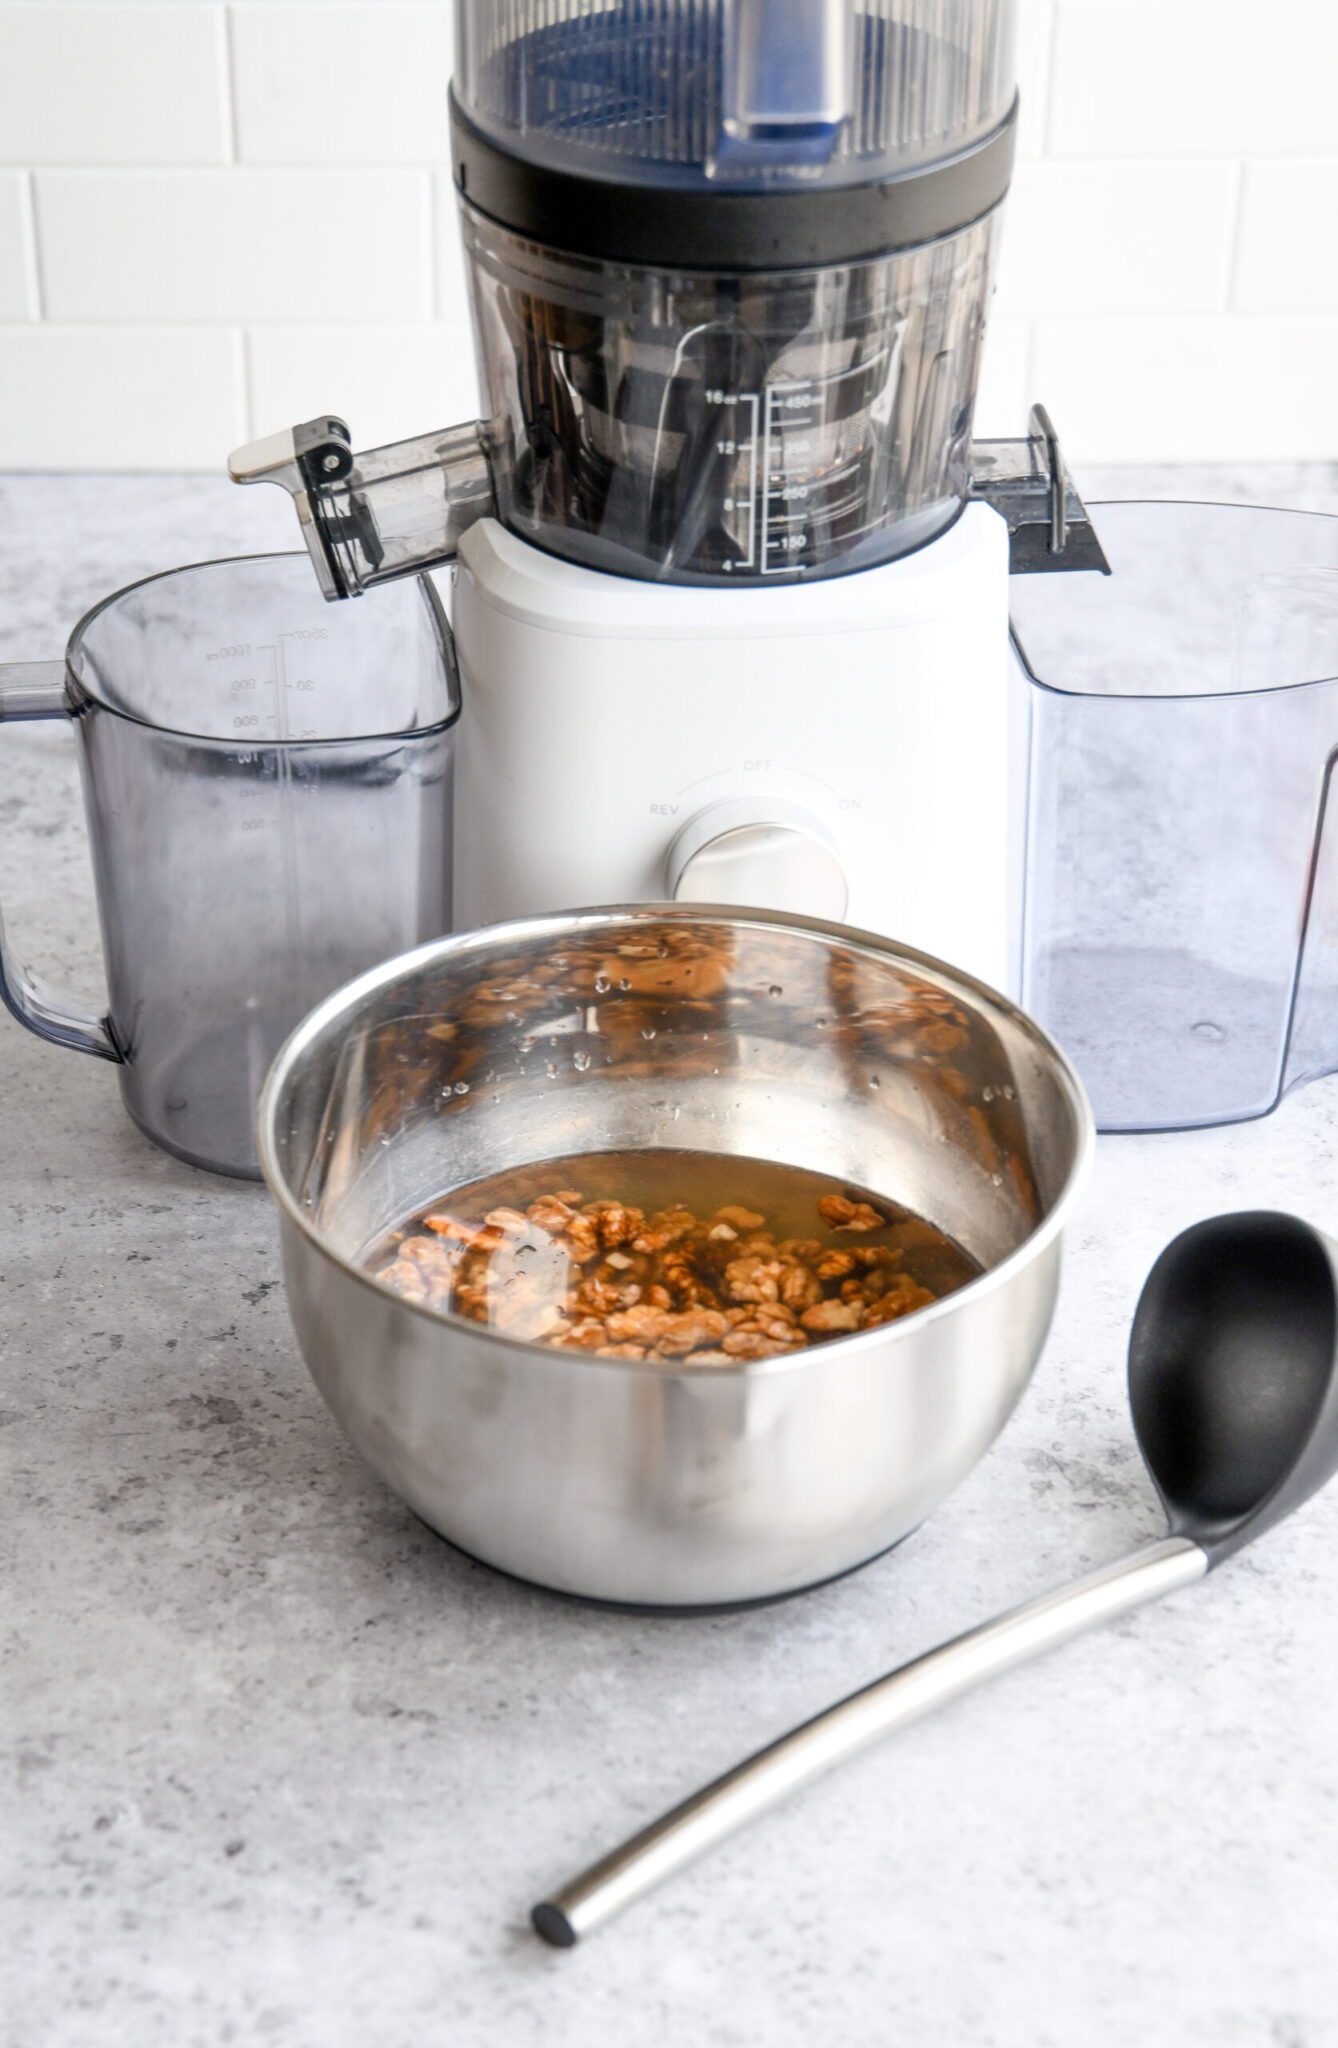
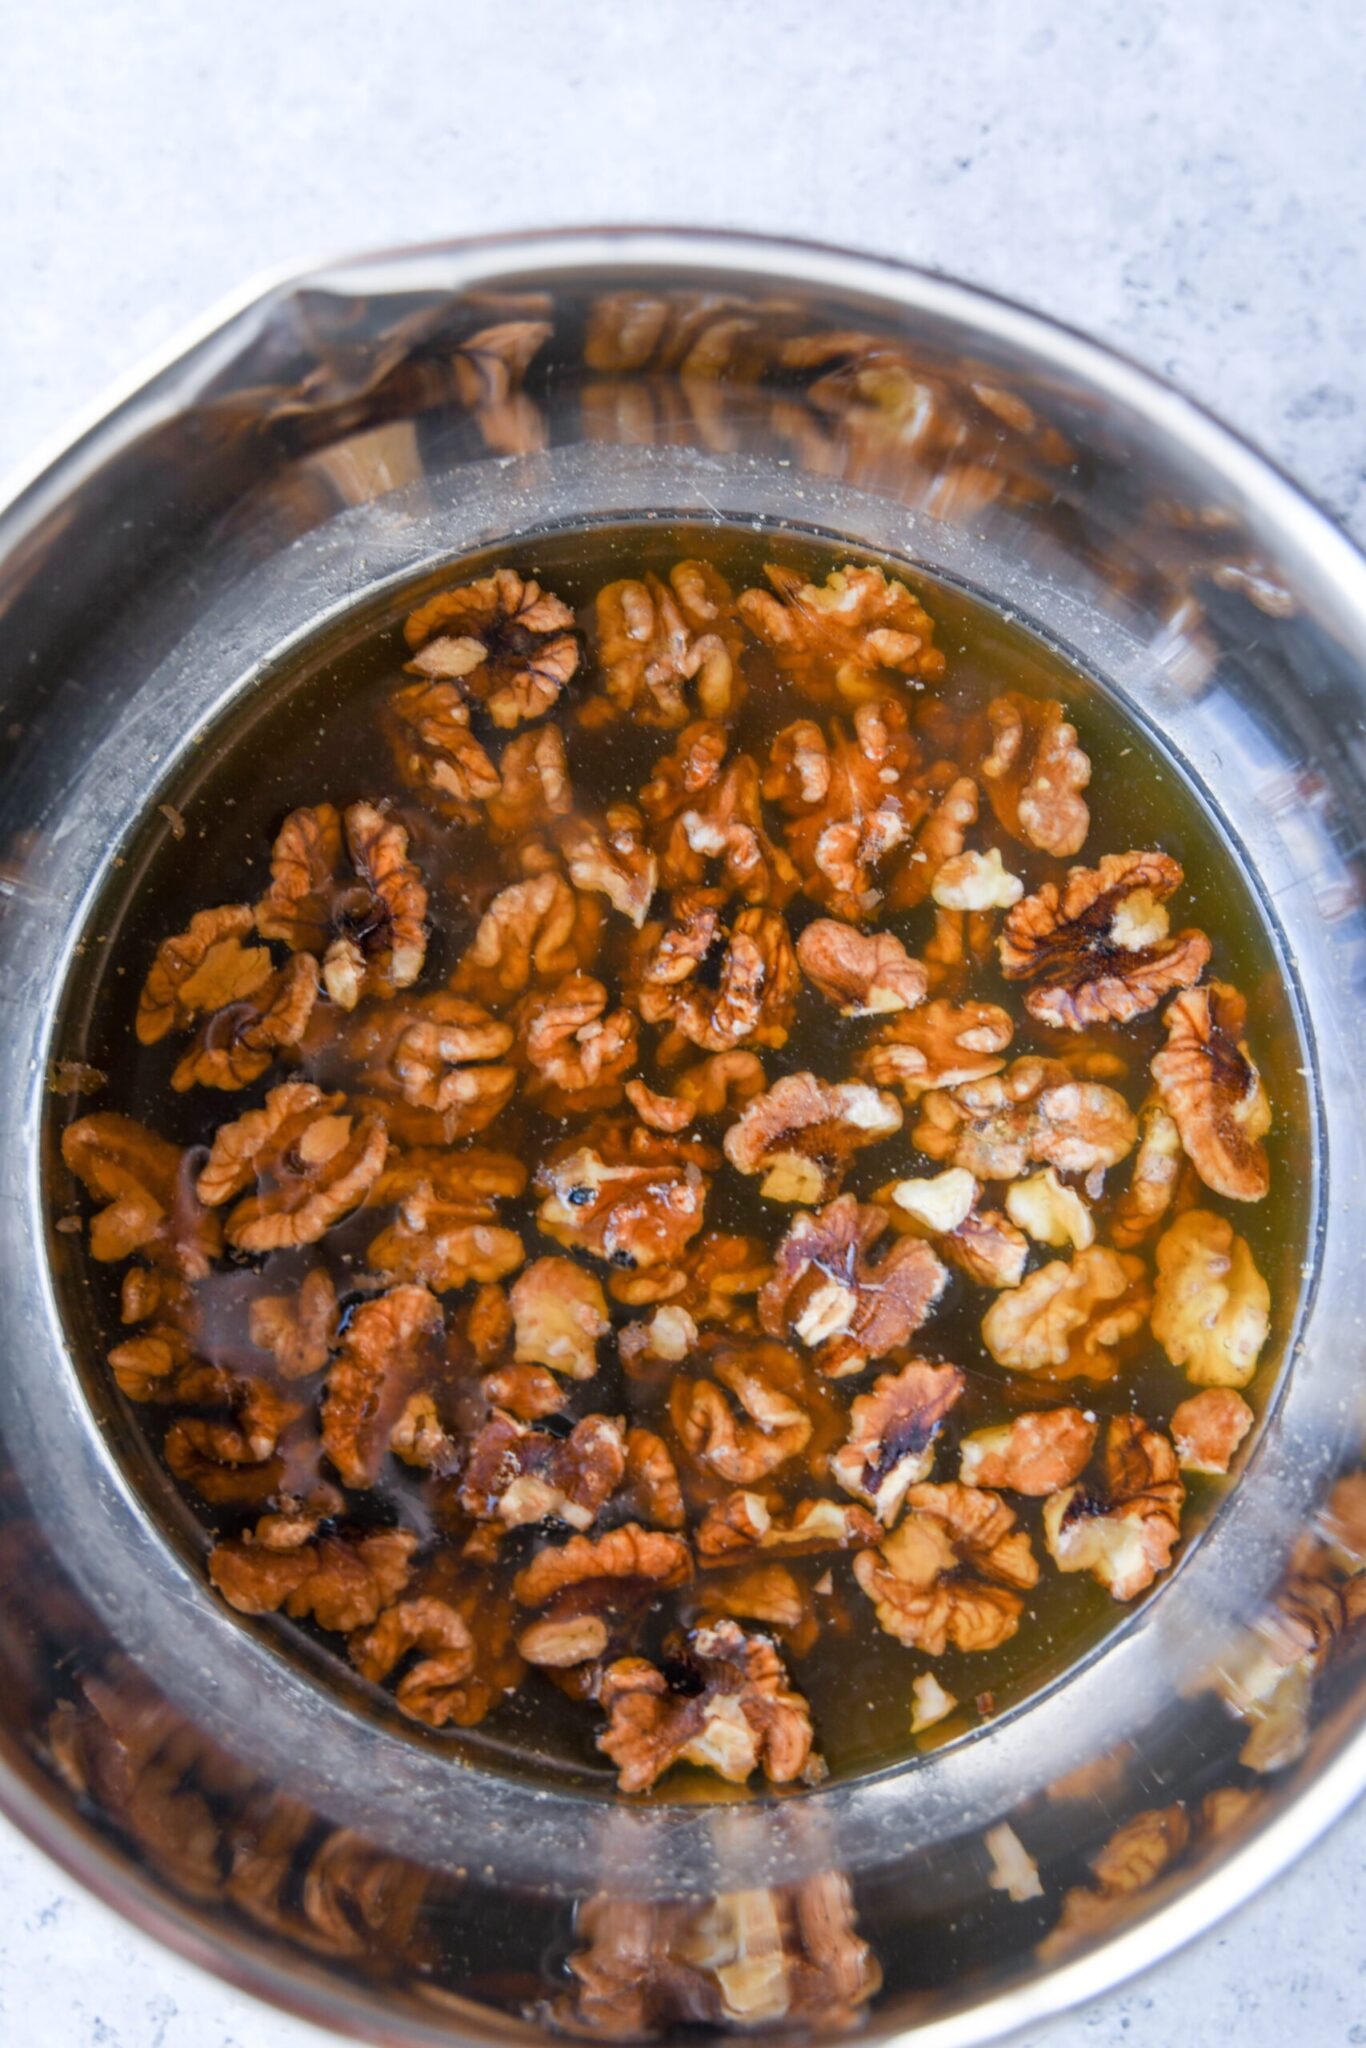
Step one: Soak the nuts
Add the nuts to a bowl and cover them with water (it doesn’t really matter how much as long as they’re fully covered). Next, let them soak overnight (or for at least 6-8 hours). Tip: Put both the bowl and the fresh water you’ll be adding in the fridge to ensure your milk is extra cold if you’re planning on drinking it right after making it.
Step two: rinse the soaked nuts
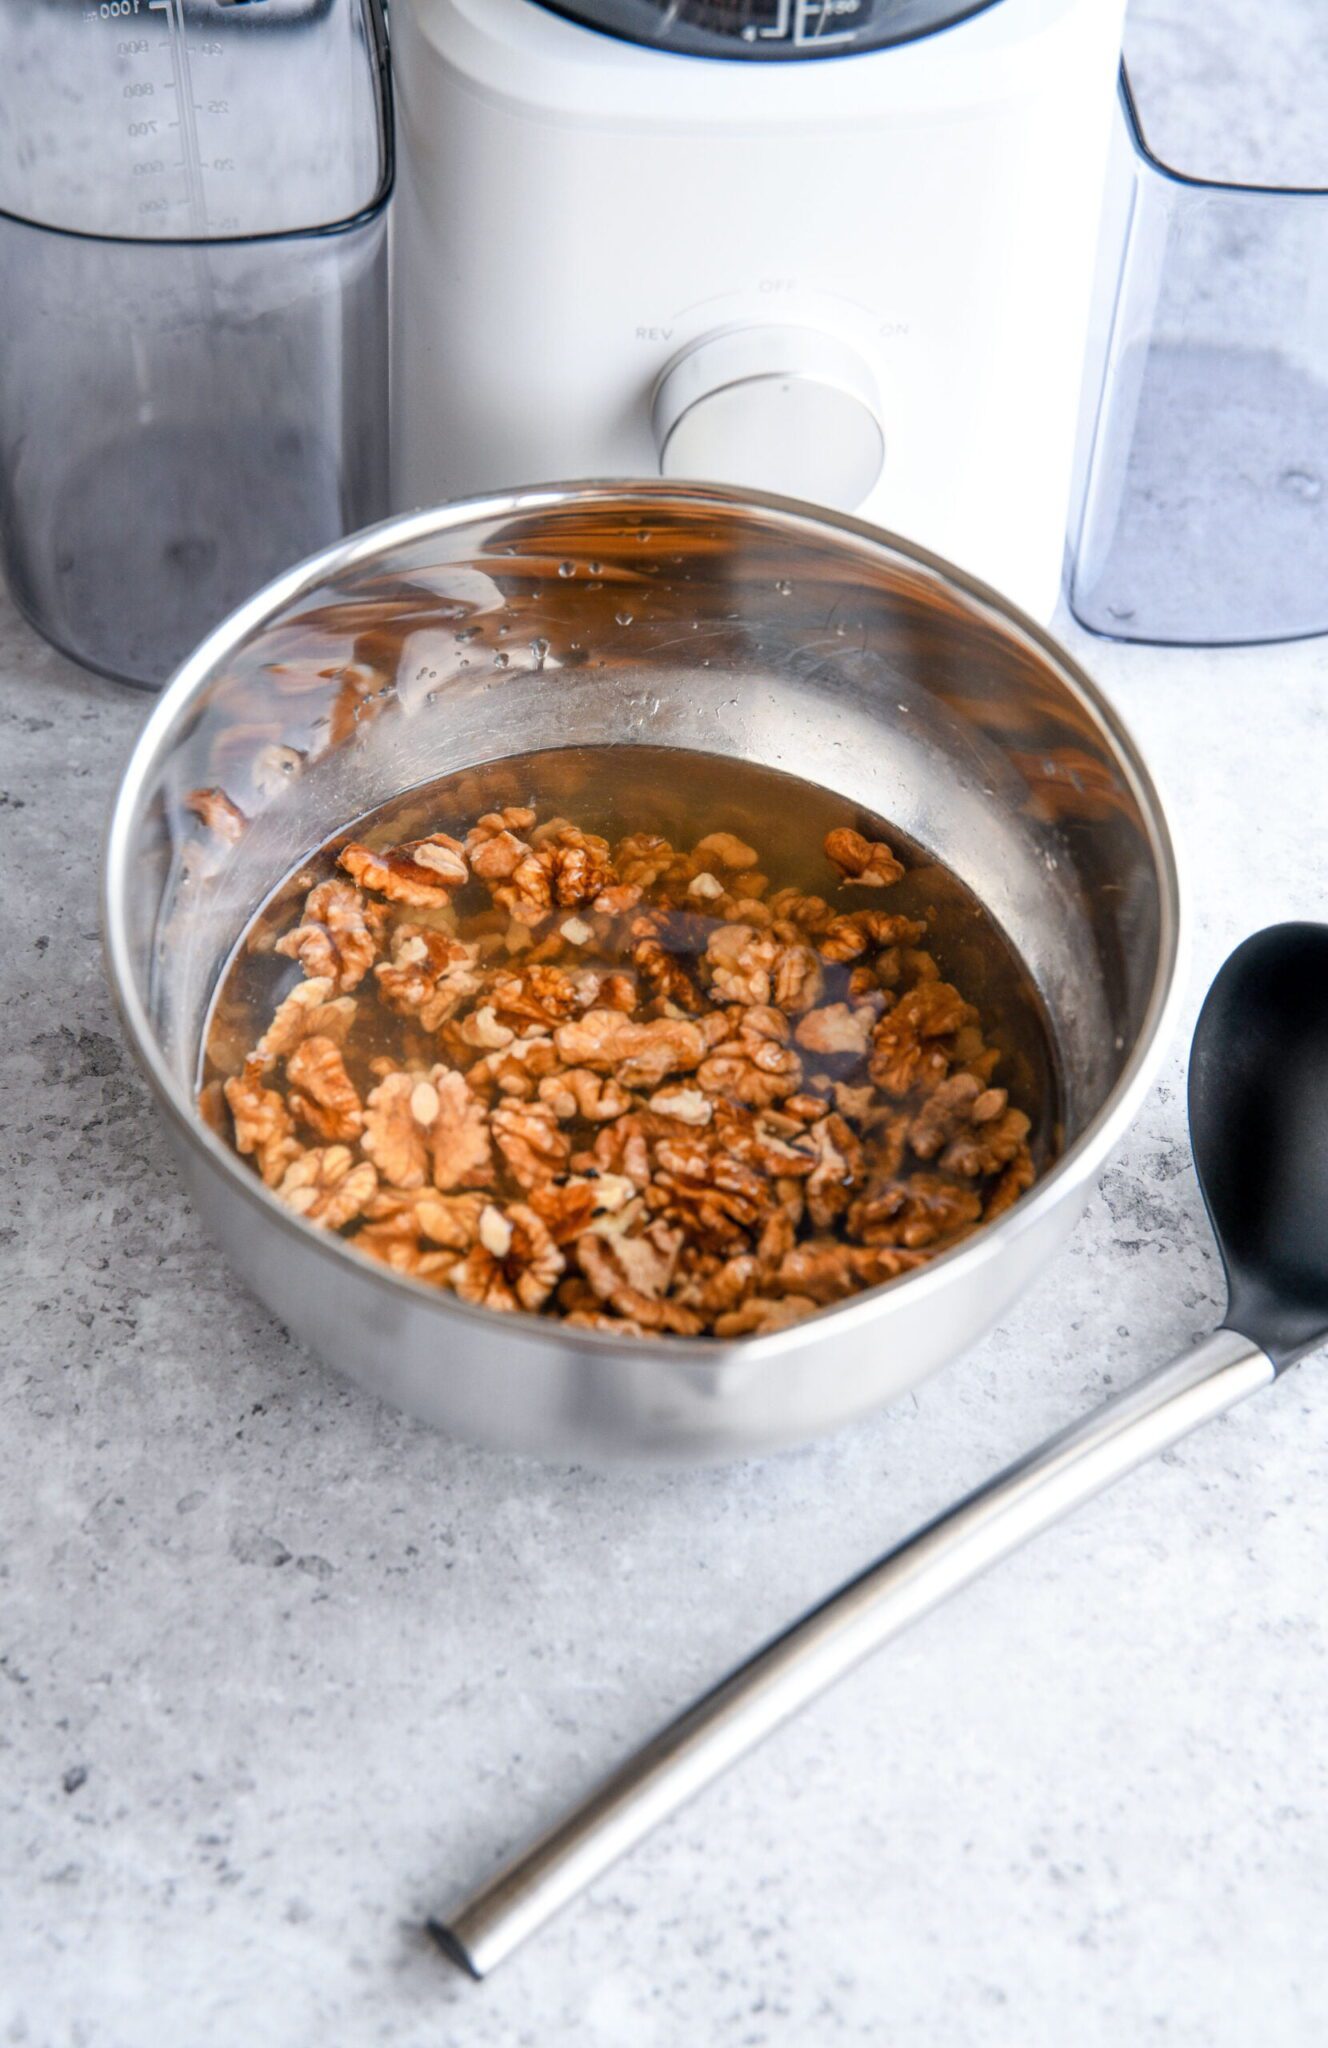
Once the nuts are soaked, you’ll notice that they will have increased in size a bit and, depending on which kind of nut you’re using, the water will look a bit dirty. This is totally normal, but also one of the reasons you’ll want to discard it and replace it with fresh water when making the milk. Be sure to rinse the nuts and bowl thoroughly, then place the rinsed nuts back in the bowl.
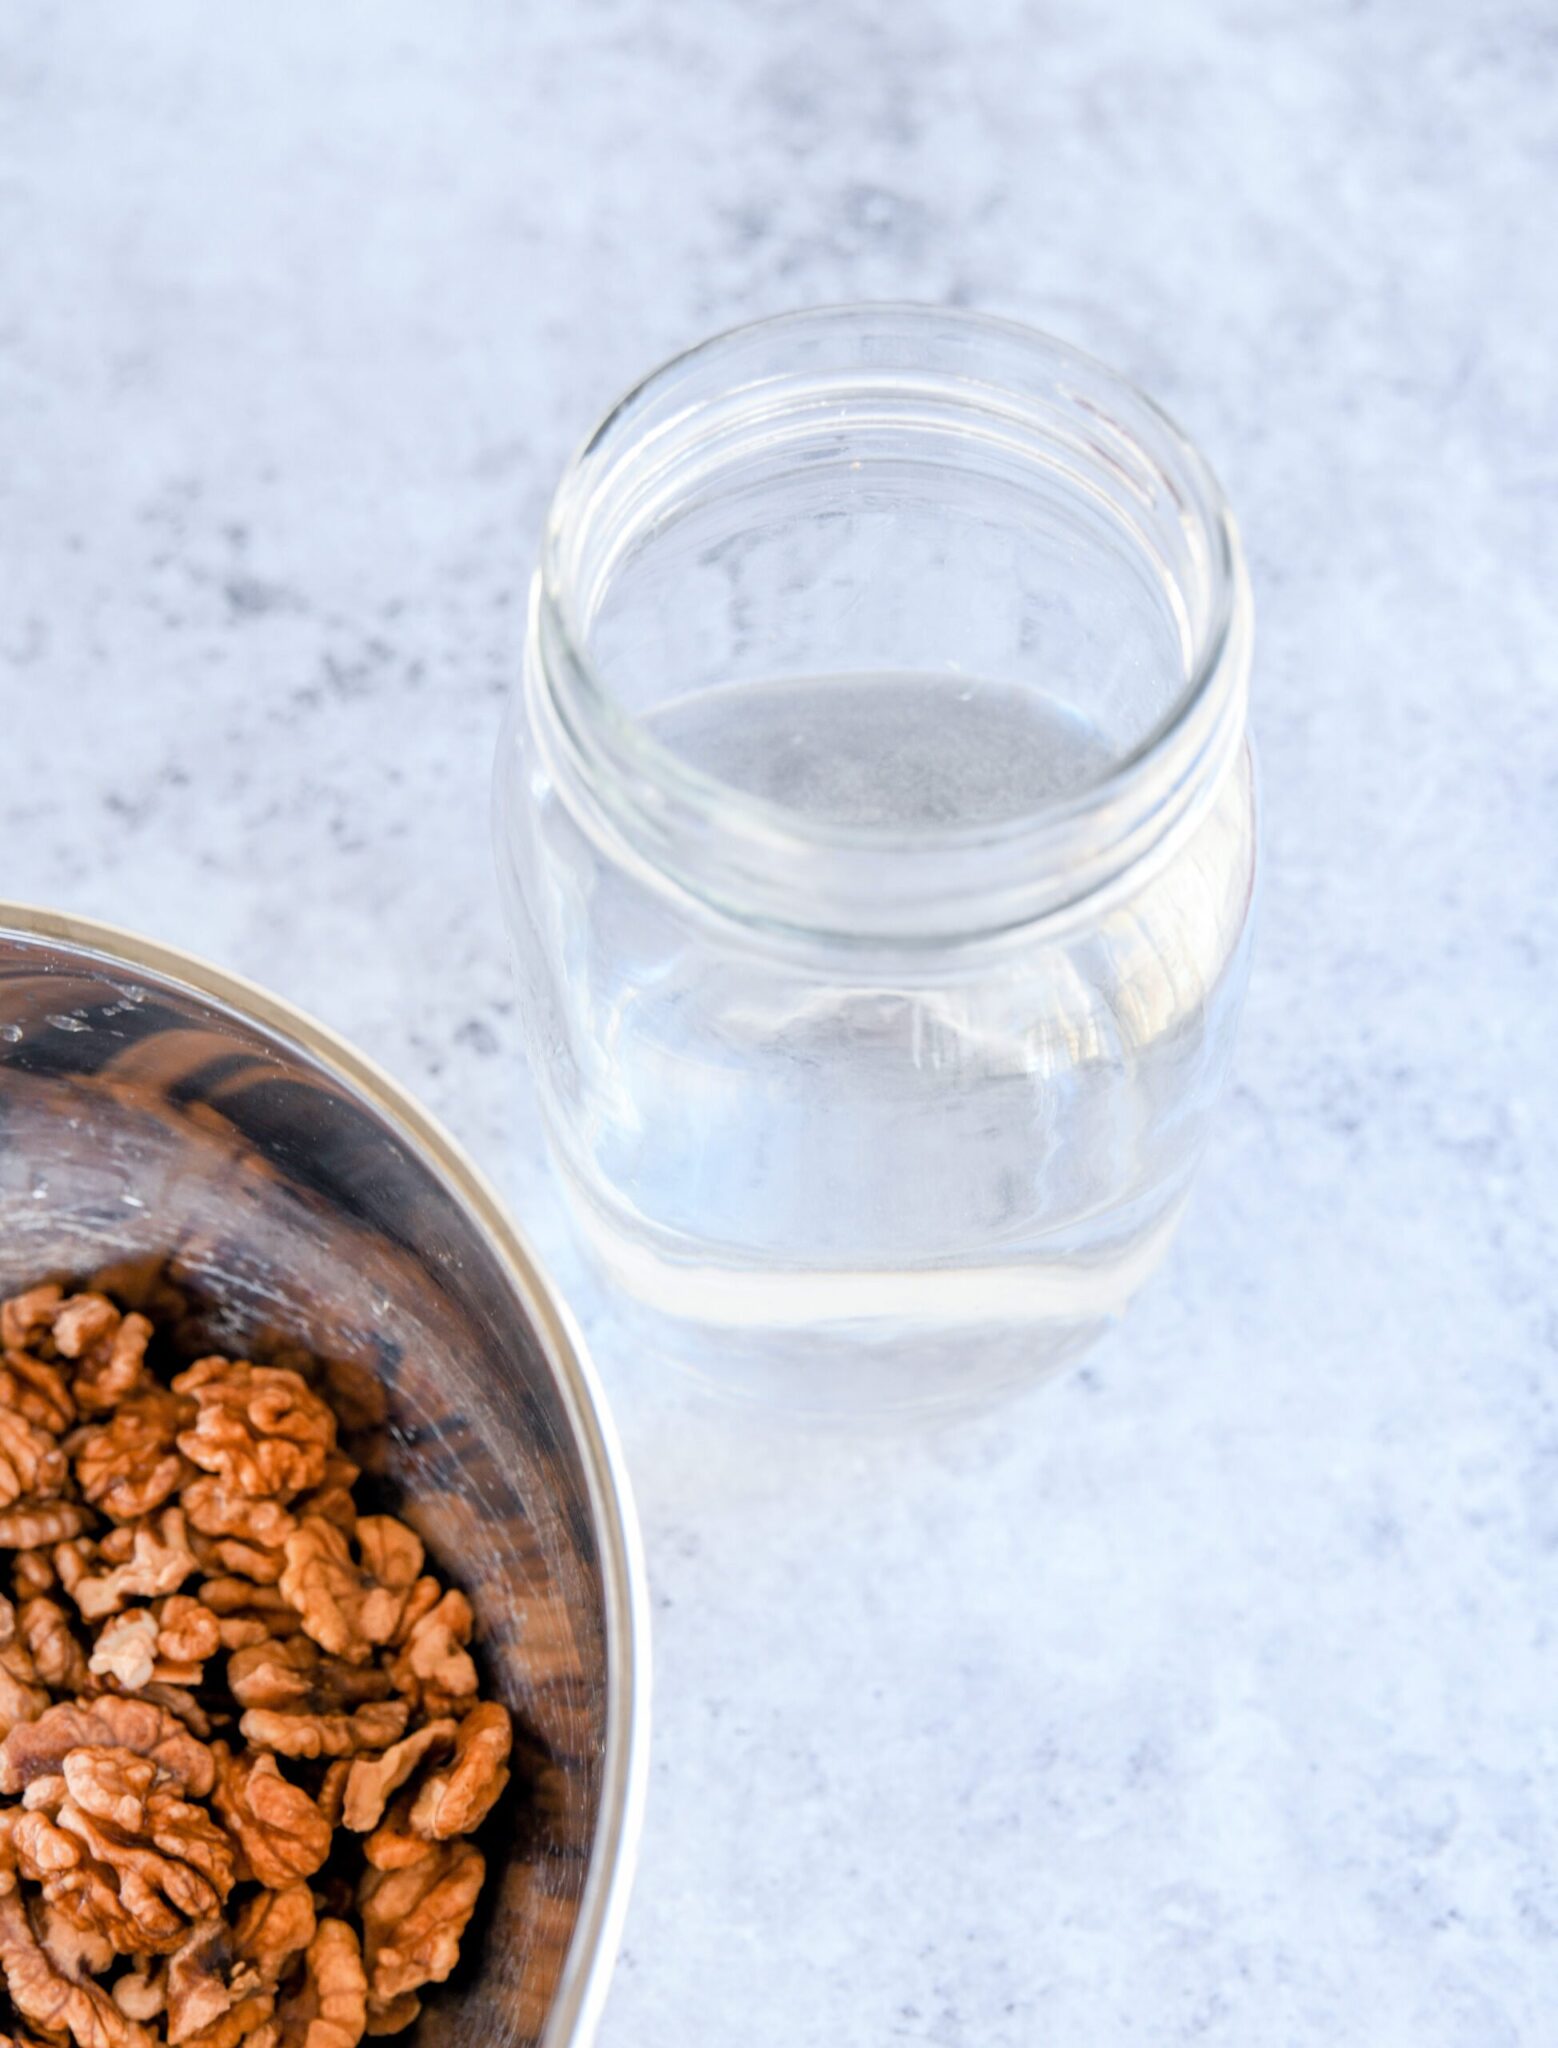
Step three: add fresh water
Next, add fresh water. Here are two ratios and what result to expect from each:
- 1 cup of water per cup of nuts used: this will yield the creamiest result and is ideal if you’re planning on drinking the milk by itself or if you want to add it to baked goods, coffee, or tea.
- 2-3 cups of water per cup of nuts used: the result will be a little thinner, but still creamy. This is best for smoothies, milk shakes, or hot chocolate. Using a little more water will also make your plant milk more cost efficient.
To find your perfect personal ration, I’d recommend starting with 1 to 1 1/2 cups of water per cup of nuts and then adding more to your liking.
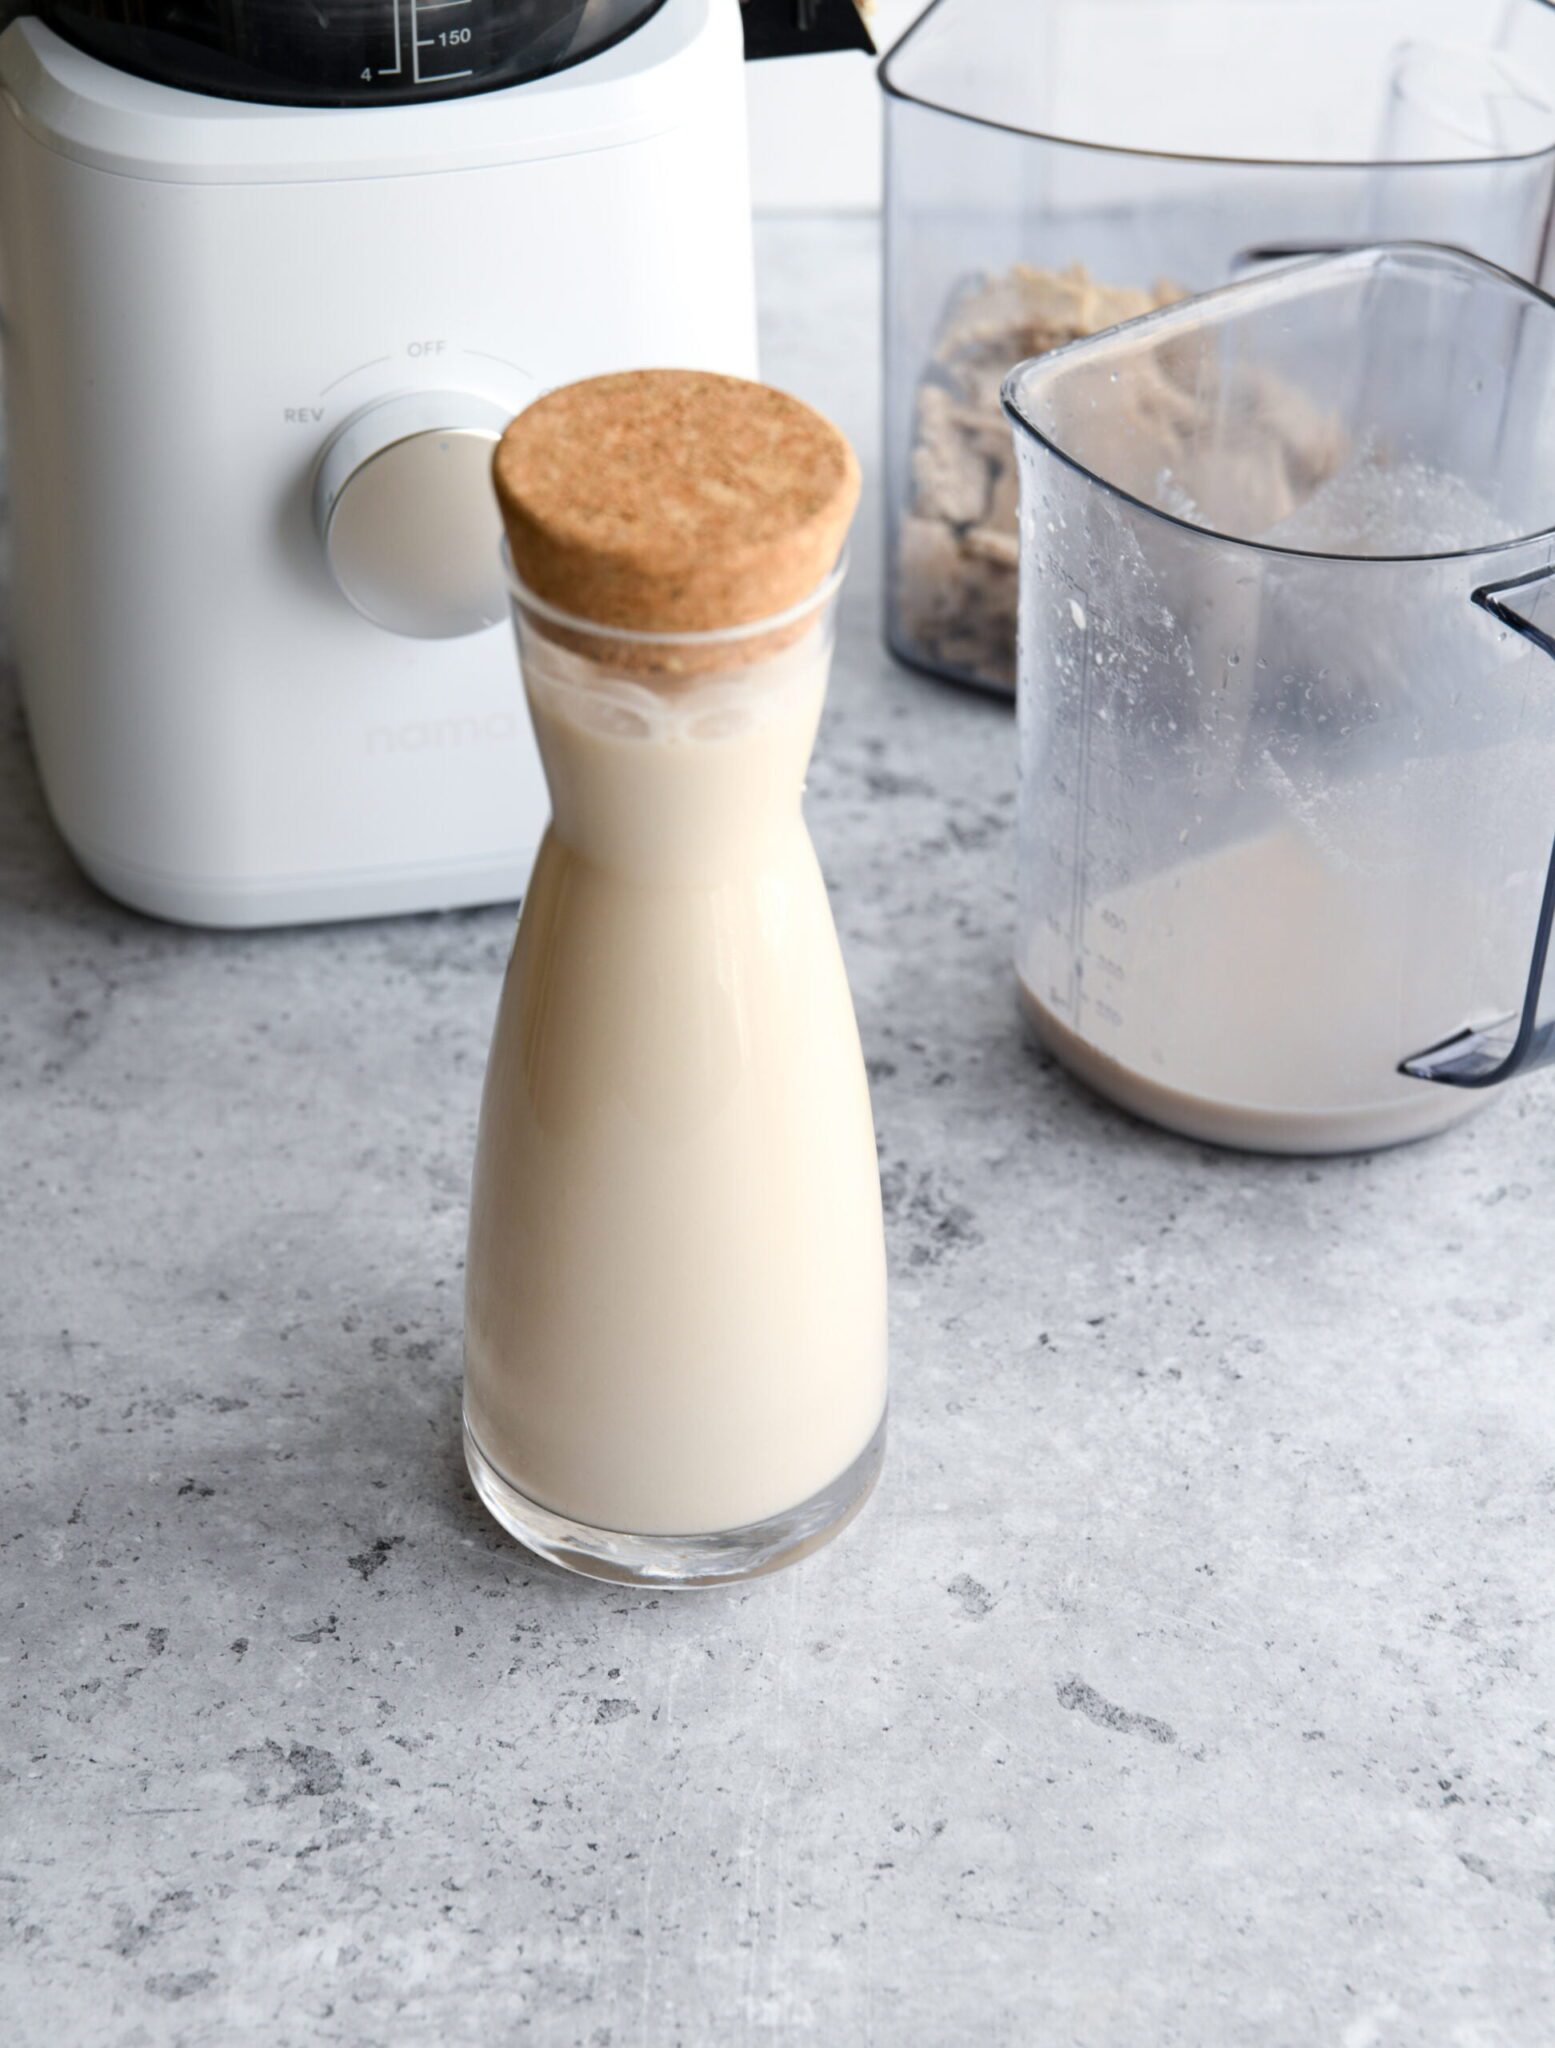
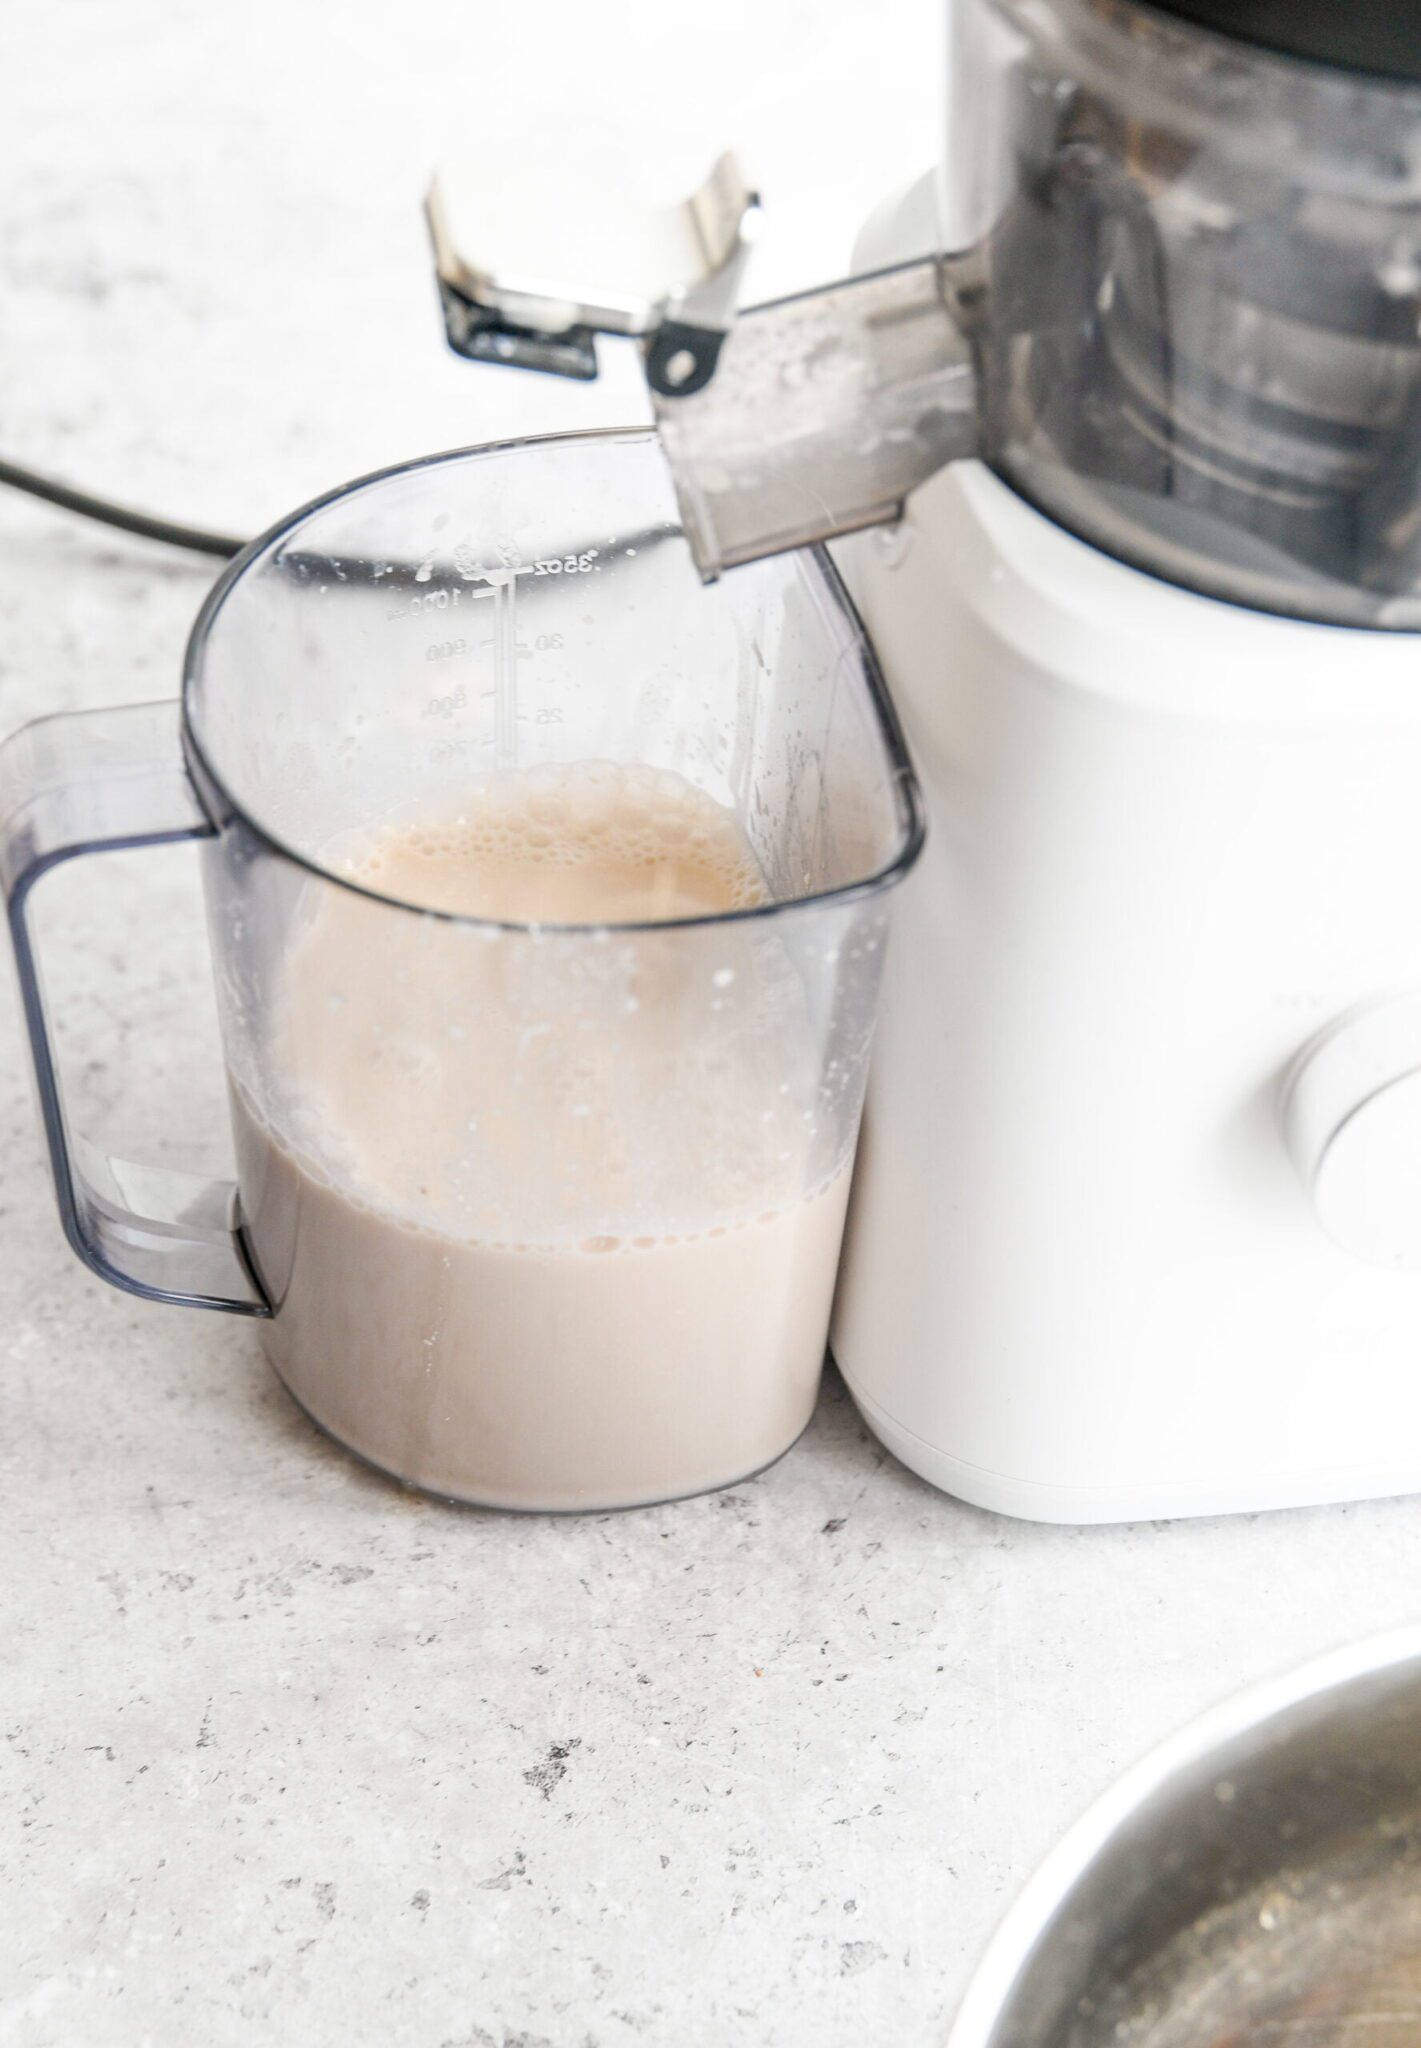
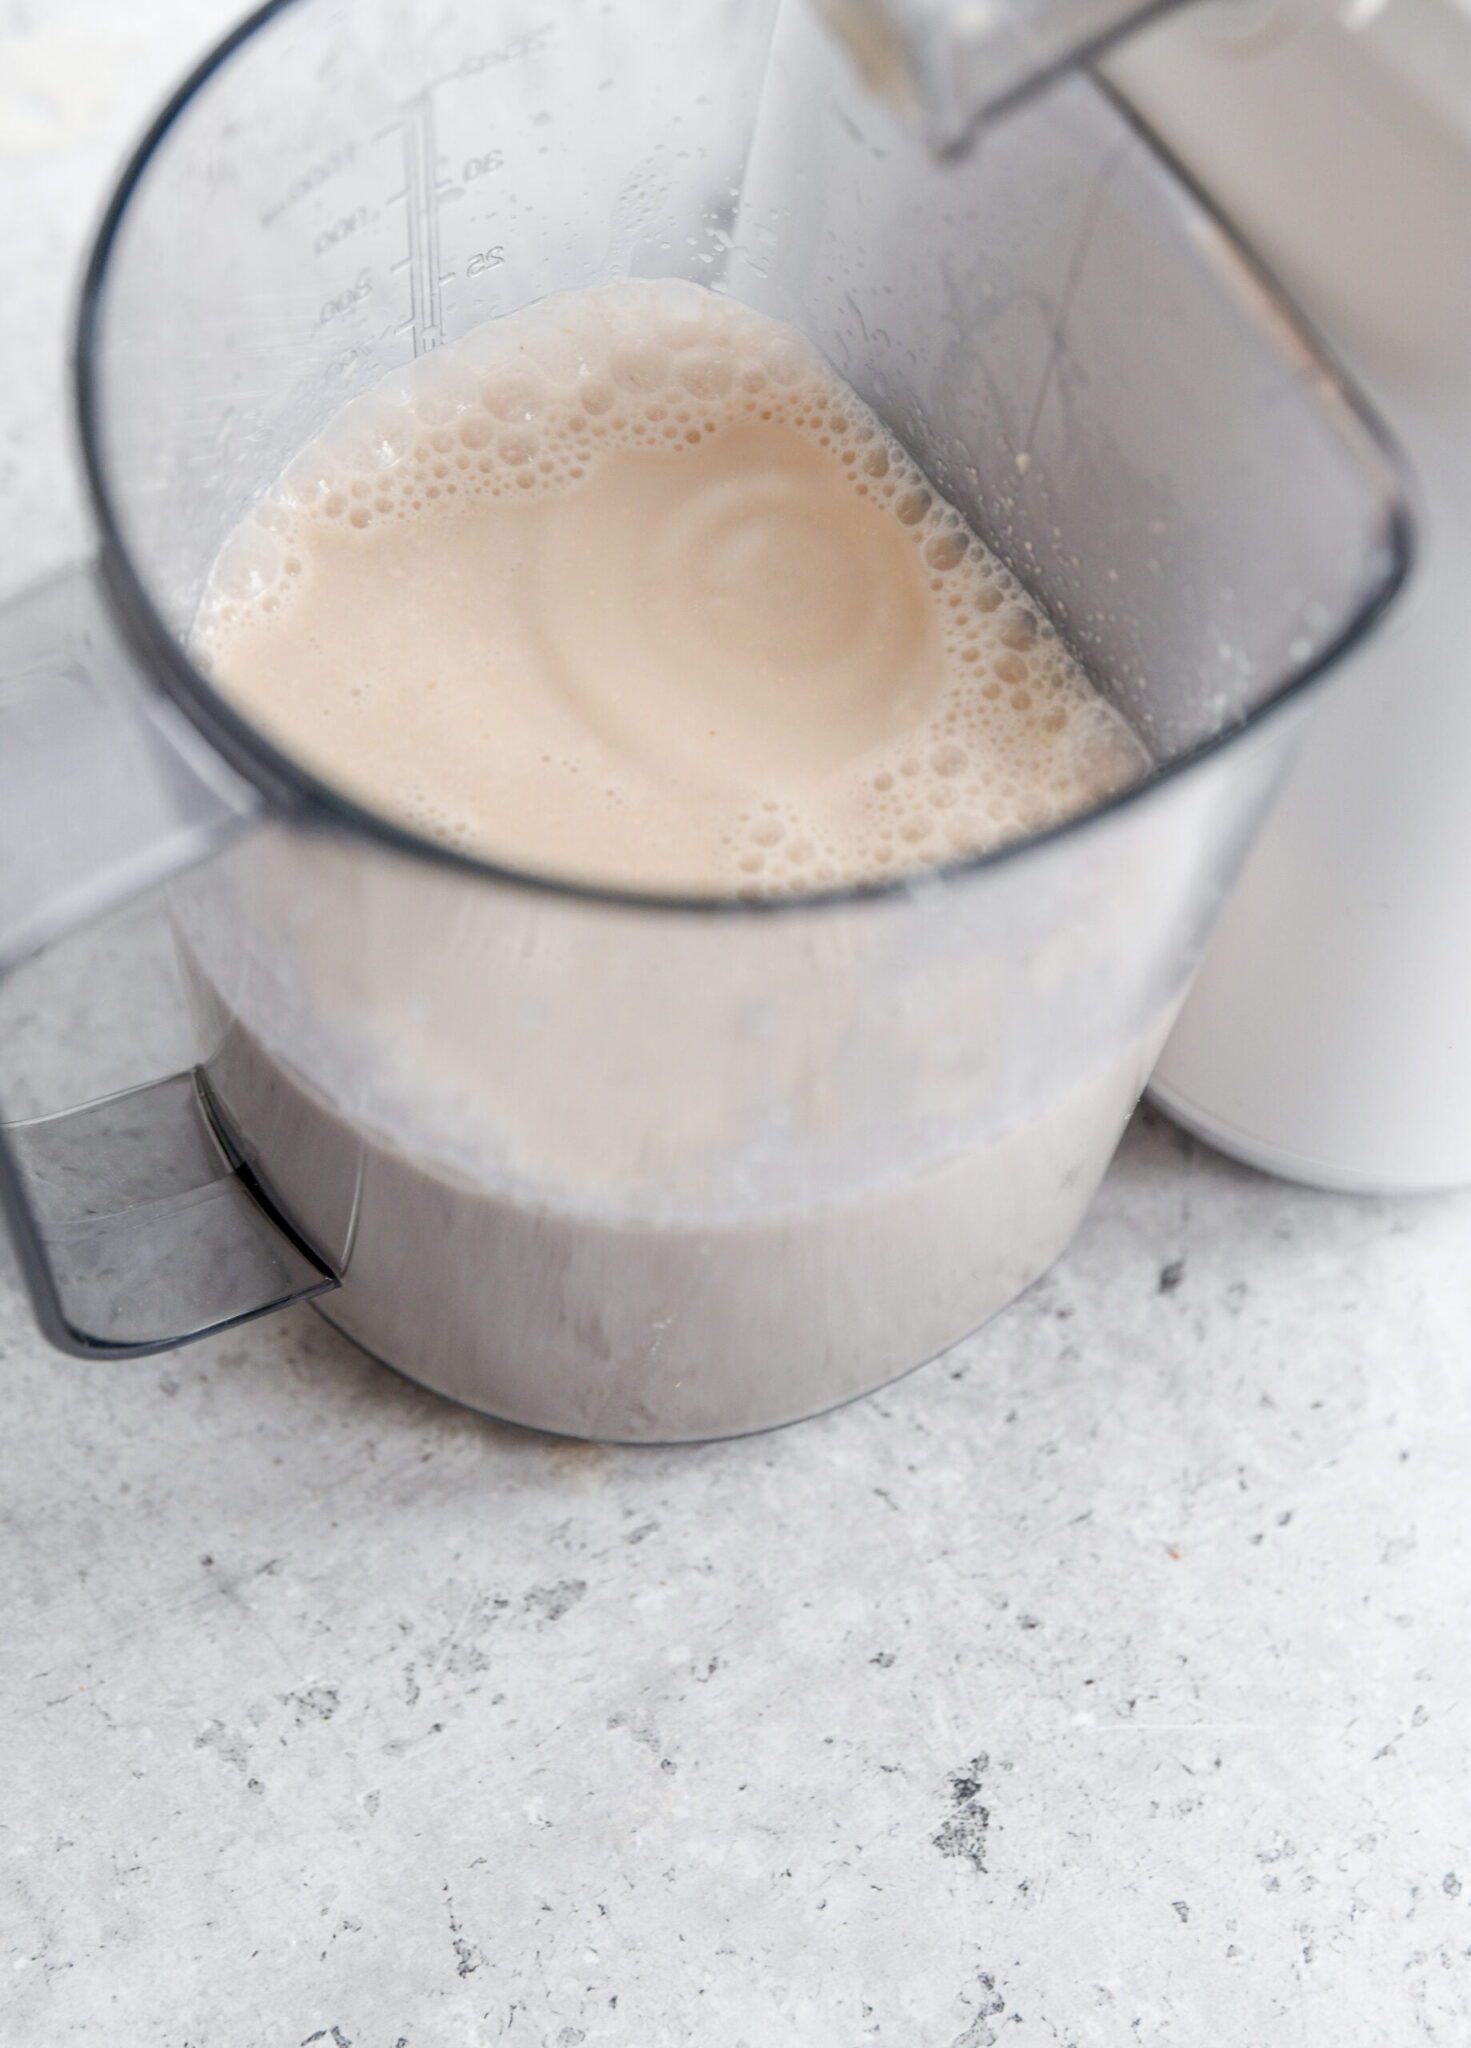
Step four: Make nut milk using your juicer
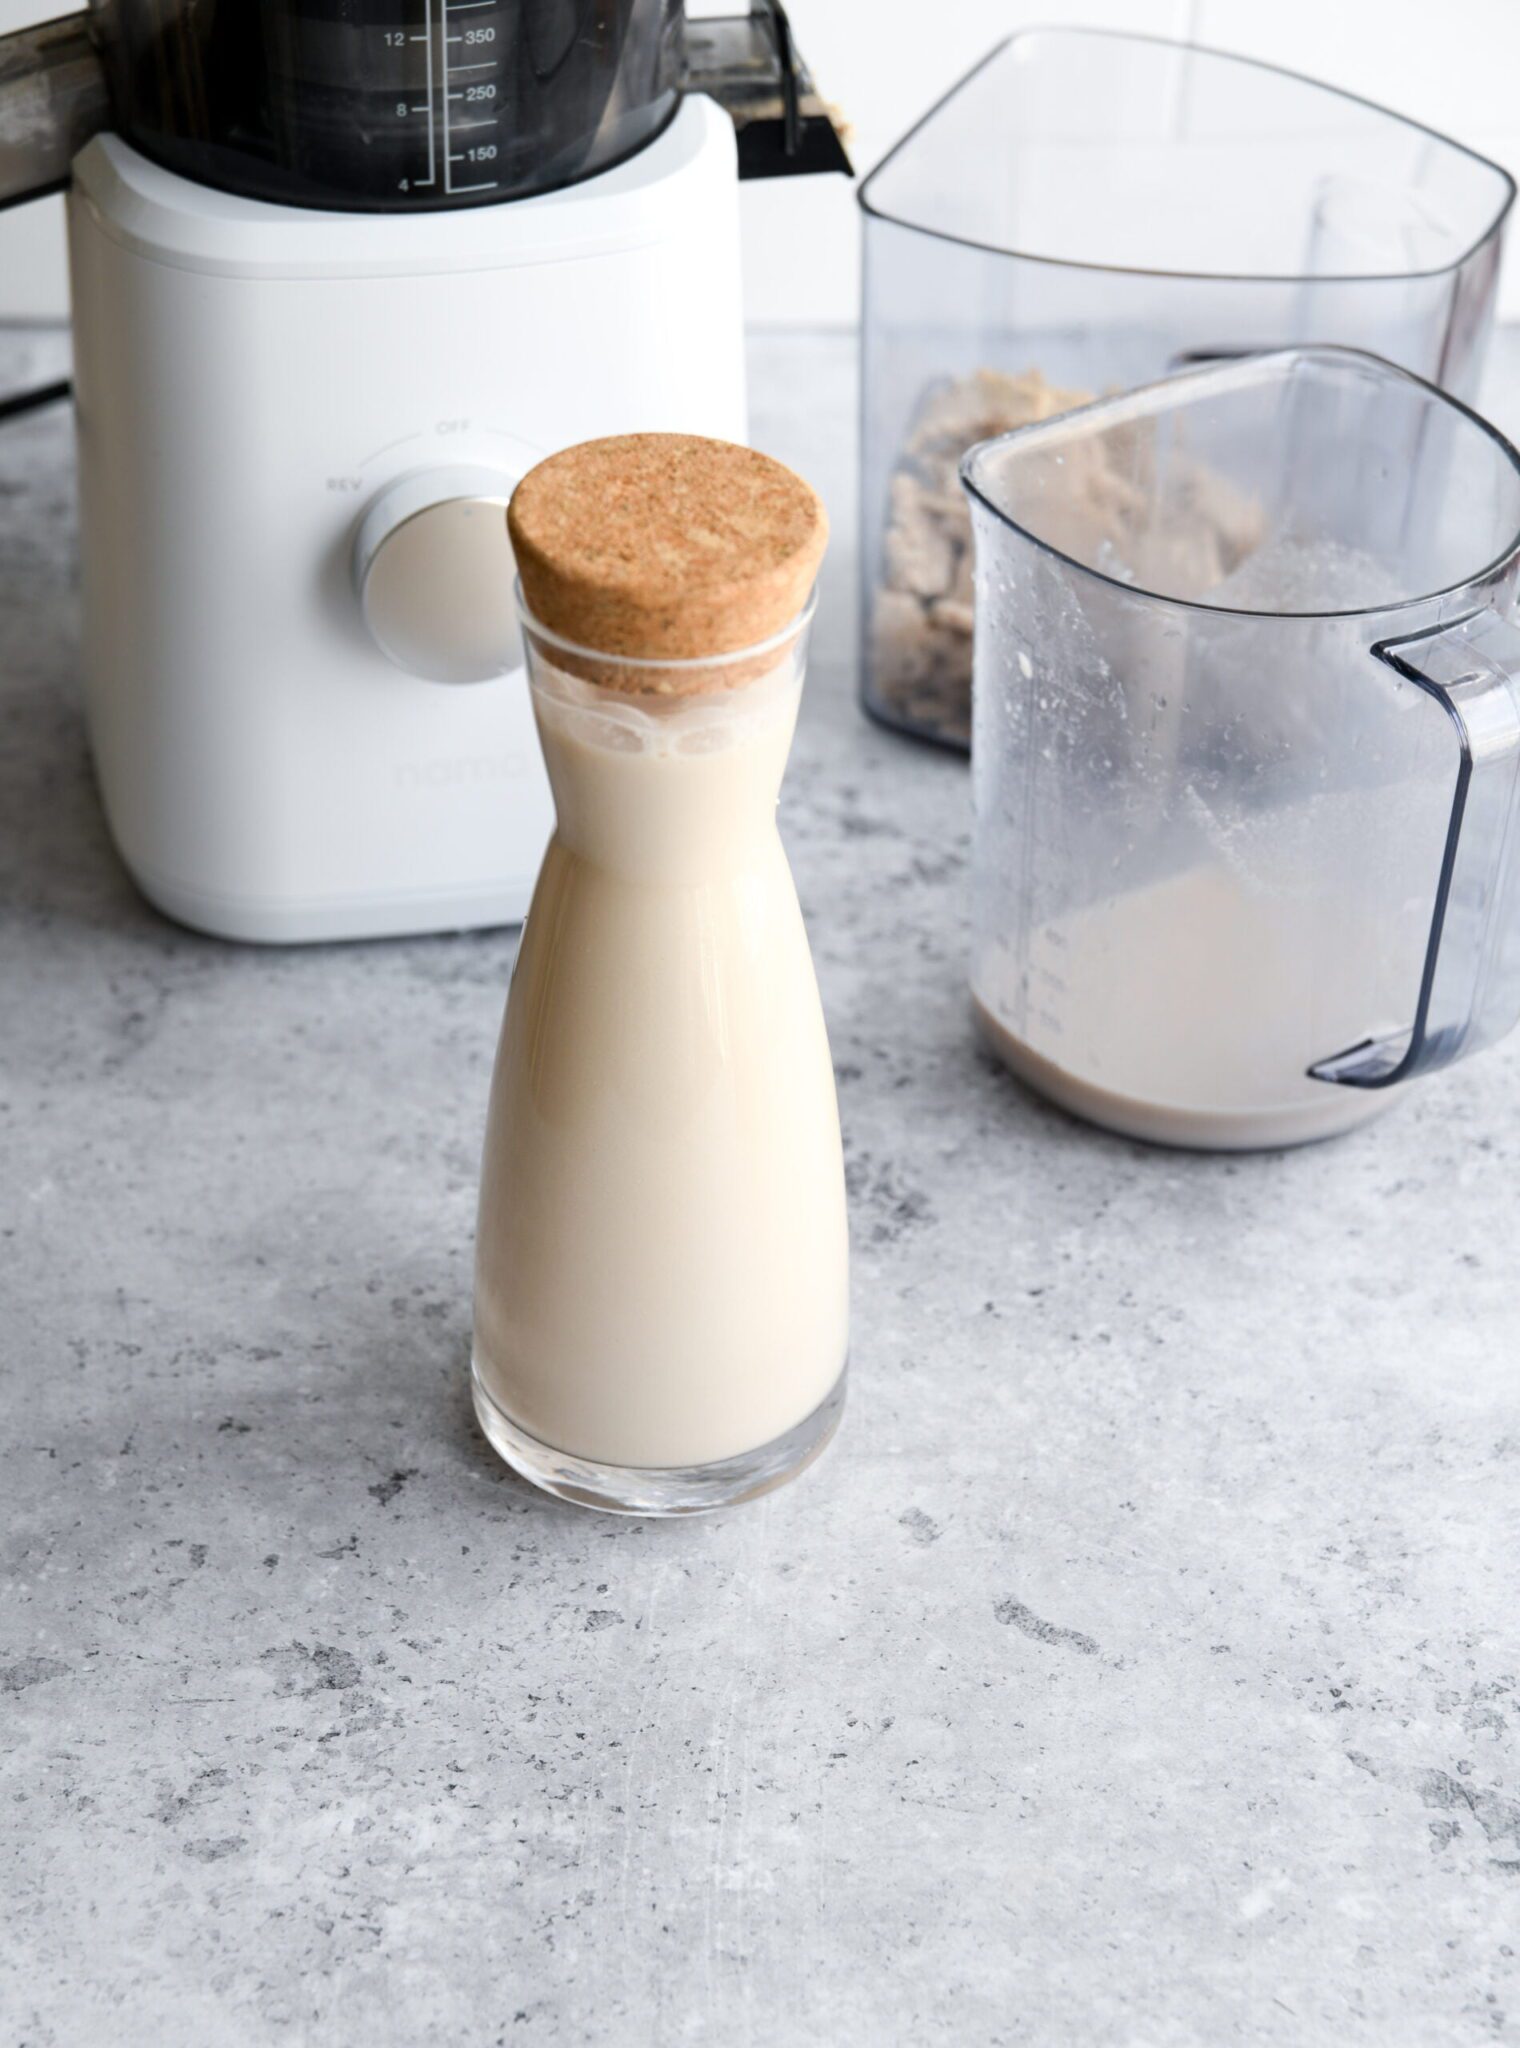
Turn on your slow juicer and using a ladle or large spoon, add the nut and water mixture to the juicer (the same way you’d normally add the fruits and vegetables when juicing.) Use the exact same settings than when you’re juicing, then optionally strain the nut milk. You don’t have to do this, but I personally like to strain it to ensure the absolute smoothest result. I just place a small trainer on whichever container or bottle I want to pour the milk into, as it’s super easy and doesn’t take any extra time.
Step five: add optional add-ons
You can leave the milk as is or you can mix in other ingredients to change the flavor profile. Here are some ideas/suggestions:
- Sweetener of your choice: Maple syrup, or coconut nectar
- Flavors: cinnamon, cacao powder, or vanilla
- A pinch of salt
Tips On How to Make Nut Milk With a Juicer
- if you’re adding in cacao powder, try also adding a drop of peppermint extract.
- To mix in the flavors, either use a whisk, a milk frother, or a blender.
What to do with the pulp
The pulp can be used to make cookies or savory muffins. If you’re not planning on baking the same day, simply freeze your pulp for later use. You can also compost it.
How to store your nut milk
Since fresh, homemade nut milk doesn’t include any stabilizers or other ingredients to conserve it, it’s best consumed within 3 days of making it. Store it in an airtight container like a glass jar or bottle in the fridge and be sure to shake it well before consuming it.
That’s it, you’ve just Learned How to Make nut milk with A juicer!
Follow these easy steps and you’ll have delicious homemade nut (or seed) milk that’s:
- Plant-based and vegan
- Gluten-free
- Paleo/Keto friendly
- Refined sugar-free
- Low waste (especially if you buy your nuts in bulk using reusable containers)
- Quick & easy
- Soy-free
As mentioned above, you can use any cold-press juicer. If you want to check out the one I personally use, you can click here to read my full review of the Nama J2 Cold Press Juicer (and get a 10% discount code).
SAVE/PIN/SHARE THIS ARTICLE

More Articles You Might Like
If you enjoyed learning how to make nut milk with a juicer, you might also enjoy one of the following tutorials.
- How to Make Sorbet with a Juicer
- How To Make Tofu (Homemade Tofu Recipe)
- How To Make Sauerkraut (Easy Homemade Recipe)
Text & Photography by Kim-Julie Hansen. Please note that this site contains affiliate links and we may earn a commission if you make a purchase through those links at no extra cost to you.