How to Make Sorbet With A Juicer (+Easy Fruit Sorbet Recipe)


Did you know that you could make sorbet with a juicer? You can! And it’s super quick & easy to make too. In this article, you’ll learn how to make sorbet using a cold-press juicer in two easy steps.
Why Should You Make Sorbet With A Juicer?
- It’s quick & easy to make
- It requires only a few ingredients (you can even make it with just one ingredient if you like!)
- It’s a great way to avoid food waste
- It’s a fantastic plant-based and healthy dessert/treat and great alternative to store-bought ice cream
What Kind of Juicer Can You Make Sorbet With?
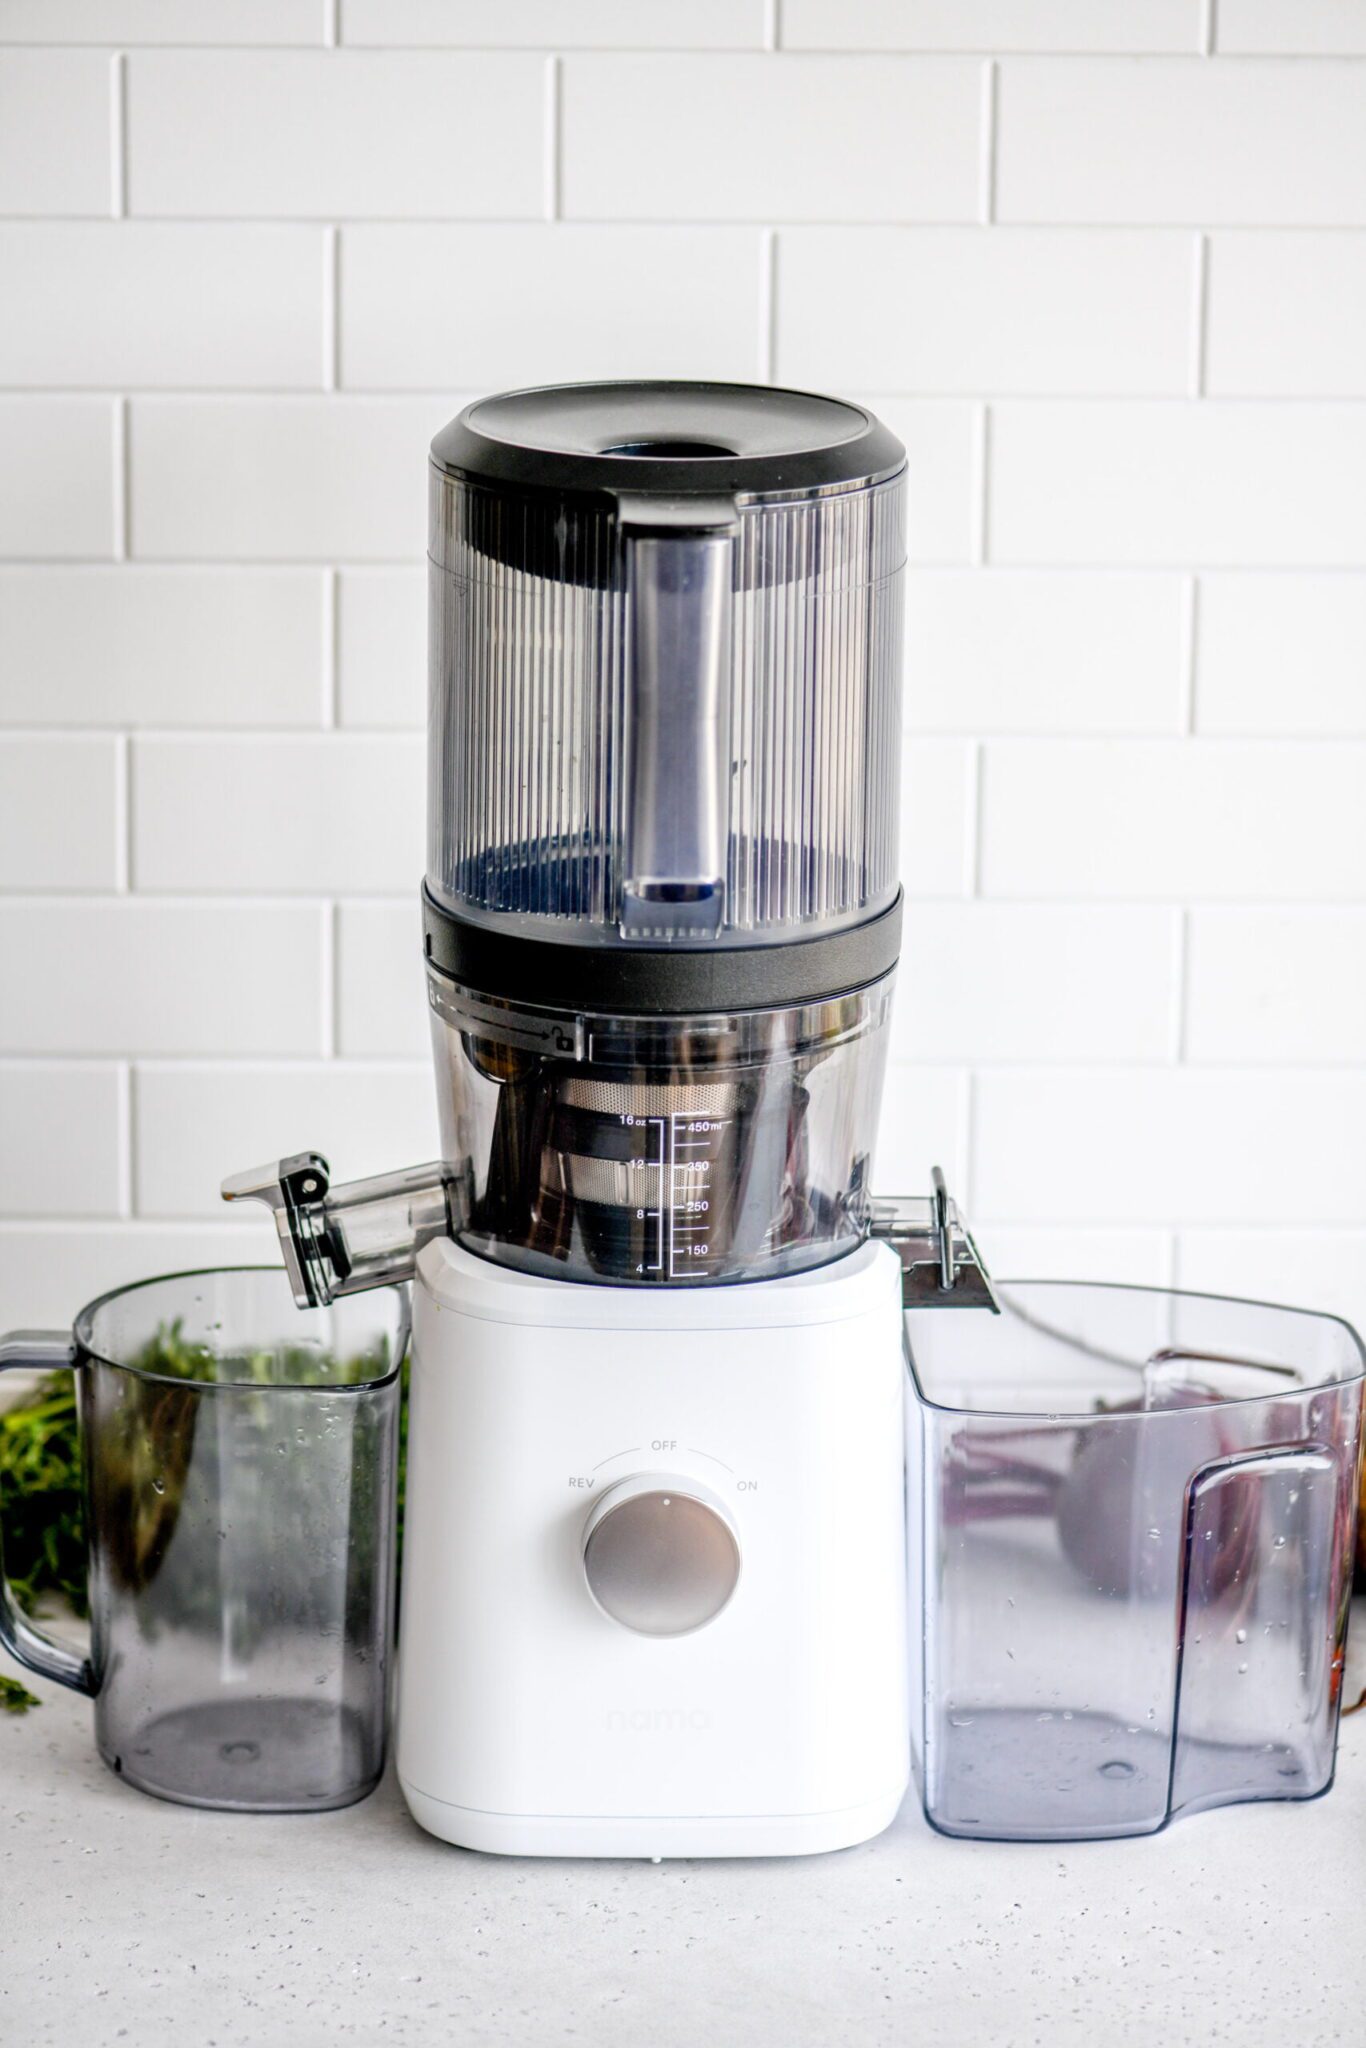
Making sorbet with a juicer is currently only possible with a slow juicer (also called a cold-pressed juicer) combined with a sorbet attachment. My personal favorite slow juicer brand is Nama. In this section, we’ll go over which juicer models can be used to make sorbet, as well as the recommended sorbet attachment.
TIP: if you don’t currently own a juicer, but would like to invest in one, you can read our full review of the Nama J2 Juicer here and you can get 10% off any Nama juicer by using our discount code BOV10 at checkout.
The Ideal Juicer To make Sorbet
- The Nama J1 Juicer: this is Nama’s OG slow juicer. It works just as well as the more recent Nama J2 juicer. However, it doesn’t come with a large hopper, meaning that you’ll need to cut your produce into smaller pieces and add it one by one. The good news is that that’s actually ideal for making sorbet as the frozen fruit is added gradually for the best result. This is also Nama’s most affordable juicer and the only one that already comes with a sorbet attachment. So if your main reason for getting a juicer is to make sorbet while also occasionally juicing, this might be the best option.
- The Nama J2 Juicer: This is my personal favorite Nama juicer. If you primarily want to make high quality cold-pressed juice while also making sorbet, then the Nama J2 paired with the sorbet attachment is an excellent choice. (You can read my in-depth review of this juicer here.)
- The Nama C2 Juicer & Blender: This is Nama’s most versatile (and therefore also most expensive) juicer. In addition to juicing, you can also use it as a high speed blender. If you already have a blender, then I’d recommend opting for the J1 or J2 to save a bit of money, but if you’re looking into investing in both a blender and a juicer while also saving space by now buying two separate appliances, then definitely check out the C2 juicer paired with the sorbet attachment.
Note that the Nama J3 Juicer (which is more compact version of the Nama J2 Juicer) doesn’t currently come with or offer a sorbet attachment. If one becomes available in the future, I’ll be sure to update this article.
TIP: If you already have a different type of slow juicer, be sure to check the brand’s website to see if they offer a sorbet attachment.
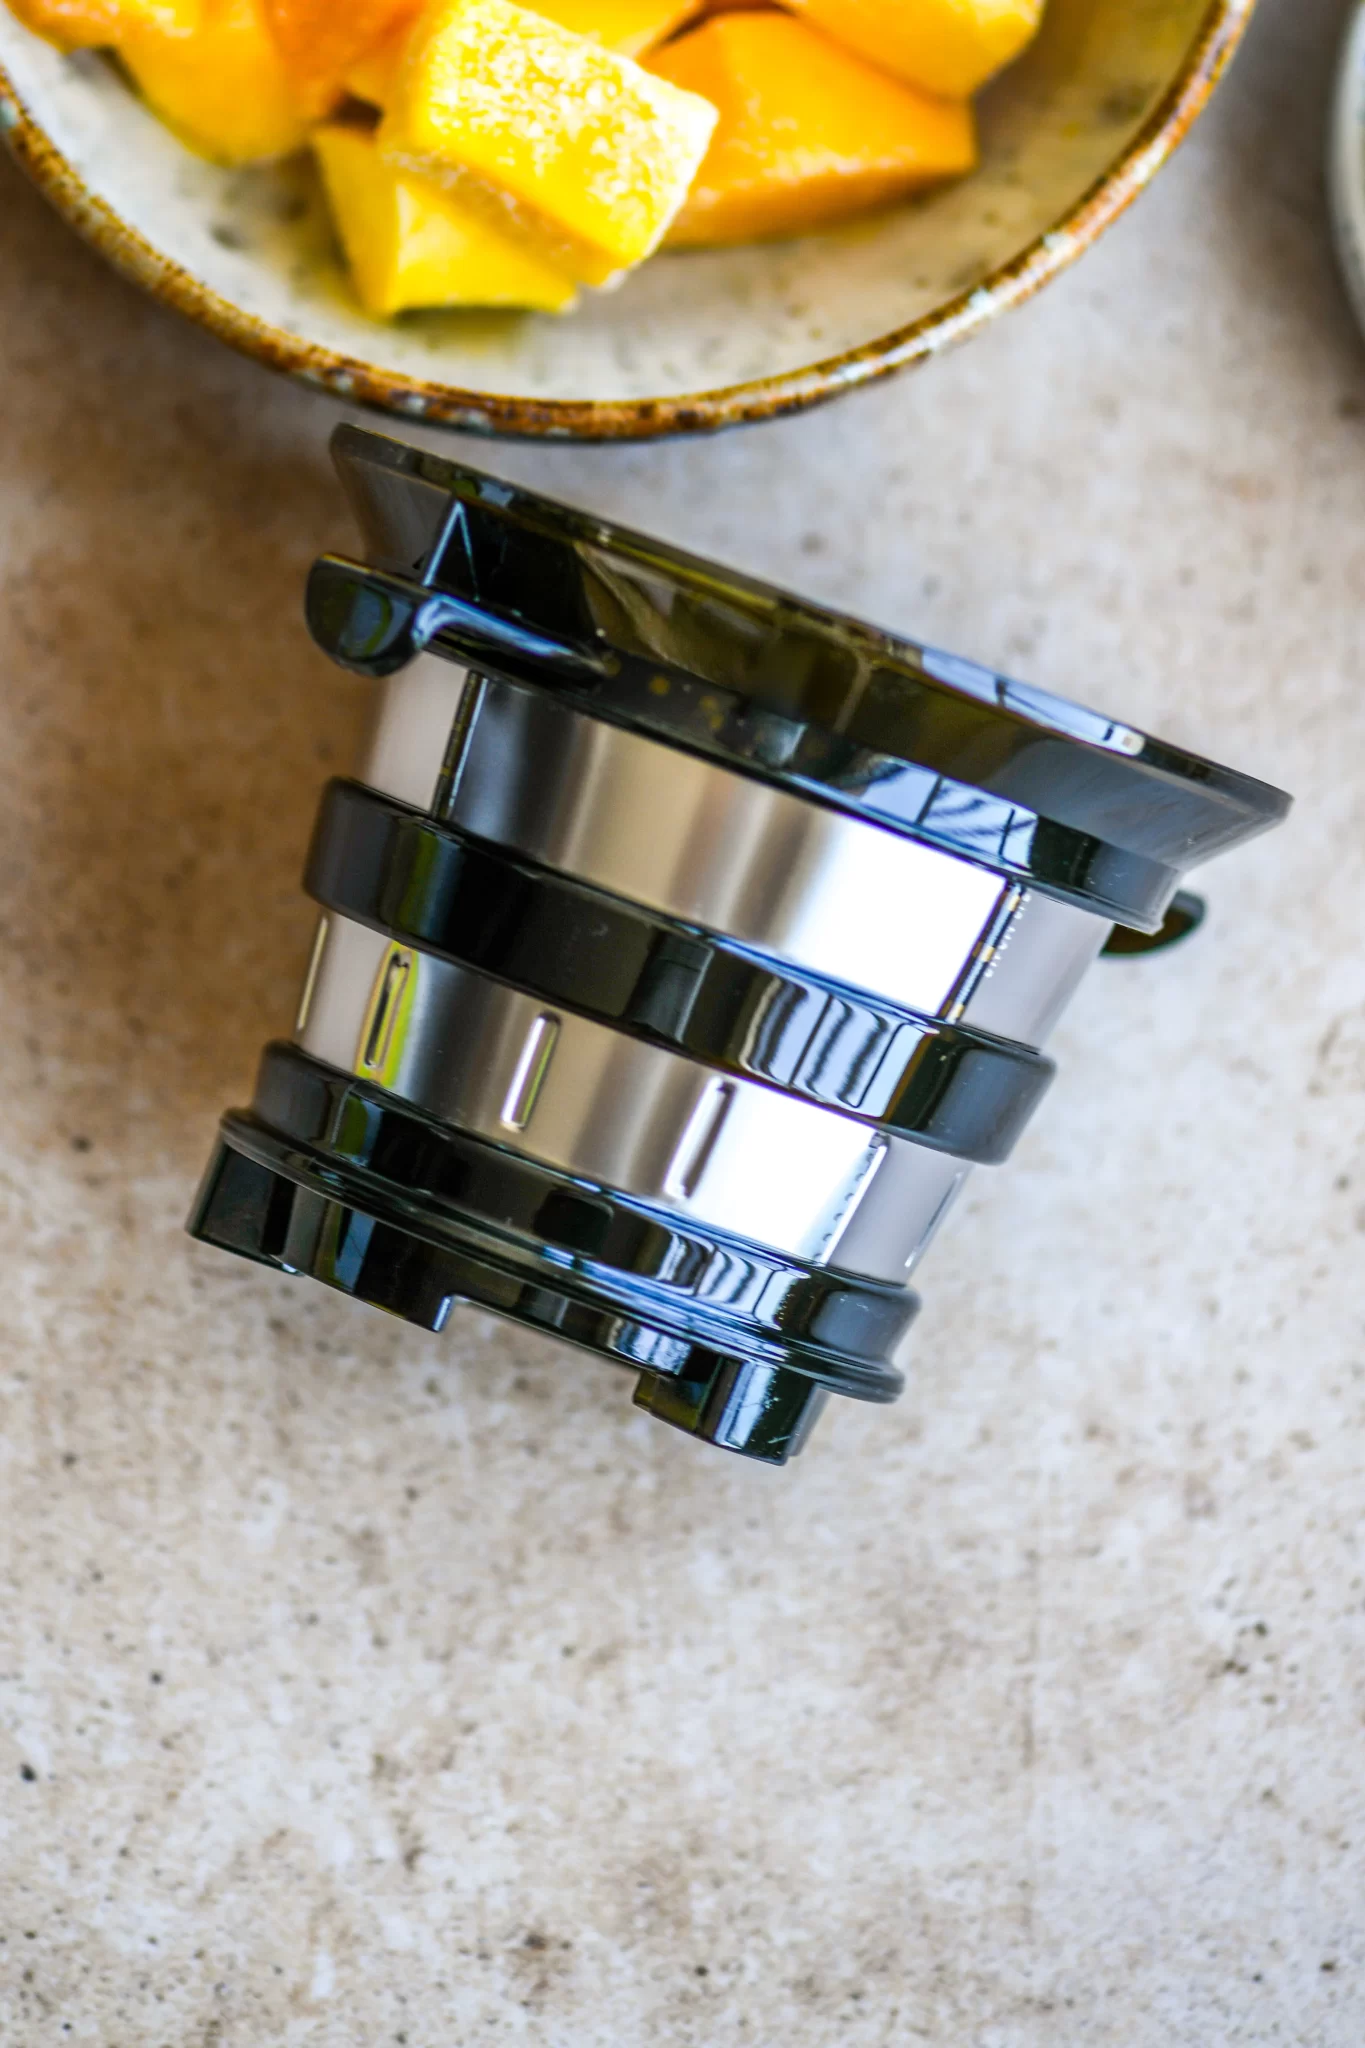
The Sorbet Attachment You’ll Need
As mentioned above, the Nama J1 juicer already comes with a sorbet attachment, so if that’s the one you have (or are looking to purchase), then you won’t need any additional accessories. For the Nama J2 and C2 juicers, you’ll need to purchase this attachment separately (note: our discount code BOV10 can be used on both juicers and accessories).
How to make Sorbet With A Juicer In 2 Easy Steps
When making sorbet with a juicer, you typically wouldn’t add sugar (which is common in traditional sorbet recipes). Fruit is usually sweet enough on its own, so you don’t actually need to add any sweeteners. If, however, you have a particularly sweet tooth, definitely feel free to mix in a little maple syrup or other sweetener of you choice once you’re done making the sorbet (don’t add it to the juicer though as this might damage your appliance!)
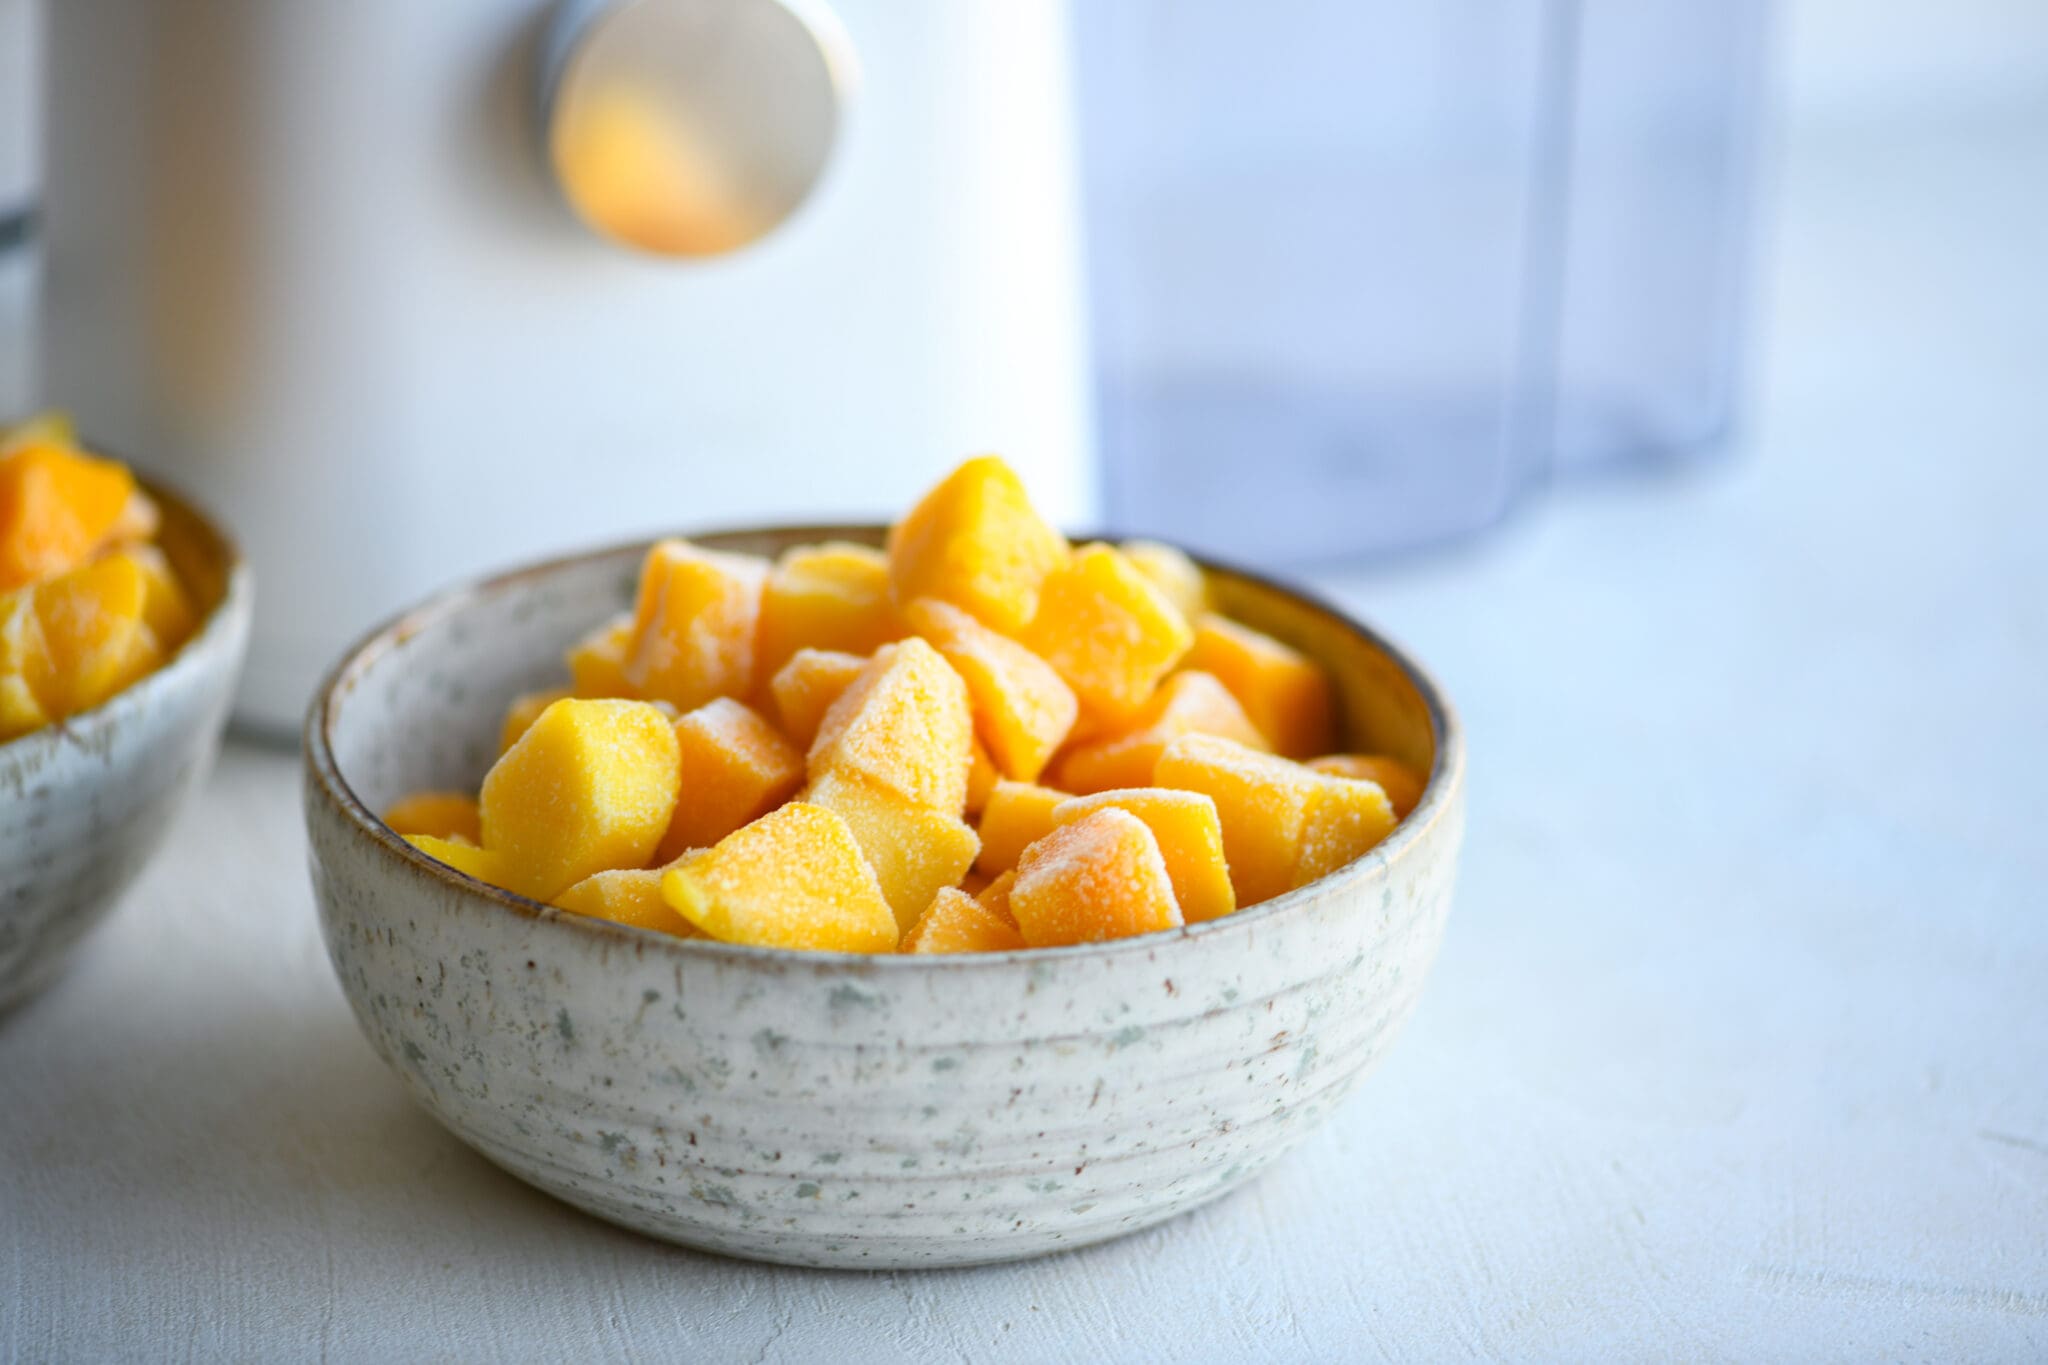
Step one: Thaw the Frozen Fruit for A Couple of Minutes
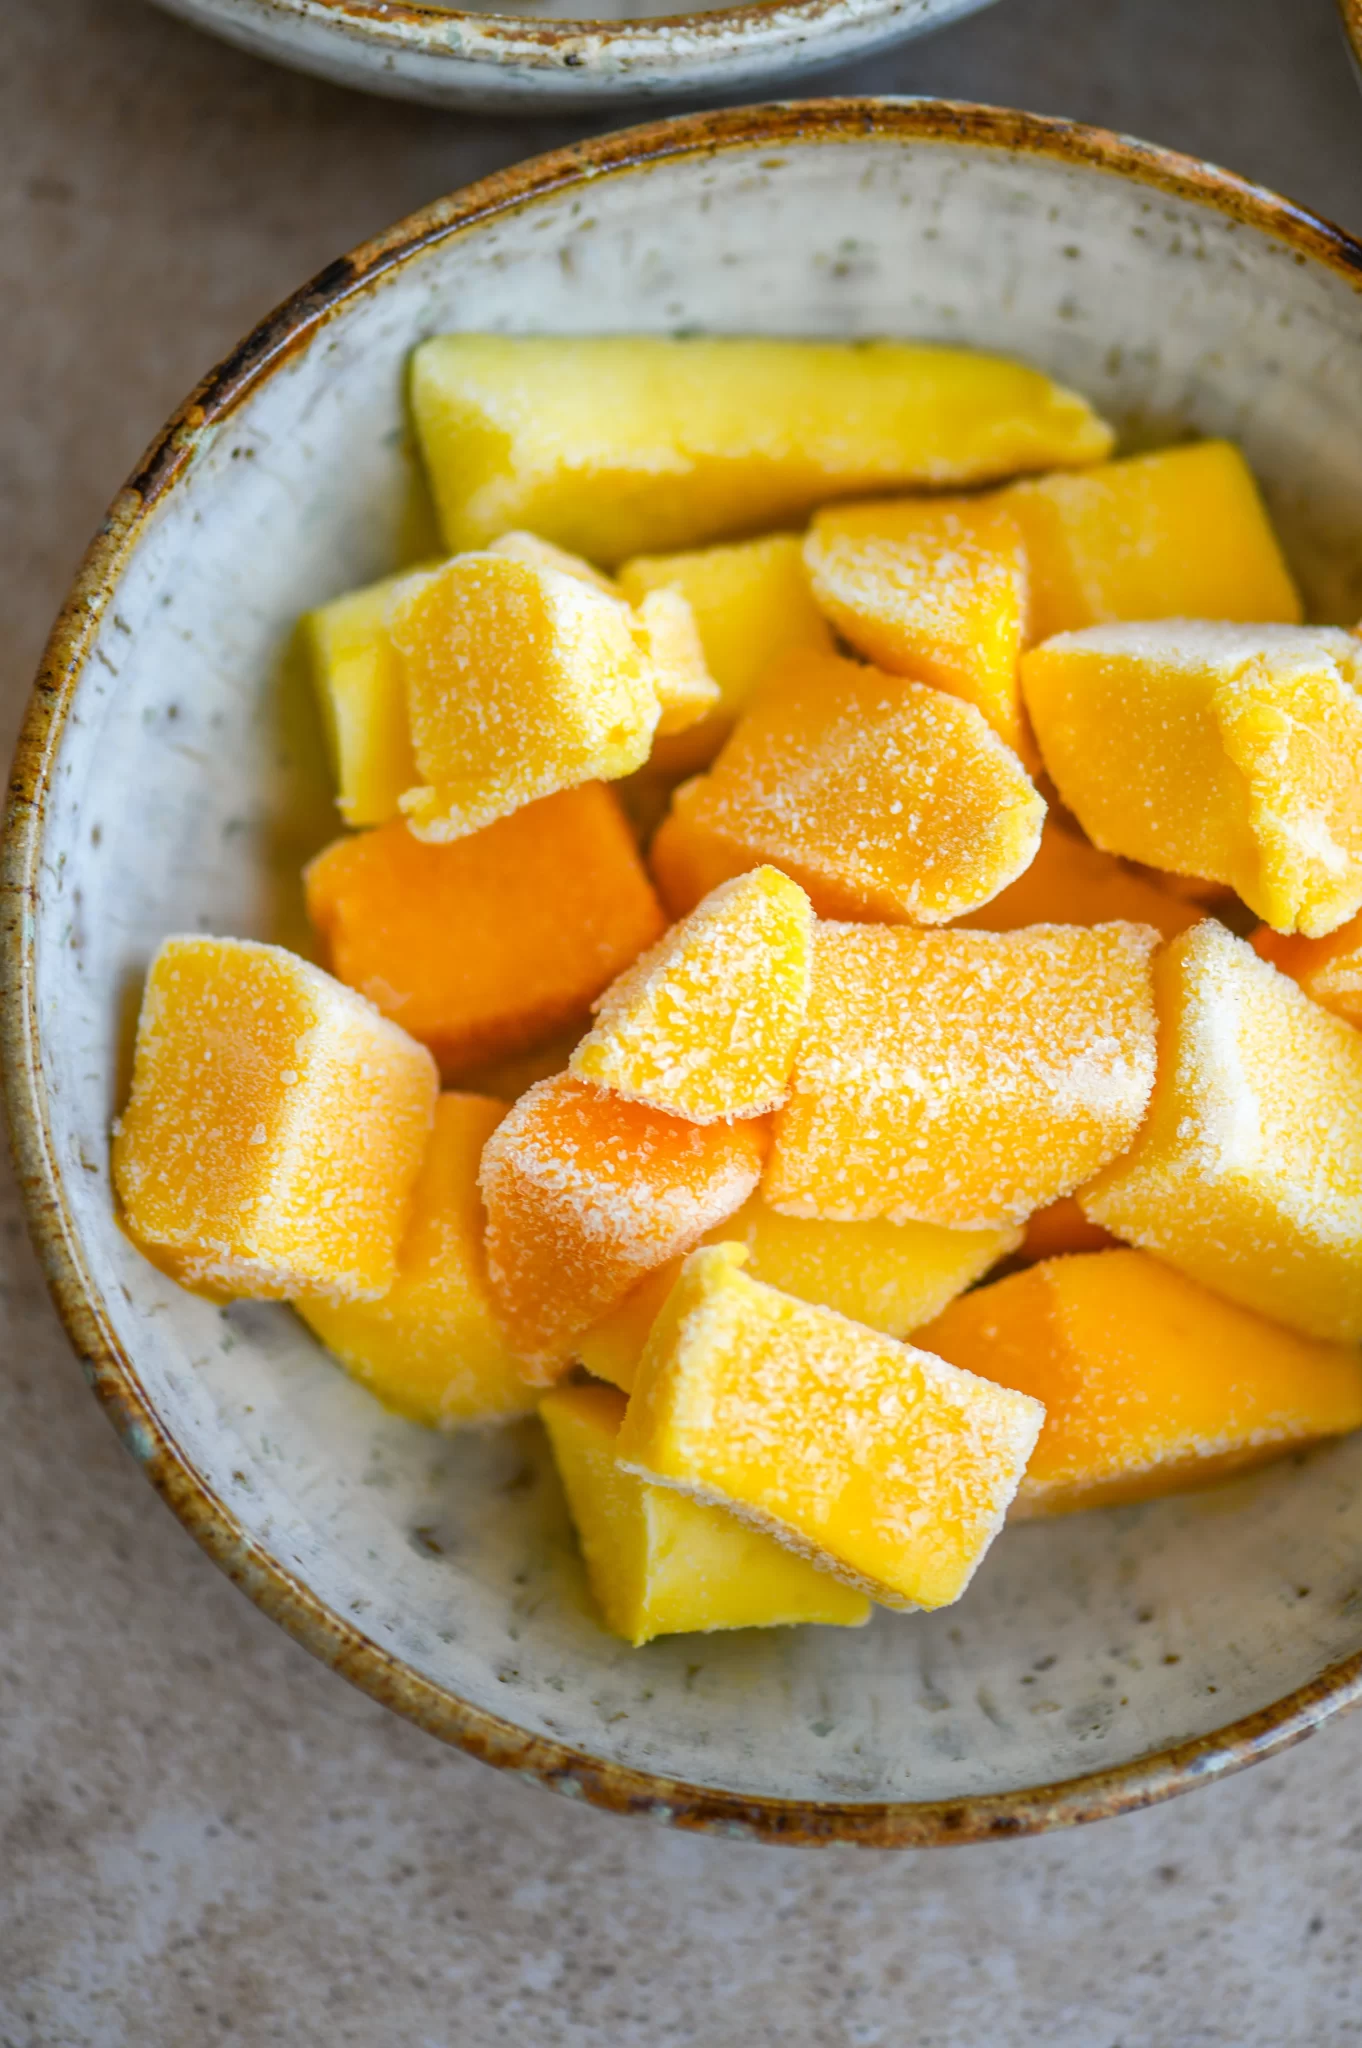
For the best result, it’s important to let your frozen fruit thaw for a couple of minutes. I’ve found 1-2 minutes to be ideal. You want the fruit to soften just a little bit, without thawing too much. This will allow for the perfect sorbet firmness.
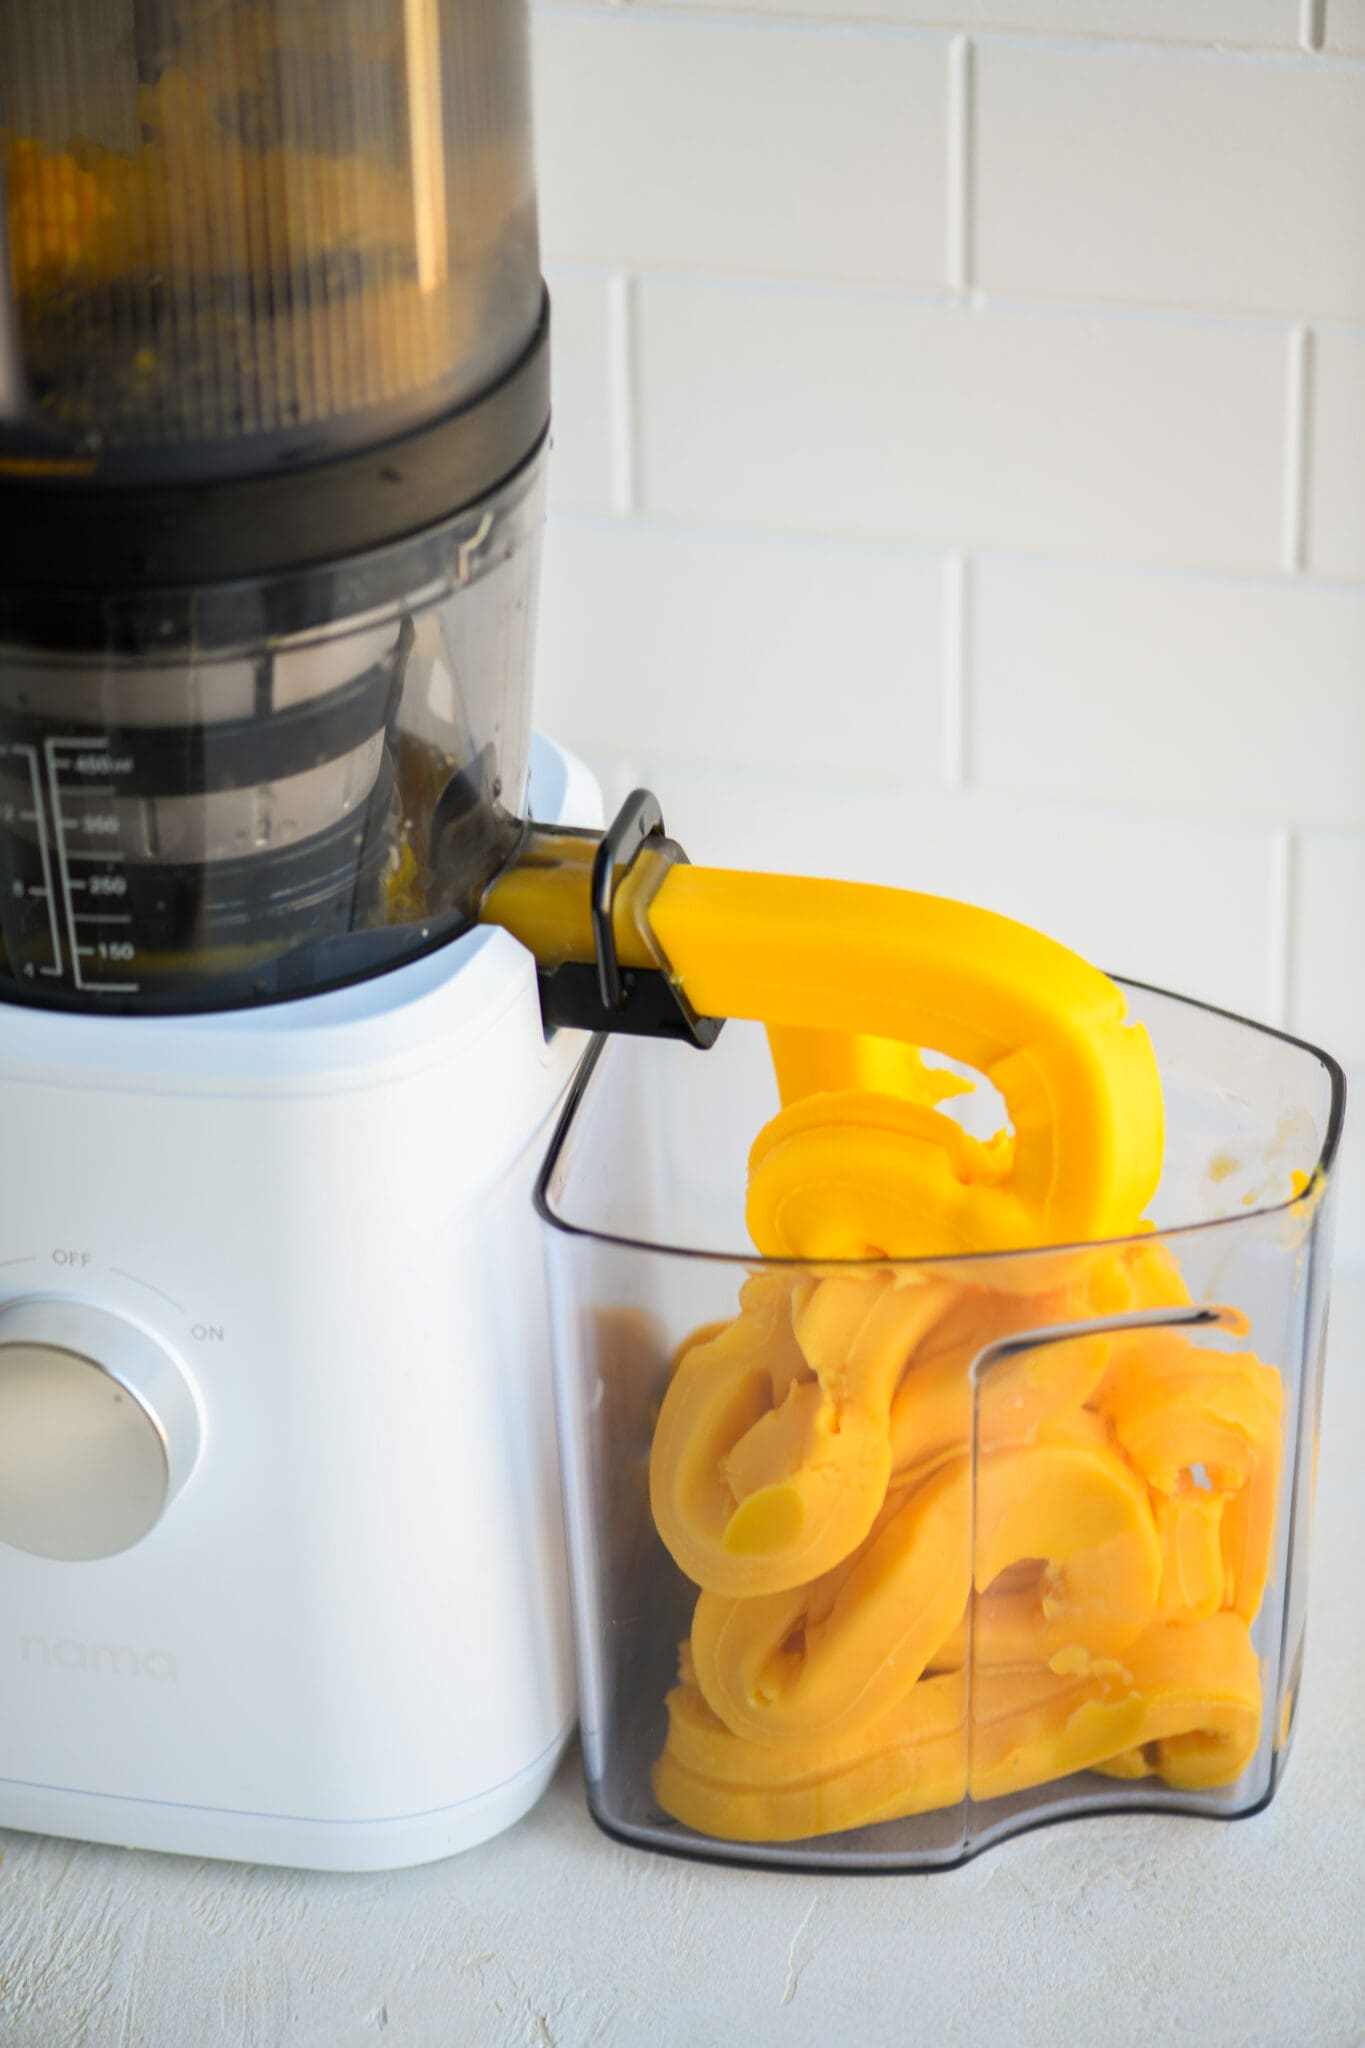
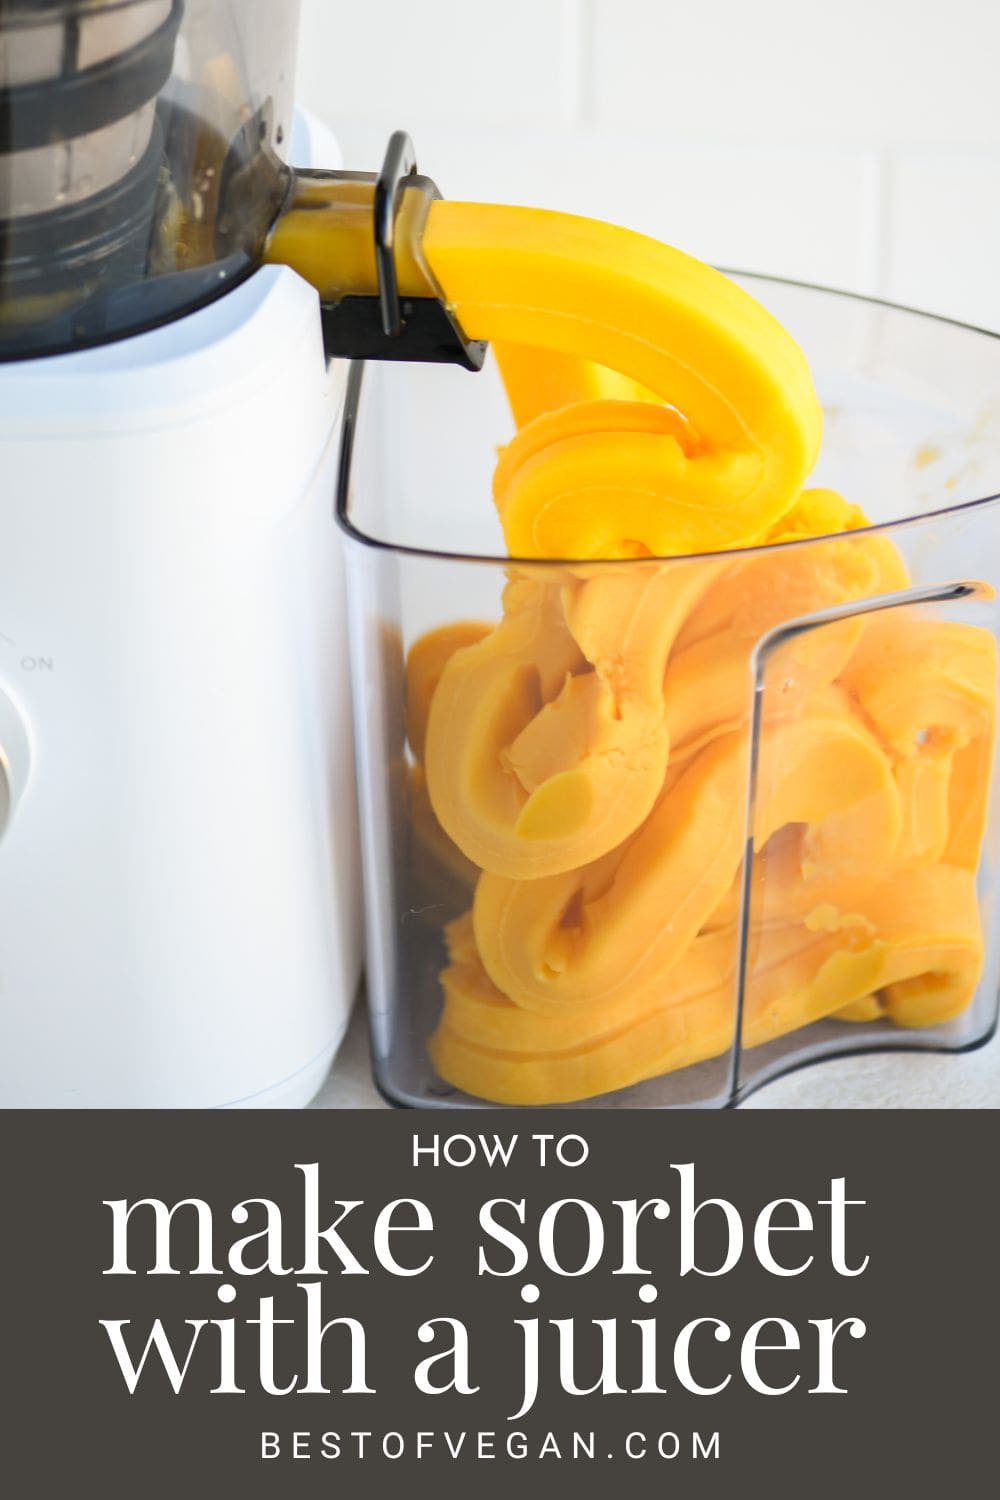
Step Two: Let Your Juicer Do the Magic
Once you’ve let the frozen fruit thaw for a few minutes, make sure your sorbet attachment is in place, then proceed to adding the fruit chunks to your slow juicer a little at a time.
If you’re using a juicer with a large hopper, be sure not to add all your frozen fruit at once. Instead, turn your juicer on, then use the opening of the topper lid to add the fruit. You can use a spoon or tongs to easily transfer the fruit from its container to the juicer.

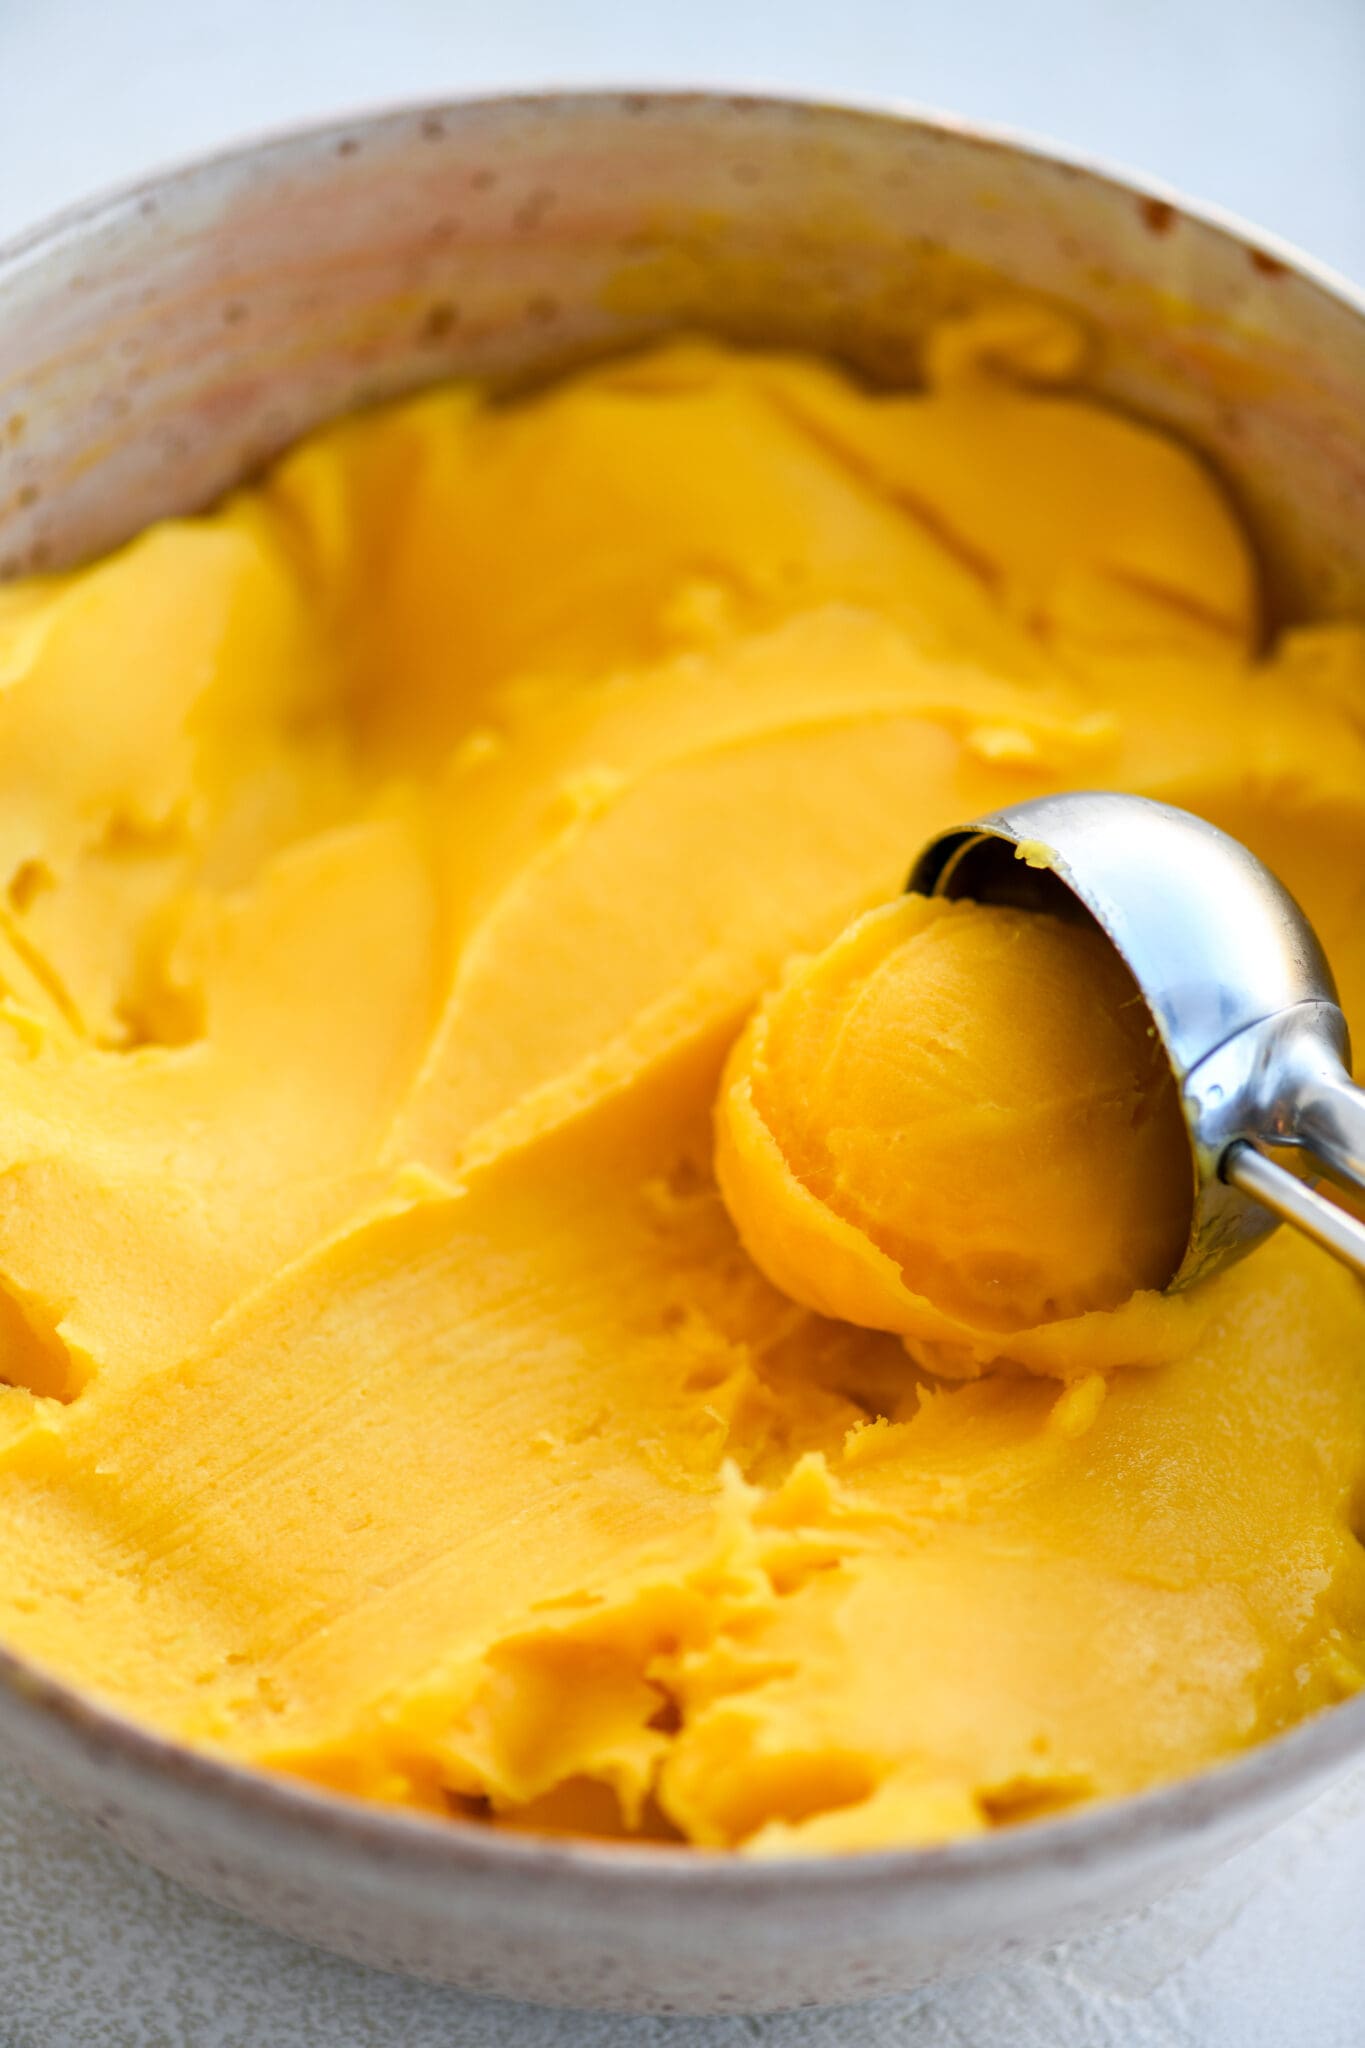
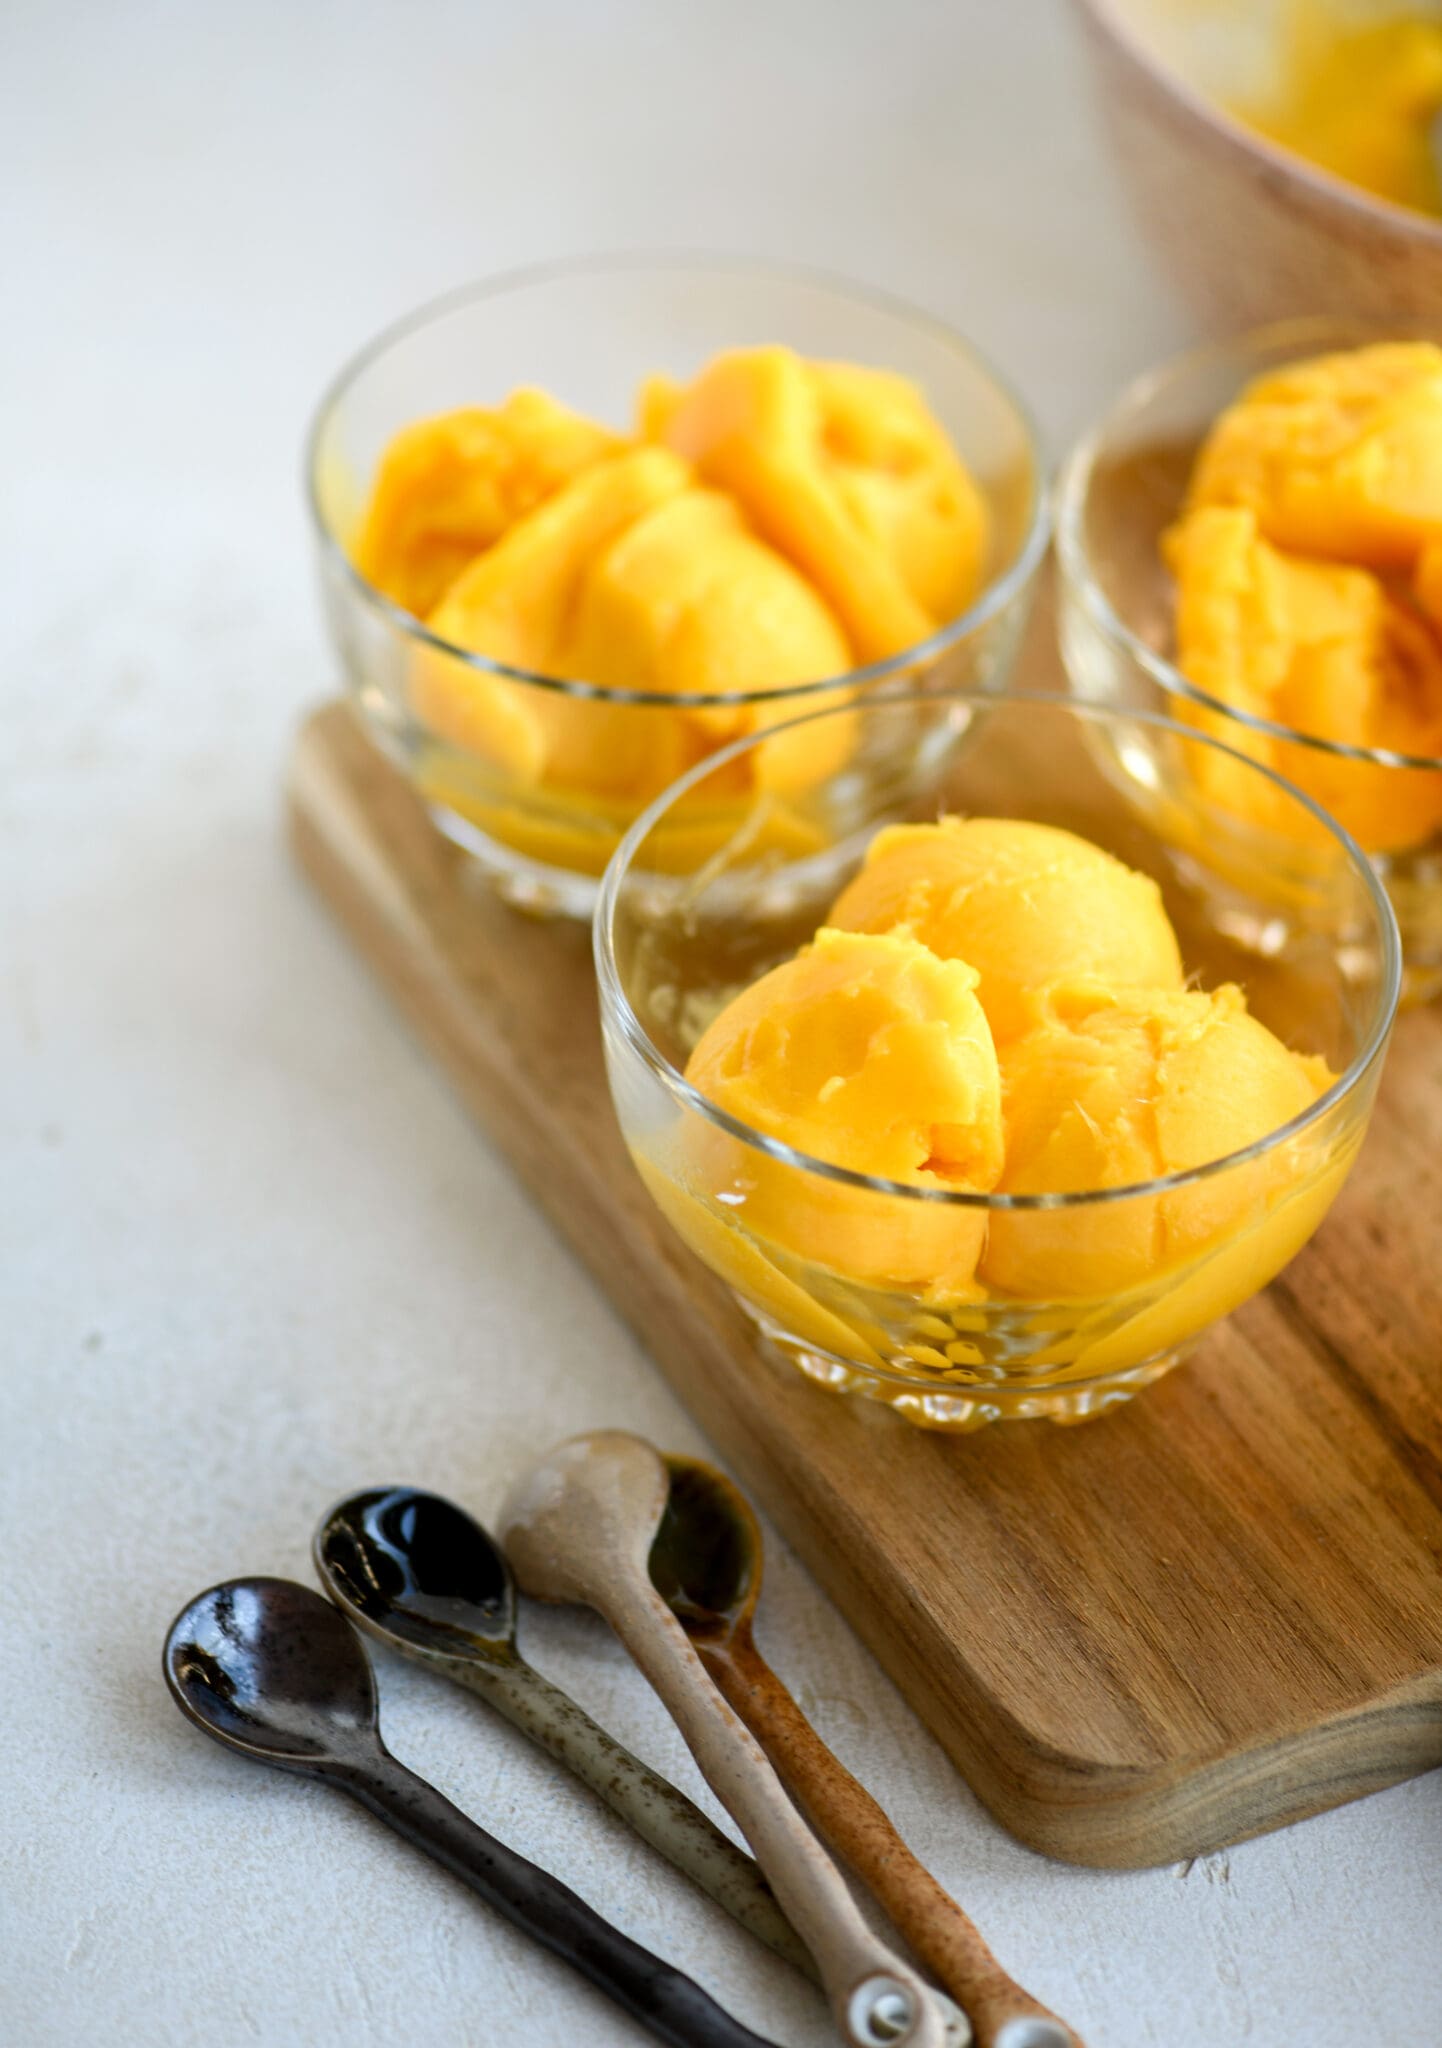
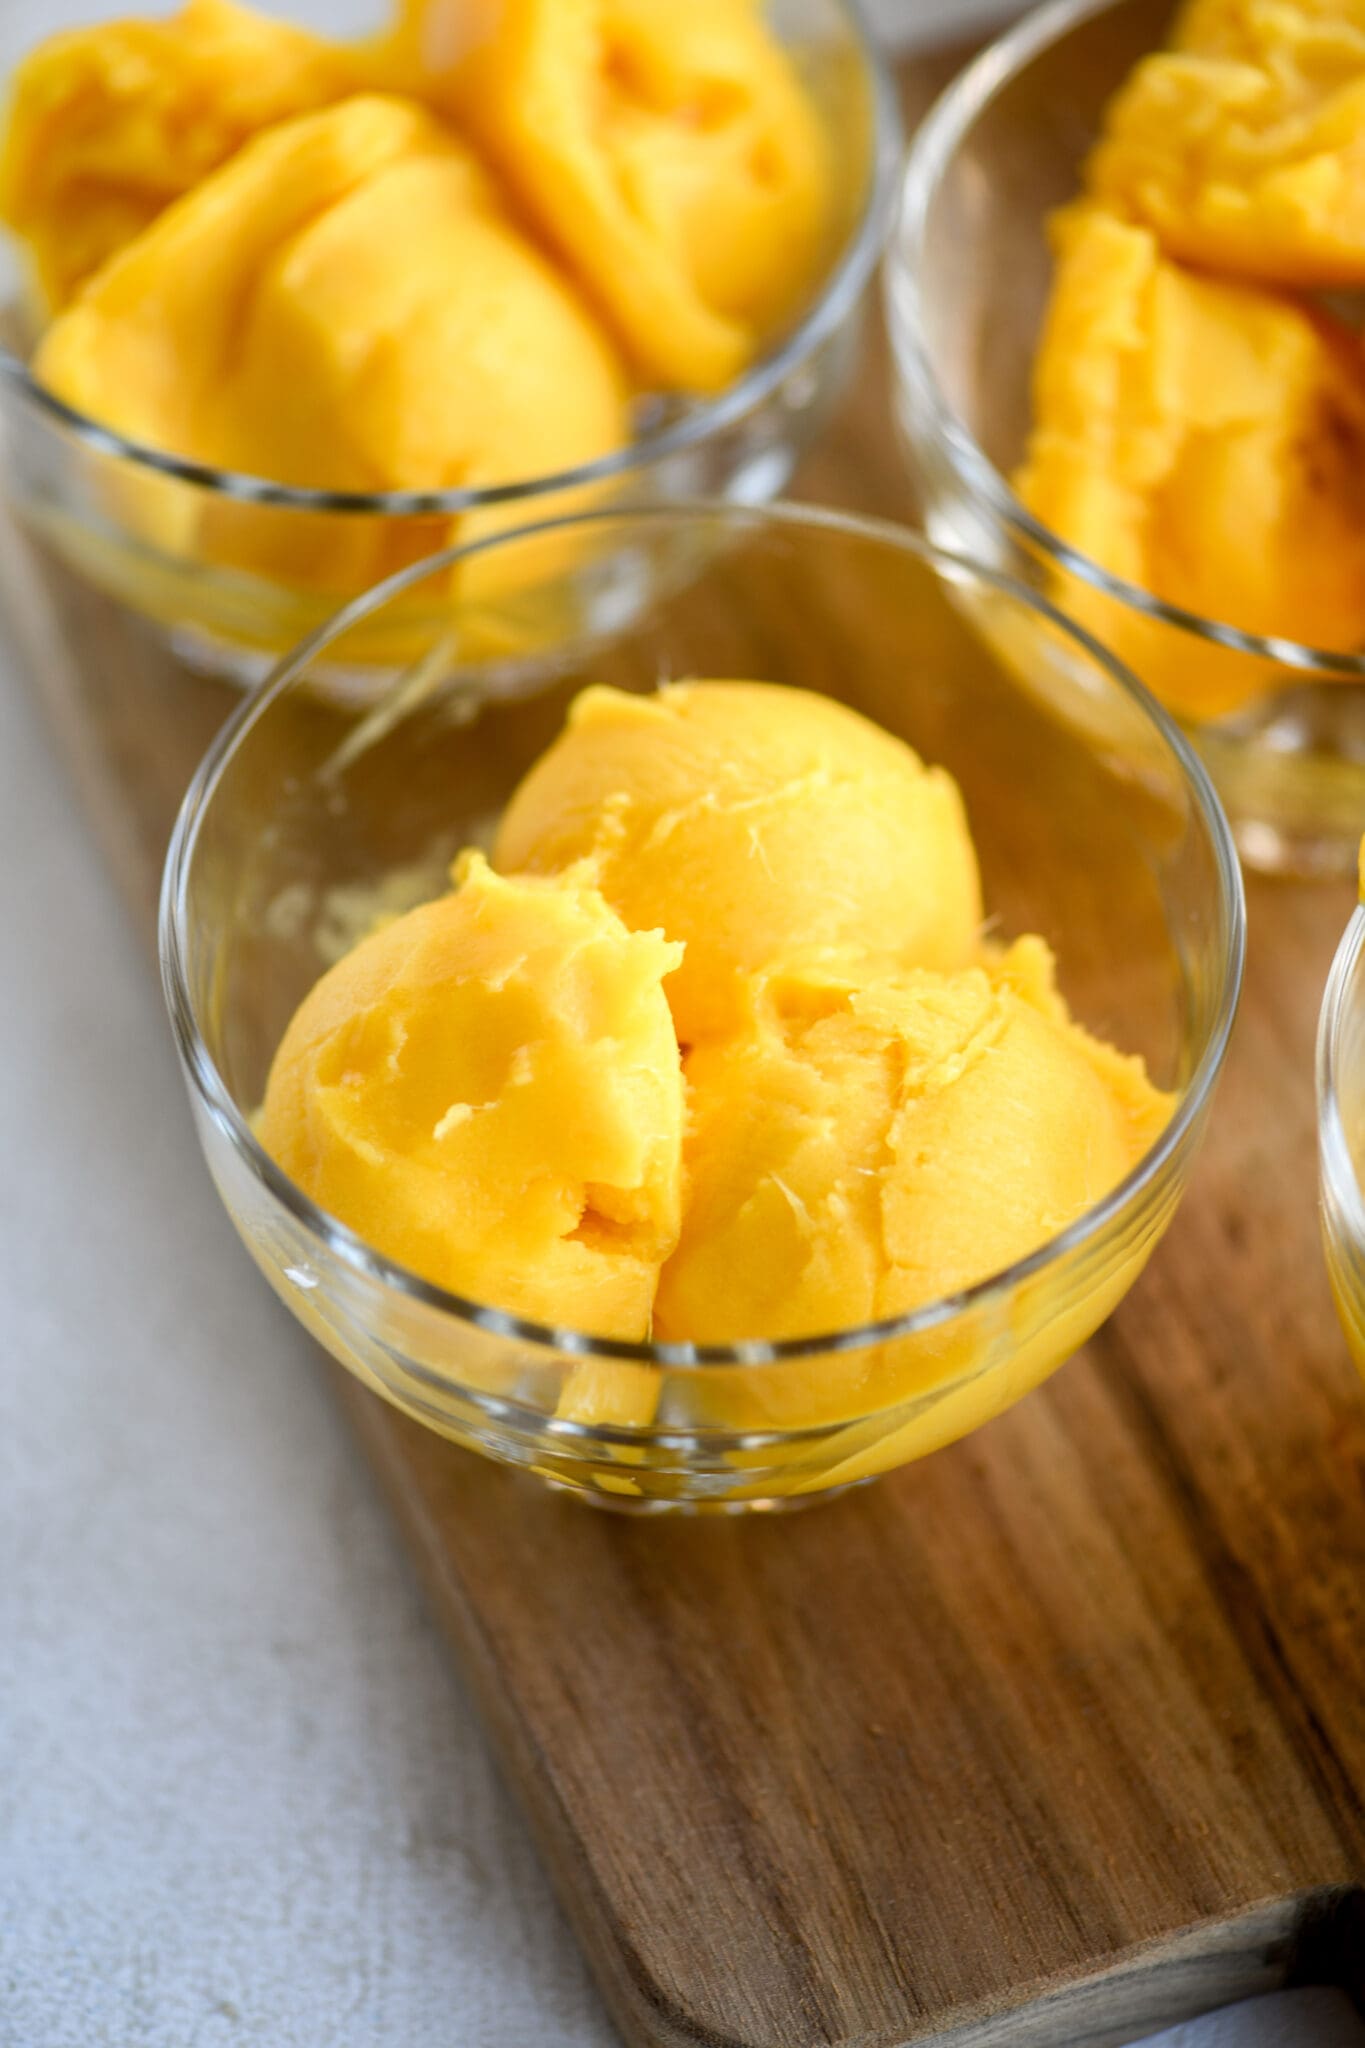
The juicer will now be transforming your frozen fruit into delicious sorbet. You can can either let the sorbet fall straight into small bowls and enjoy right away or transfer it to a larger bowl, then mix it with a spatula and scoop it into the bowls (or scones!) with the help of an ice cream scoop.
STORAGE TIP: To keep your sorbet for later, mix it with a spatula, then transfer it to a freezer-safe reusable container and store in the freezer for up to 2 months. Once you’re ready to serve it, just make sure you let it thaw for a few minutes first.
How to Make Sorbet With a Juicer – Practical Tips

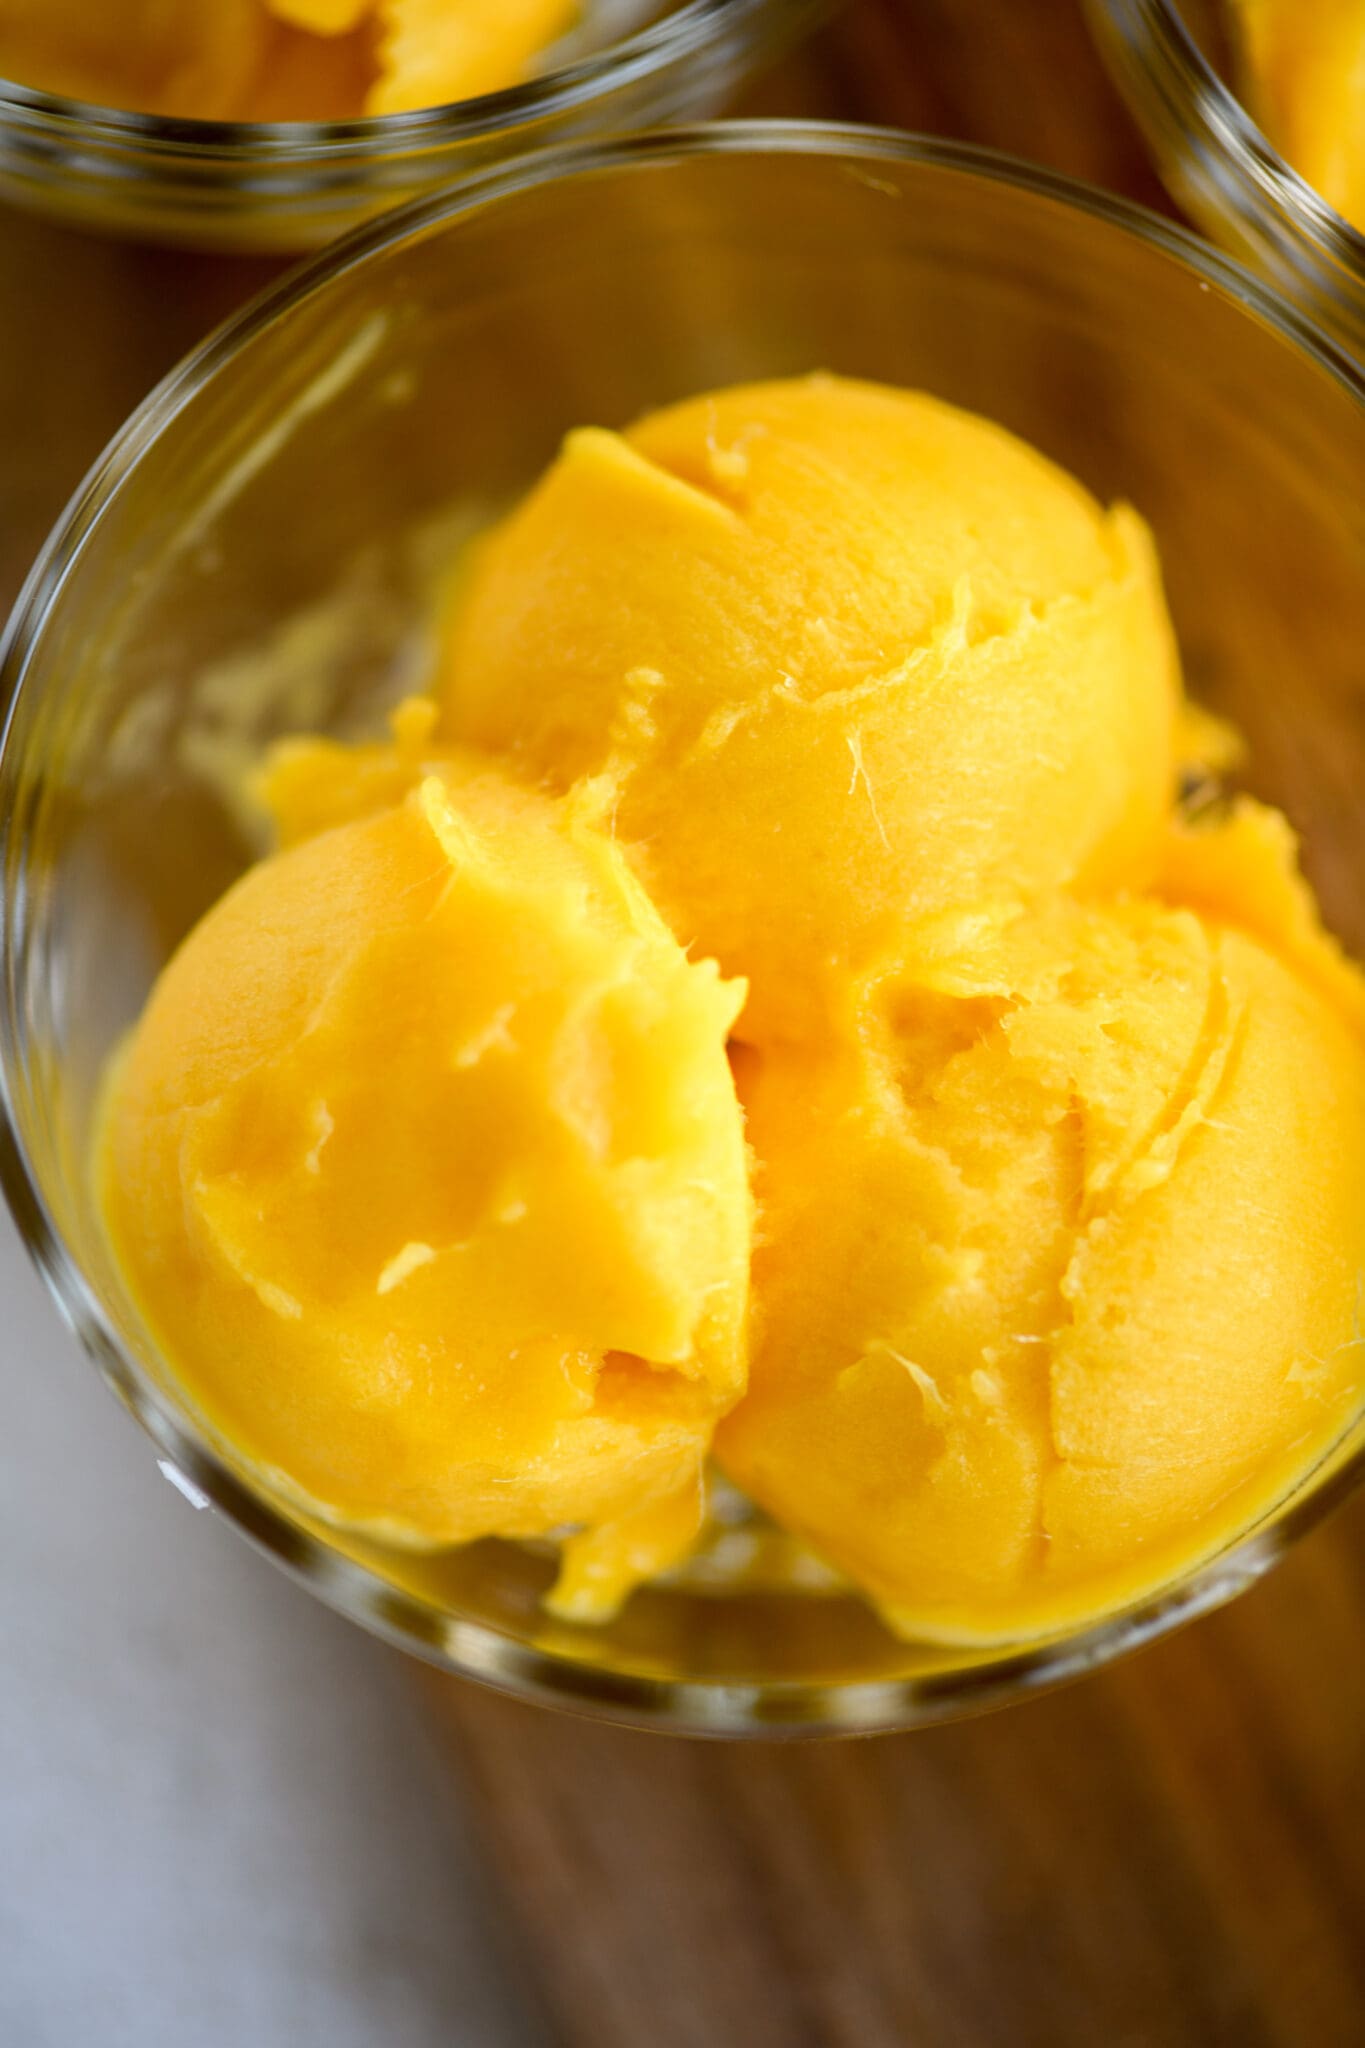
- Using one type of fruit will yield the smoothest result: you can certainly mix and match different fruits (more on that below), but if you’re looking for a super smooth look and texture, using one kind of fruit will work best.
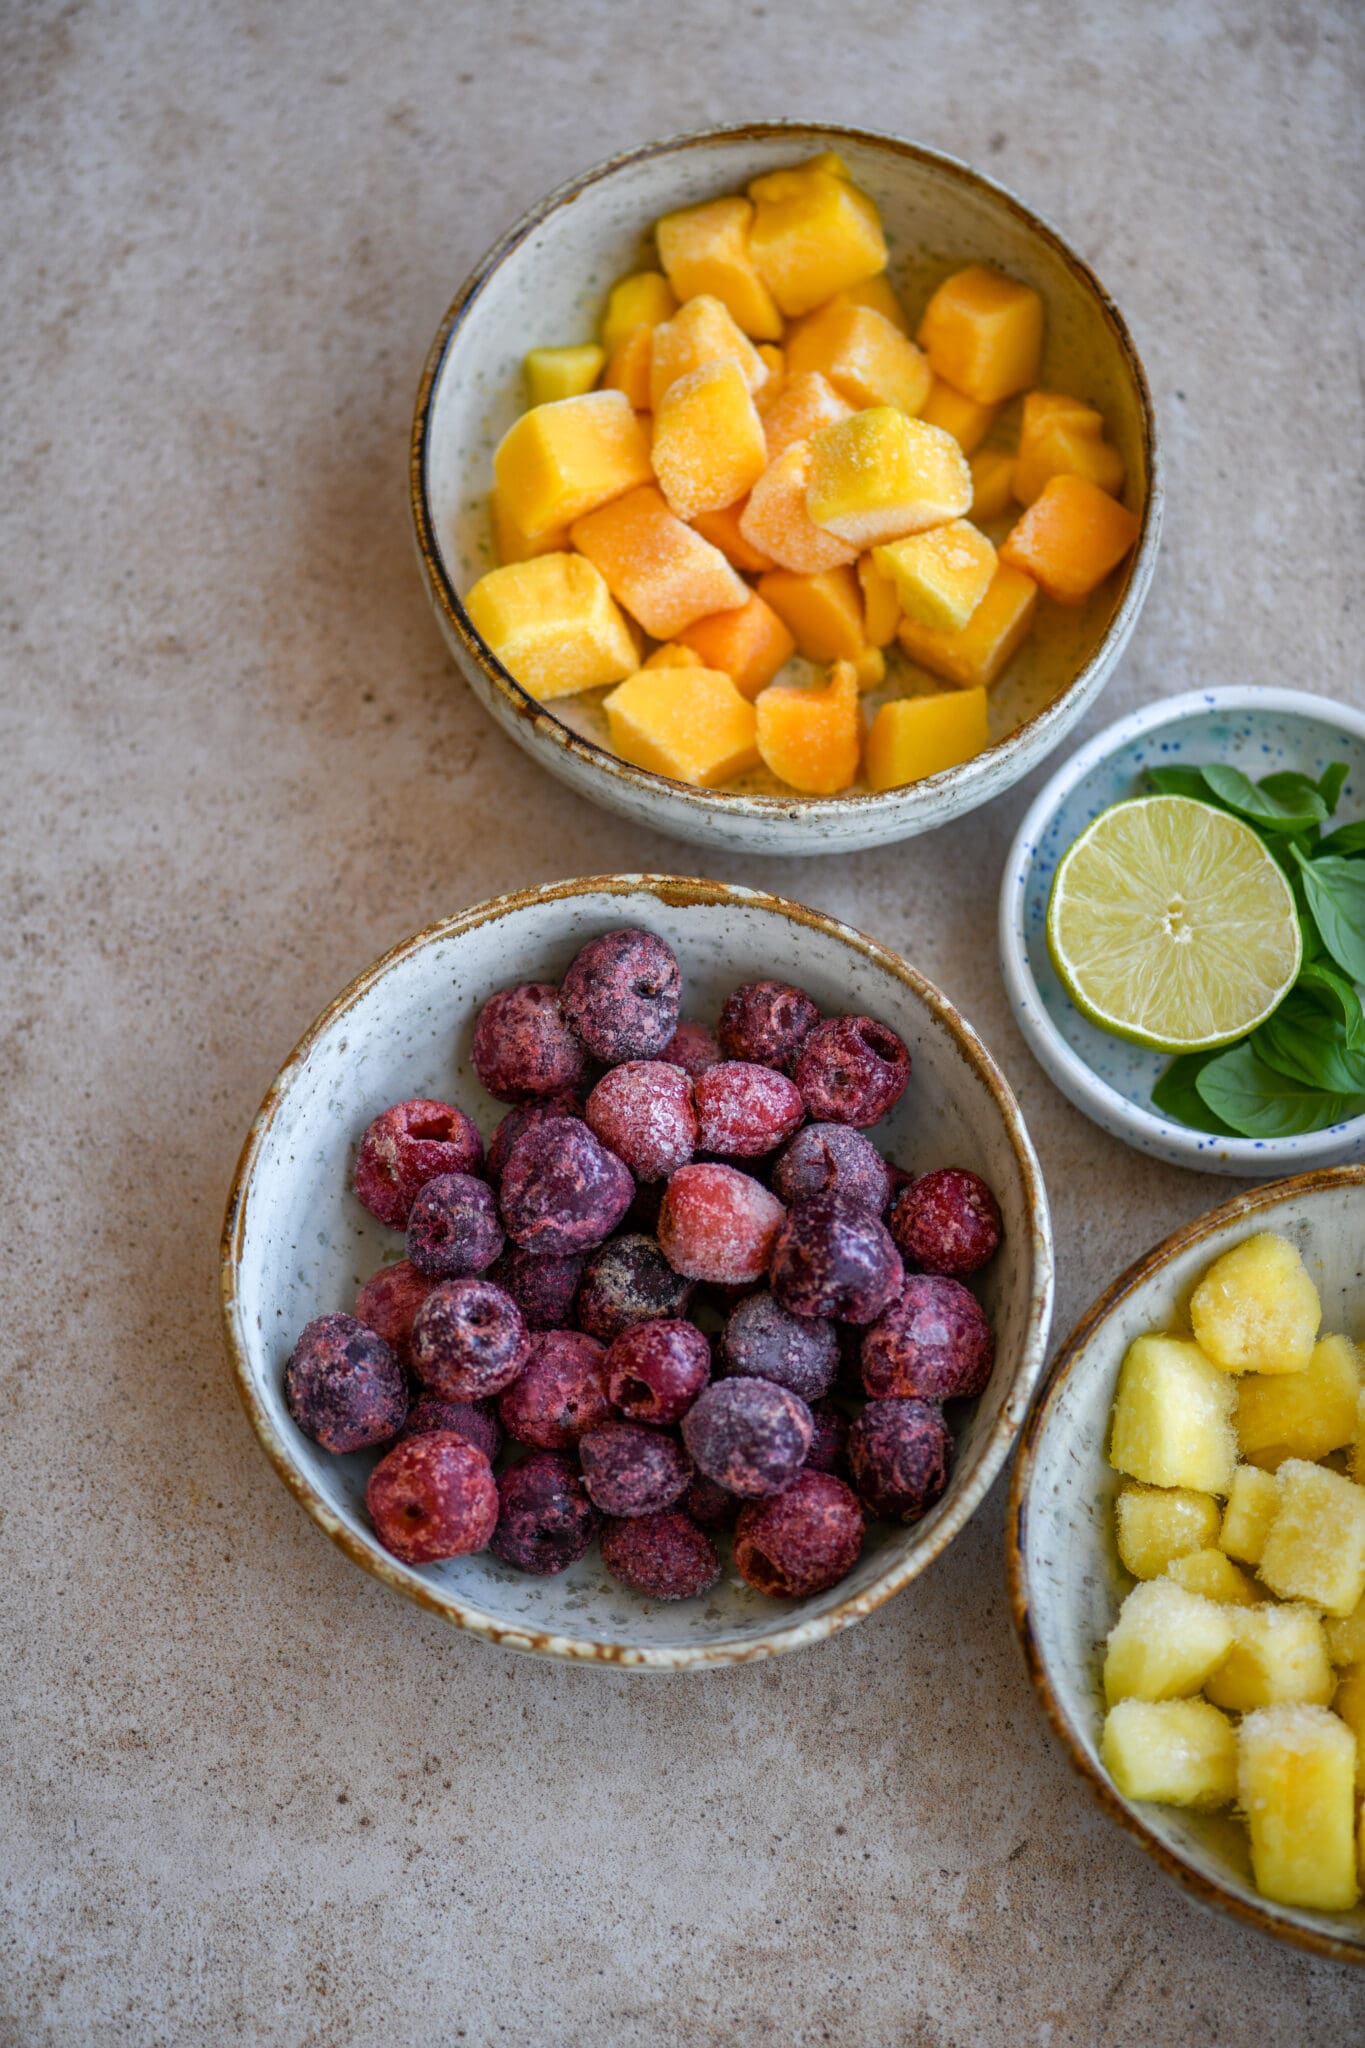
- Mix & Match to find your favorite blend: while using one kind of fruit will be the easiest way to get a smooth result, mixing and matching your fruit can actually be super fun. The key is the order in with you add the fruits. This way, you can create your very own rainbow sorbet. If you’re looking to mix fruits for flavor, simply make sure to mix the finished sorbet well at the end.
- Use the Reverse setting of your juicer to prevent clogging: if your frozen fruit gets a little stuck, simply use the reverse setting for a few seconds and everything should work smoothly again.
- Not all frozen ingredients are ideal to make sorbet: some fruits or other frozen ingredients are not great for sorbet. I’ve found that ingredients that have a stringy texture (like pineapple or shredded coconut) don’t yield as smooth of a result. See the next section for more details on which ingredients are best to use instead.
- Freeze your own fruit to avoid food waste: while you can easily buy frozen fruit, you can also freeze any ripe food you have at hand that you might not get a chance to eat right away. Fruits like bananas should be peeled before freezing (tip: I like to freeze my peeled bananas whole in a reusable storage bag. They’re very easy to break or cut once frozen, so you don’t need to cut them into smaller pieces first like you would most other fruits.) Stone fruits like mangoes should be peeled, the pit be removed, then cut into smaller chunks. To avoid your frozen fruit chunks to stick together, lay them on a baking tray lined with parchment paper and freeze them that way. Once frozen, you can then transfer the chunks to a reusable freezer bag.

Great Fruits to Make Sorbet with
I used mango in the recipe card below as it gets super smooth and is incredibly delicious. You can, of course, use many other fruits as well. Here are a few suggestions/ideas:
- Stone fruits (such as mango, peaches, apricots, plums, cherries, lychees, and nectarines.)
- Berries (such as strawberries, raspberries, blueberries, and blackberries)
- Citrus fruits (such as oranges, limes, grapefruit, tangerines, and lemons) – NOTE: citrus fruit is not as sweet as many other fruits, so just keep that in mind. I personally like to add a little frozen coconut cream (frozen in ice cube trays) and then add maple syrup afterwards when making citrus sorbet. To freeze citrus fruit, peel it, then remove any visible seeds, and cut it into smaller pieces before freezing.
- Other fruits (such as bananas, apples, persimmons, papayas, and pears).
Fruits that don’t work as well: in my experience, fruits that don’t have as smooth of a texture, like pineapple or passion fruit, are less ideal. similarly, shredded coconut or other similar ingredients won’t work well.
Juicer Discount Code
To get 10% OFF any Nama Juicer, as well as Nama accessories, be sure to use our discount code BOV10 at checkout via namawell.com.
NOTE: This article focuses on how to make sorbet specifically with Nama juicers since those are the juicers I personally use and am most familiar with. If you already own a different kind of slow juicer, be sure to check with the manufacturer for sorbet instructions that are specific to your juicer model.
Alternative Ways To Make Sorbet (Without A Juicer)
If you don’t own a juicer and only want to make sorbet, but not necessarily juice on a regular basis, I wouldn’t necessarily recommend buying a juicer for that purpose alone. So here are a few alternative ways to make sorbet at home without a juicer.
- With a Food Processor: in order to make sorbet with a food processor, let your frozen fruit chunks thaw for a few minutes, then add them to your food processor and start processing. I’d recommend starting with a slower speed and then slowly increasing it. Depending on the brand and model you’re using, you might need to add a little liquid to get a smoother result.
- With a Blender: a high-speed blender is the best kind of blender to use. They usually come with a stopper that’ll allow you to move the frozen fruit around in order not to have to add too much liquid. A regular blender should work as well, but you might need to add more liquid and the frozen fruit could damage the blade, so if you’re unsure, try letting the fruit thaw for a bit longer at first. You can always freeze the blended fruit again for a firmer texture.
- With an Ice Cream Maker: a regular ice cream maker (like this one) can of course also be used. The only downside is that it takes up extra space, which may not be worth it if you’re not planning on making sorbet regularly. If, however, you are planning on it, then this might be the ideal way for you to make sorbet.
Quick & Easy Mango Sorbet (Made with A Juicer) – RECIPE CARD
Use this recipe card for a quick and easy mango sorbet recipe and recap of how to make sorbet with a juicer. For more details and step-by-step photos, be sure to read the full article above.
Easy Mango Sorbet Recipe (Using a Juicer!)
Ingredients
- 4 cups frozen mango chunks - or any other frozen fruit chunks (see notes for additional optional ingredients)
Instructions
- Start by taking your frozen mango chunks (or other fruit) out of the freezer and letting them thaw for a couple of minutes (no more than 1-2 minutes).
- Next, be sure your sorbet attachment is in place (this won't work otherwise). Then turn on your juicer and start adding the chunks to the juicer's hopper little by little.
- The sorbet will start coming out of the juicer where the juice pulp usually comes out. If any of the frozen fruit gets stuck, simply use your juicer's reverse setting and it should work again.
- Transfer the sorbet to a large bowl or sorbet/ice cream container and press it firmly together using a spatula.
- Either serve right away or put the sorbet in the freezer for later use.


Notes
- Sweetness: many traditional sorbet recipes call for high amounts of refined sugar. I personally like to avoid this as I find fruit sweet enough on its own. If, however, you do like a little extra sweetness, feel free to mix a little maple syrup into your sorbet before serving it.
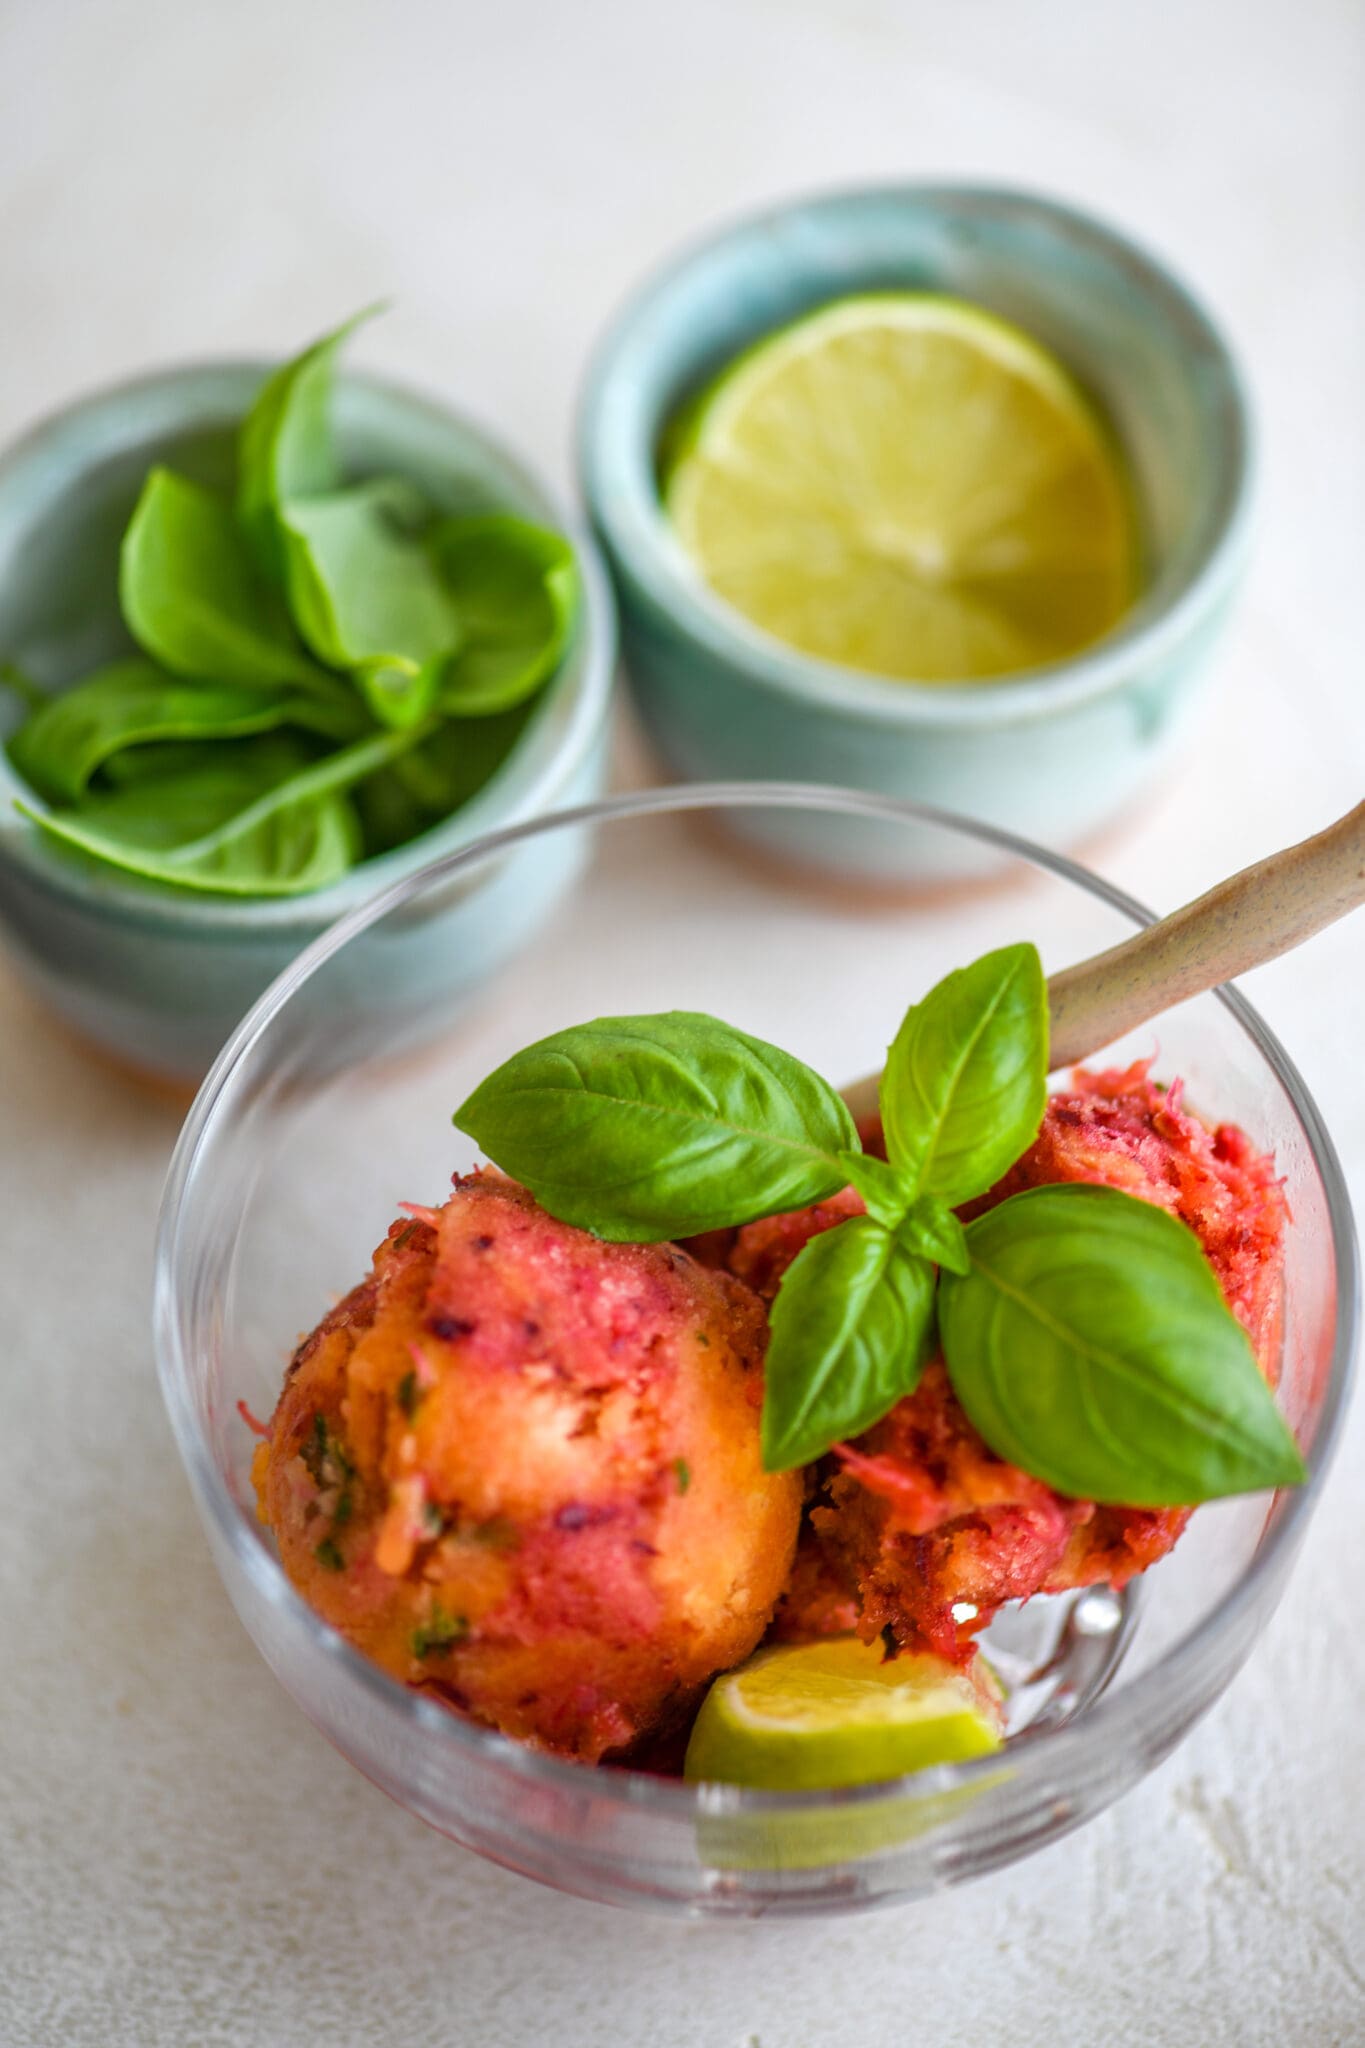
- Feel free to add a bit of basil and/or lime juice to the recipe for a little extra kick.
- You will need a sorbet attachment in order to be able to make sorbet with your juicer. If using a Nama juicer, the J1 juicer comes with an attachment and the attachment for the J2 juicer can be purchased separately. If you’re using a different brand, be sure to check their website to see if your juicer can make sorbet.
SAVE/PIN/SHARE THIS RECIPE
More Recipes & Articles You Might Like
- How to Make Nut Milk With A Juicer
- Nama J2 Cold-Press Juicer Review (including all pros & cons)
- How to Start Juicing: My Top 10 Tips
- 4-Ingredient Green Juice (Quick & Easy Recipe)
- 10 Benefits Of Juicing
Please note that this site contains affiliate links and we may earn a commission if you make a purchase through those links at no extra cost to you.
Did you love this recipe? Please consider leaving a comment and a ⭐️⭐️⭐️⭐️⭐️ star rating below. Thank you!